Pythagoras Cubed
I was recently invited at the last minute to lead a mathematical construction for a seminar for math majors at Loyola Marymount University. The hope was to create something physical connected with one of the topics in the course, which linked the history of mathematics with various unsolved problems, among other things. Since there had been a fair amount of discussion about the Pythagorean Theorem, we settled on the following construction that demonstrates an interesting and less-familiar related phenomenon in three dimensions.
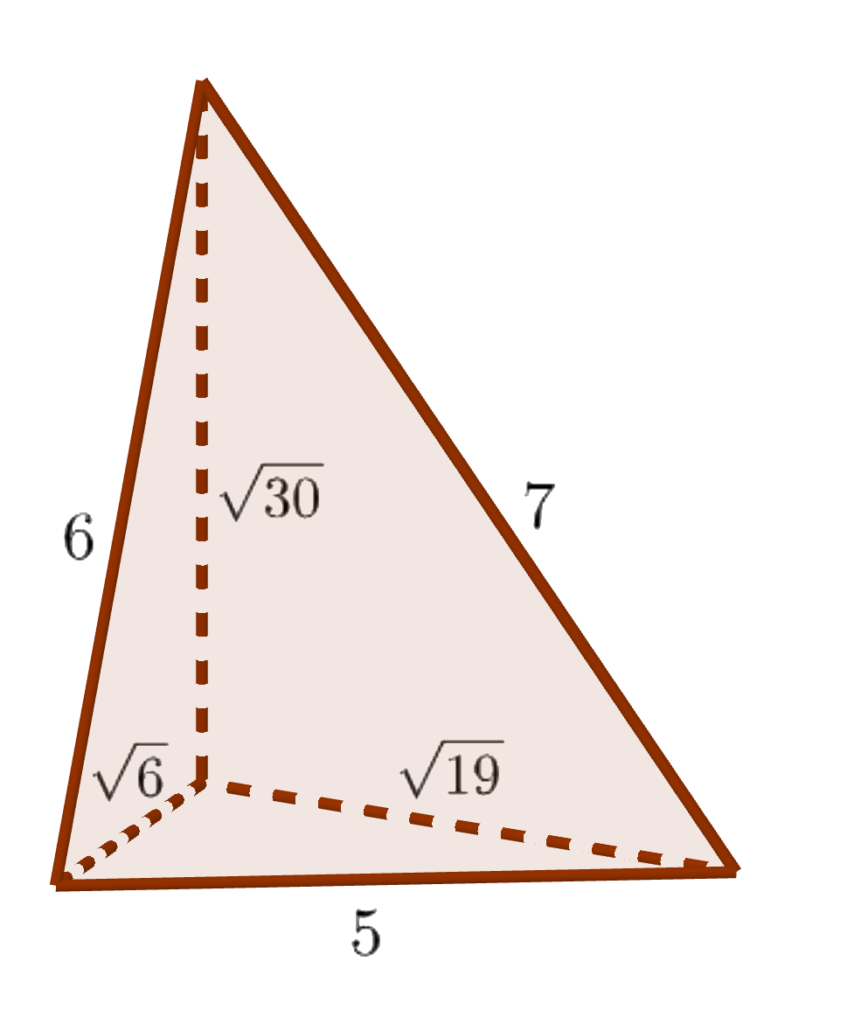
Given any three lengths, you can build a tetrahedron with a vertex where three right angles meet, and the lengths of the three edges meeting there are as given. (Basically, just cut off the positive coordinate axes to the three given lengths and join the resulting endpoints with a triangle.) Such a tetrahedron is called a “right tetrahedron” and those three initial lengths are called the “legs.” The following construction (erecting a prism on each face whose height is the same as the area of the face) can be performed with any lengths for the legs, but all of the calculations below are done for legs √6, √19, and √30 (which have the pleasant property that the sides of the fourth tetrahedron face are then 5, 6, and 7, as shown in the diagram to the right). To create a human-sized result, I used a decimeter as the length unit; if you wanted to make this into a tabletop-sized construction, you could scale it down by a factor of four or five — but note that when scaling down the edge rod lengths (as opposed to the altitude lengths) you need to add one centimeter, divide by your scale factor, and subtract off the one centimeter again, to allow for the extra length created by the connectors.
| Materials | Tools |
|---|---|
| About 30 1/8″ diameter rods, at least 147 cm long (5′ suffices), for example wooden dowels or fiberglass rods | Measuring tape |
| About 90 custom connector clips (STL file, or OpenSCAD file if you need to tweak them) | Meter sticks |
| Three sheets of foam core, at least 70 cm by 50 cm (30″ by 20″ suffices) | Cutting pliers or small saw (for cutting rods) |
| Plastic wrap (ideally four colors of industrial-size rolls) | Box cutter (for foam core) |
| At least 225 liters of loose fill material (e.g. packing peanuts); 9 cu. ft. suffices | Scissors |
| If rods expand after cuts: | |
| Optional: thick paper or cardstock for temporary lids | Gripping pliers |
| Drill slightly larger than 1/8″ (e.g. 9/64″) |
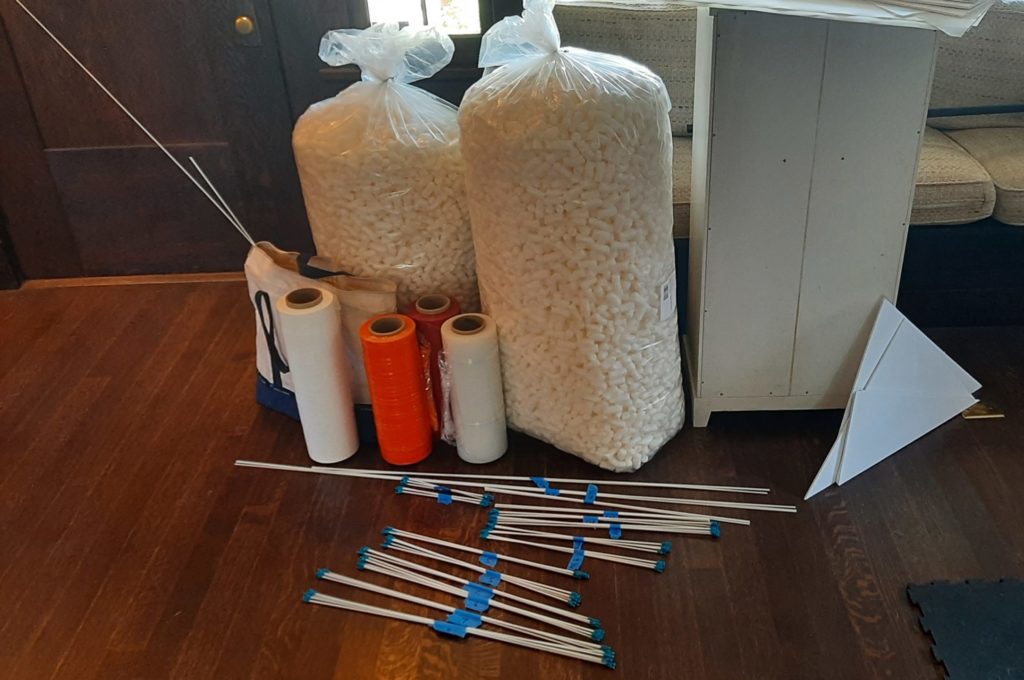
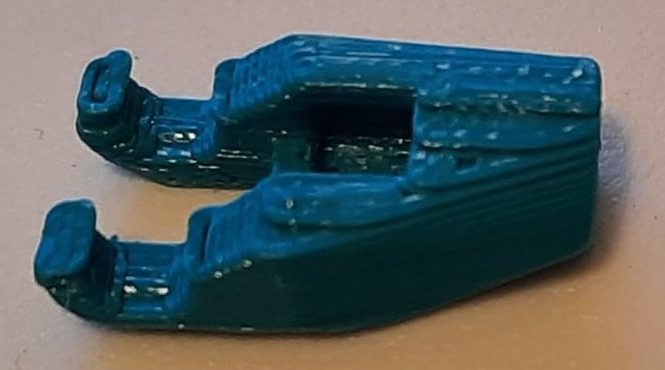
Assemble all of the needed materials and tools, and fabricate the connectors per the supplied STL file. [vrm360 model_url=”http://studioinfinity.org/wp-content/uploads/2022/04/DowelSnapV6.stl”]

removing the support material
| Length (cm) | Quantity | For |
|---|---|---|
| 147 | 3 | altitude D |
| 119.4 | 3 | altitude C |
| 69 | 9 | edges of C and D |
| 67.1 | 3 | altitude B |
| 59 | 8 | edges of B and D |
| 53.8 | 7 | edges of B and C |
| 53.4 | 3 | altitude A |
| 49 | 8 | edges of A and D |
| 42.6 | 6 | edges of A and C |
| 23.5 | 6 | edges of A and B |
Then begin by cutting lengths of your edge rods as in the table to the right:
Because the vendor-supplied cut ends of the edge material will likely be more uniform than your hand-made cuts, especially if you choose to use cutting pliers, try to preserve as many of the manufactured ends as possible when cutting.
Next, slide connectors onto both ends of each of the rods designated for “edges” in the table above. With the fiberglass rods I was using, the ends I hand-cut with pliers deformed and expanded, so I had to ream the holes of the connectors for these ends out to 9/64 inch by hand-twisting a drill (held by gripping pliers) into the holes.
Cut a foam-core bottom for each of the prisms, corresponding to the four faces of the central tetrahedron: the largest face D has edges 50, 60, and 70 centimeters (I just measured off 70 cm along one edge of a foam-core sheet, and then laid meter sticks down so that their corners met and they read off 50 and 60 cm respectively at the corner and marked point on the edge). The other three faces A, B, and C (in order of increasing area) are all right triangles, so I just measured the leg lengths along two adjacent sides of a sheet and then cut the resulting corner piece off. The lengths are: A – 24.5 and 43.6 cm, B – 24.5 and 54.8 cm, and C – 43.6 cm and 54.8 cm. (Note the edge lengths of the foam core faces are all 1 cm greater than the corresponding edge rods, because the connectors at each end of a rod add exactly 1 cm to their effective length.)
Assemble each of the prisms by clipping edges onto altitudes to form the desired cross section.
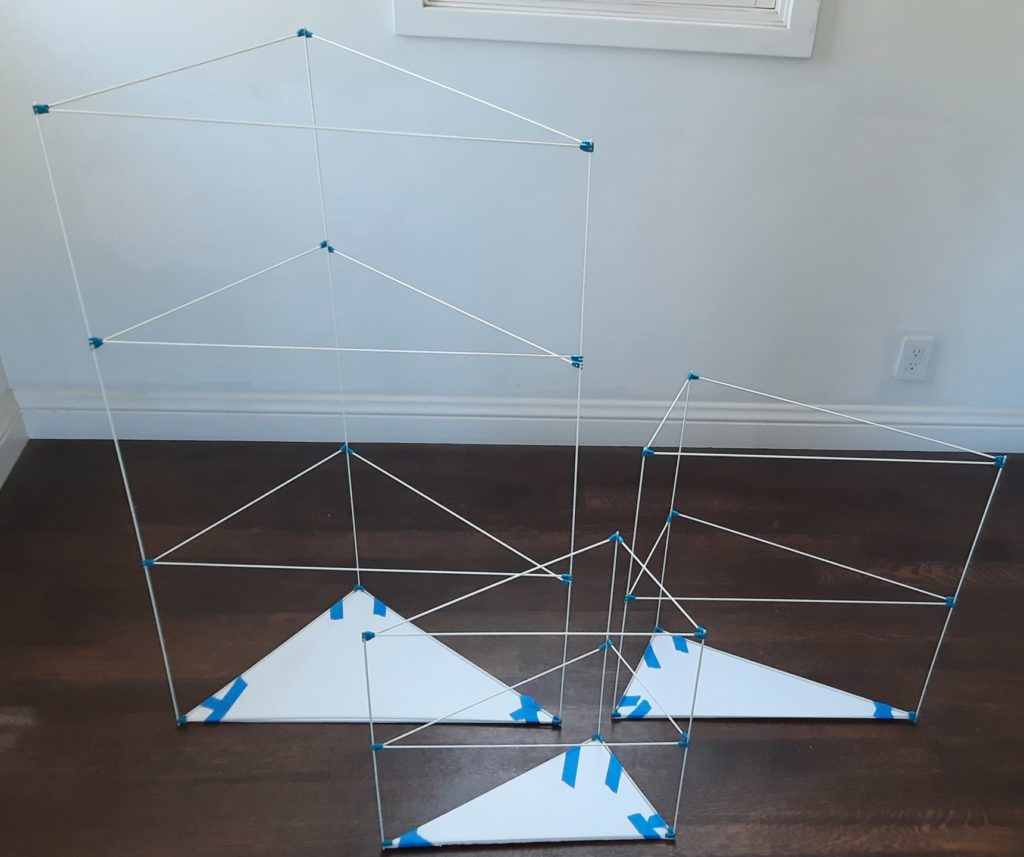
Every prism should have a triangle of edges at each end of the altitude, and at least one additional group of edges around its middle; the quantities above have been set so that the tallest prism D can have three internal sets of cross braces and B can have two. One set of cross braces at mid-height for prisms A and B seemed to be plenty. Note that the clips can interleave at the ends to produce triangles with coplanar rods, except for the two most acute angles (the sharpest angles of triangles A and B), where you will have to place them side by side. You can actually get a bit more stability on the taller prisms by staggering the interior cross braces slightly, rather than making each set coplanar. But on all of the prisms, the cross braces at the ends should be as close to coplanar as possible.
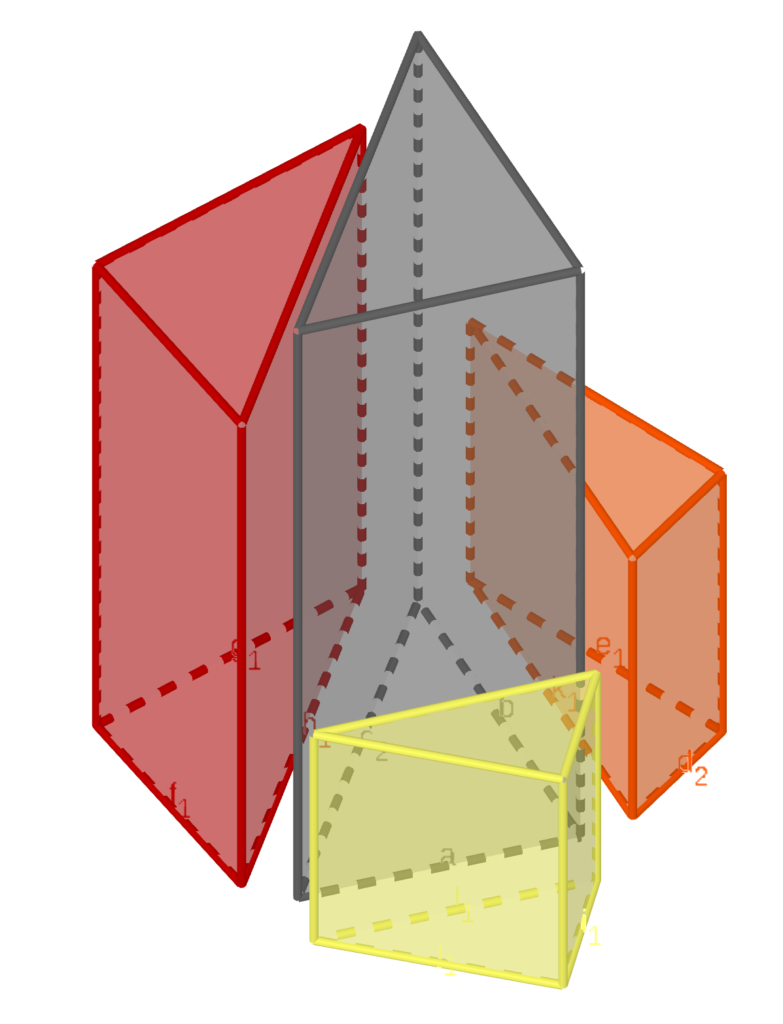
When you have made all the prism frameworks, attach the foam core bottoms to each prism with tape. For the finale, it matters a bit which end of each prism you attach the bottom to, and this is an aspect that was unfortunately not done correctly in the pictured build. The easiest way to get it right is to stand the D prism in the center, and then line up the A, B, and C prisms with their hypotenuses matching with the sides of prism D. Orient A, B, and C so that the legs of adjacent prisms match in length (see the diagram at left). Then attach the bottoms.
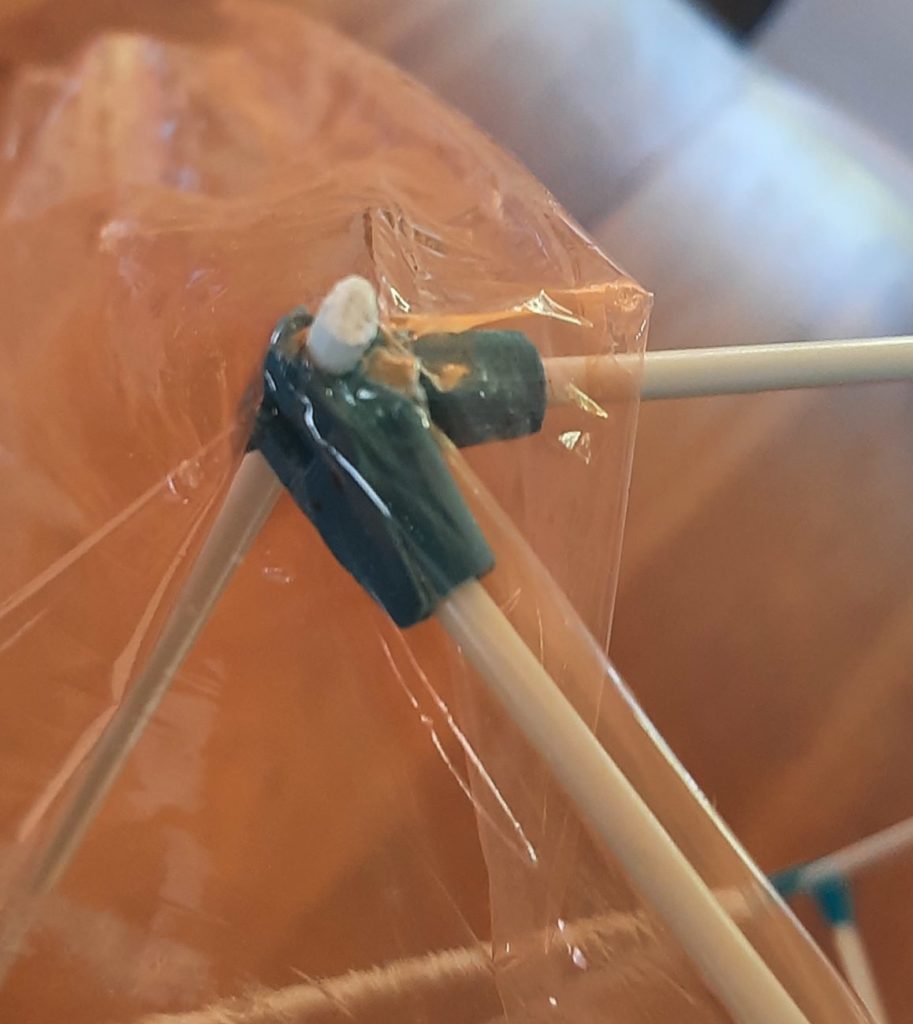
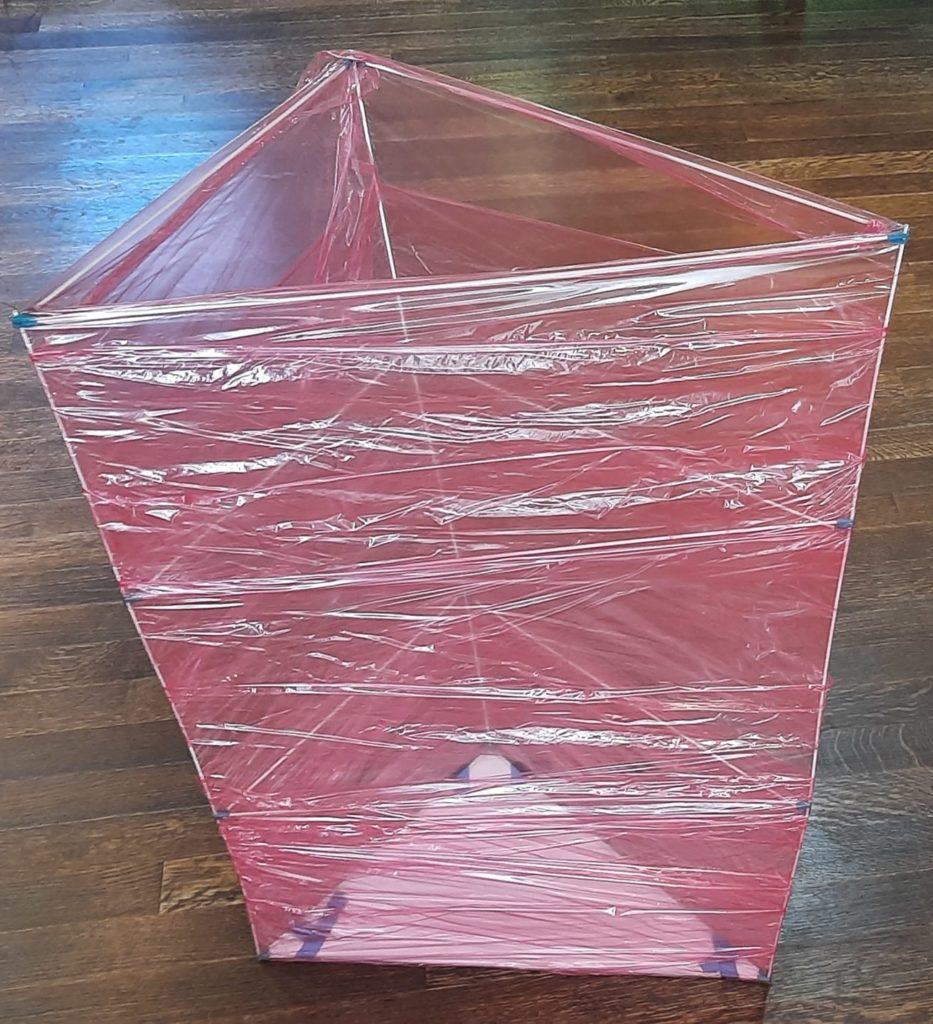
The last step in preparing for the finale is to add vertical sides to your prisms. This could be done with any sheet material (you could cut rectangles to size) but the quickest and easiest way, that also allows you to easily see what’s going on in the finale, is to wrap them with cling wrap. Industrial packaging wrap is readily available in a variety of colors, or you can use ordinary consumer food wrap (although you will likely need an entire roll). Begin the wrapping at the top by hooking the wrap onto one of the altitudes (see photo at right), and then leaving some extra wrap above the top crossbars, make one circuit of the triangular perimeter. Fold the extra down around the top crossbars, and then continue to wrap around the prism angling downward somewhat so that at least half the sheet overlaps with what’s already there at all times. Continue past the bottom panel of the prism, and then fold the excess underneath and secure with tape or by stretching and sticking the wrap to itself. The process and results are depicted below:
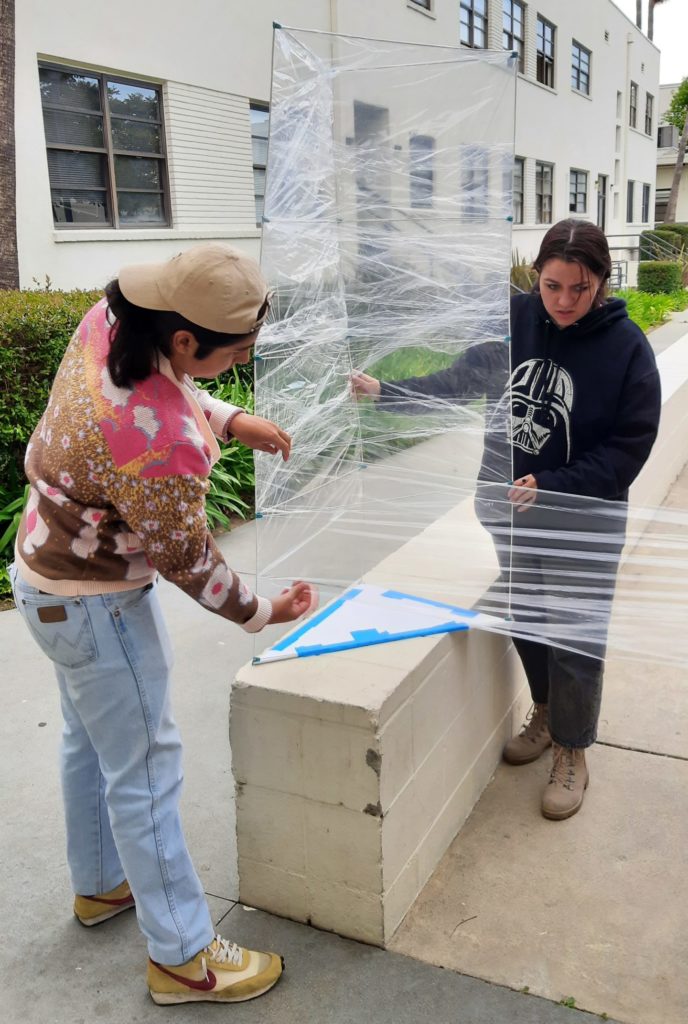
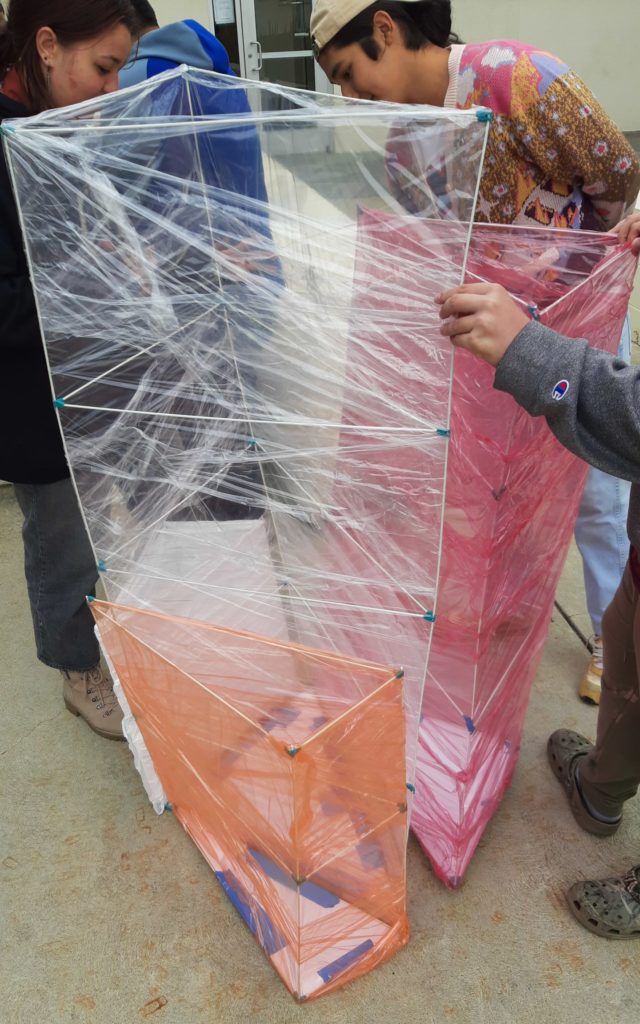
Once all of the prisms are wrapped, it’s time for the finale. Fill the three smaller prisms A, B, and C with loose, light filler material — we used water-soluble “packing peanuts.”
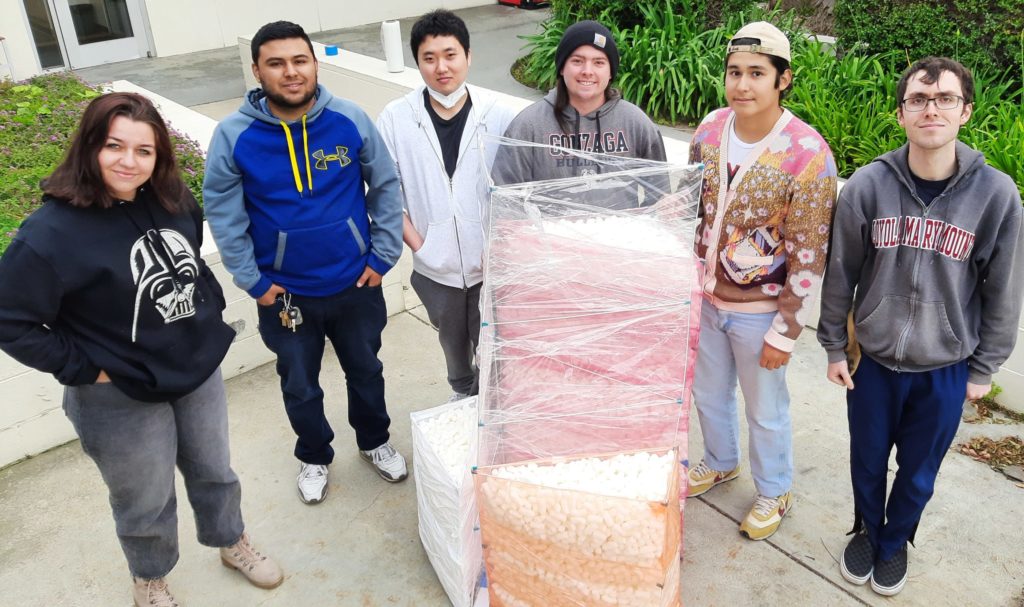
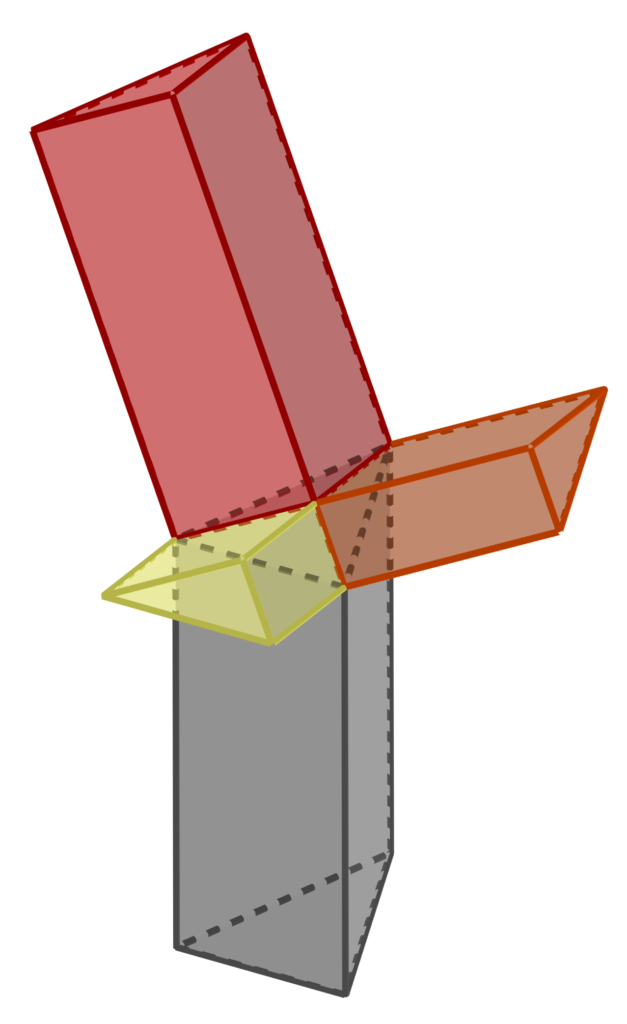
Ideally, if the bottoms are placed on the proper sides, you can now place loose temporary lids on top of prisms A, B, C, and invert them above prism D to create a space congruent to the right tetrahedron above prism D, showing the prisms of height equal to face area erected on all four faces of the tetrahedron. (See diagram at left for how that might look.) Then pull the temporary lids out and allow all of the filler material to tumble down into prism D.
If that’s too complicated or the bottom panels were not on the correct ends, simply dump all of the contents of A, B, and C in turn into prism D (as depicted to right). Here’s what you get when you’re done:
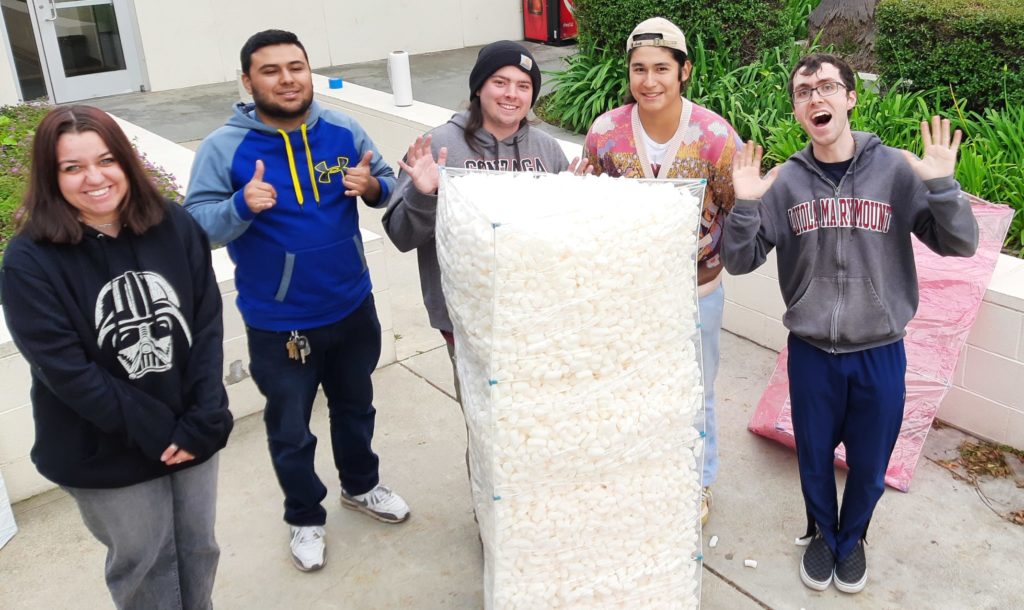
And voilà — the material exactly fills the largest prism D! Is this a coincidence? Seeing as how this is Studio Infinity, of course not. What are the volumes of these prisms? Well, letting A, B, C, and D also stand for the areas of the four faces, we have the height of prism A is also A, and so on through the height of prism D is D. And since the volume of a prism is the area of its base times its height, the volumes of the prisms are A2, B2, C2, and D2. And it turns out that for any right tetrahedron, A2 + B2 + C2 = D2 — this is the Three-D Pythagorean Theorem. So the big prism was guaranteed to fill up exactly!
(Many thanks to the students of LMU Math 490!)

