

Woven GSD
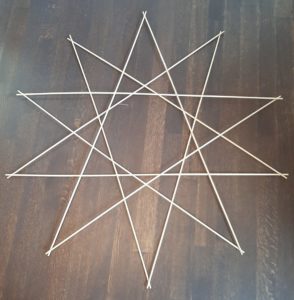
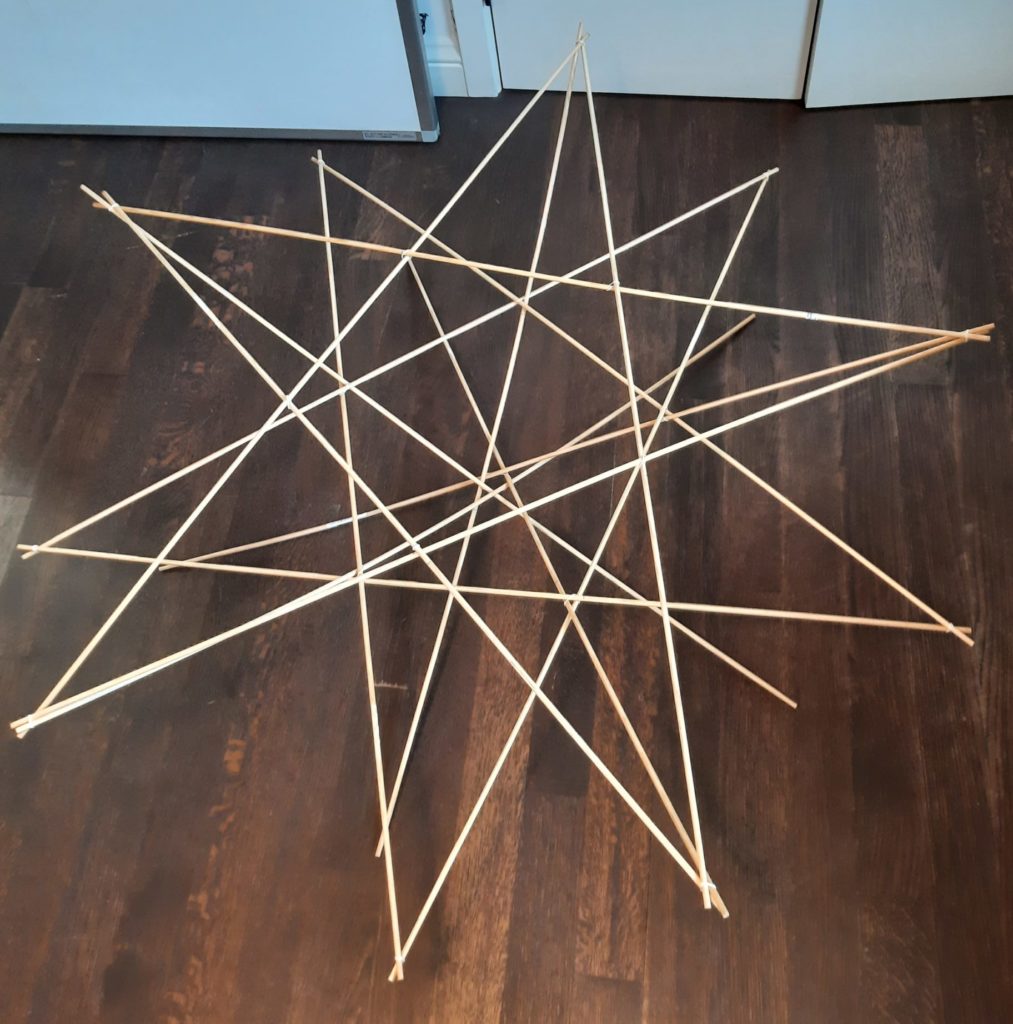
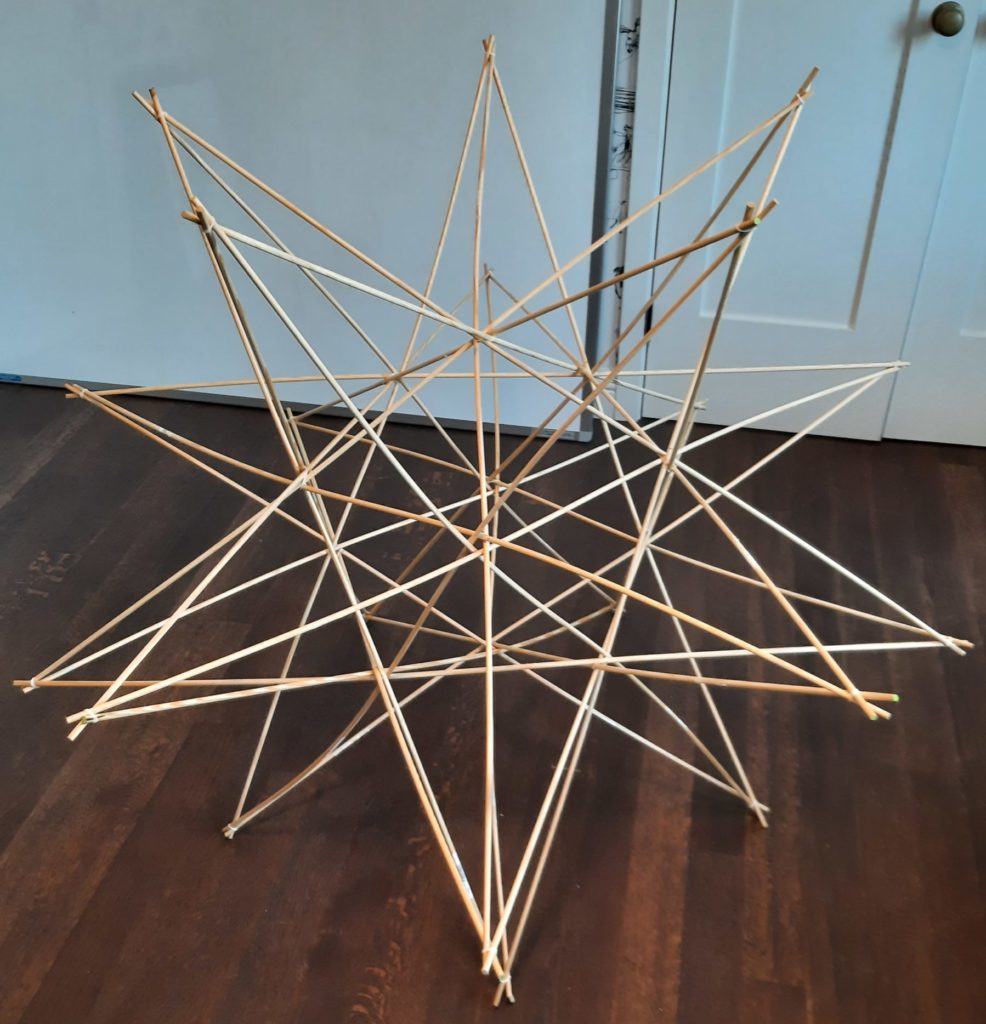
This is a sequel to a (pre-pandemic) post about weaving a stellated polyhedron. This time, I’d like to show how similar techniques can also be used to create a “great stellated dodecahedron” (“GSD” for short; illustration below).

| Materials | Tools |
|---|---|
| 30 equal-length rods | Measuring Tape |
| 32 rubber bands | Scissors |
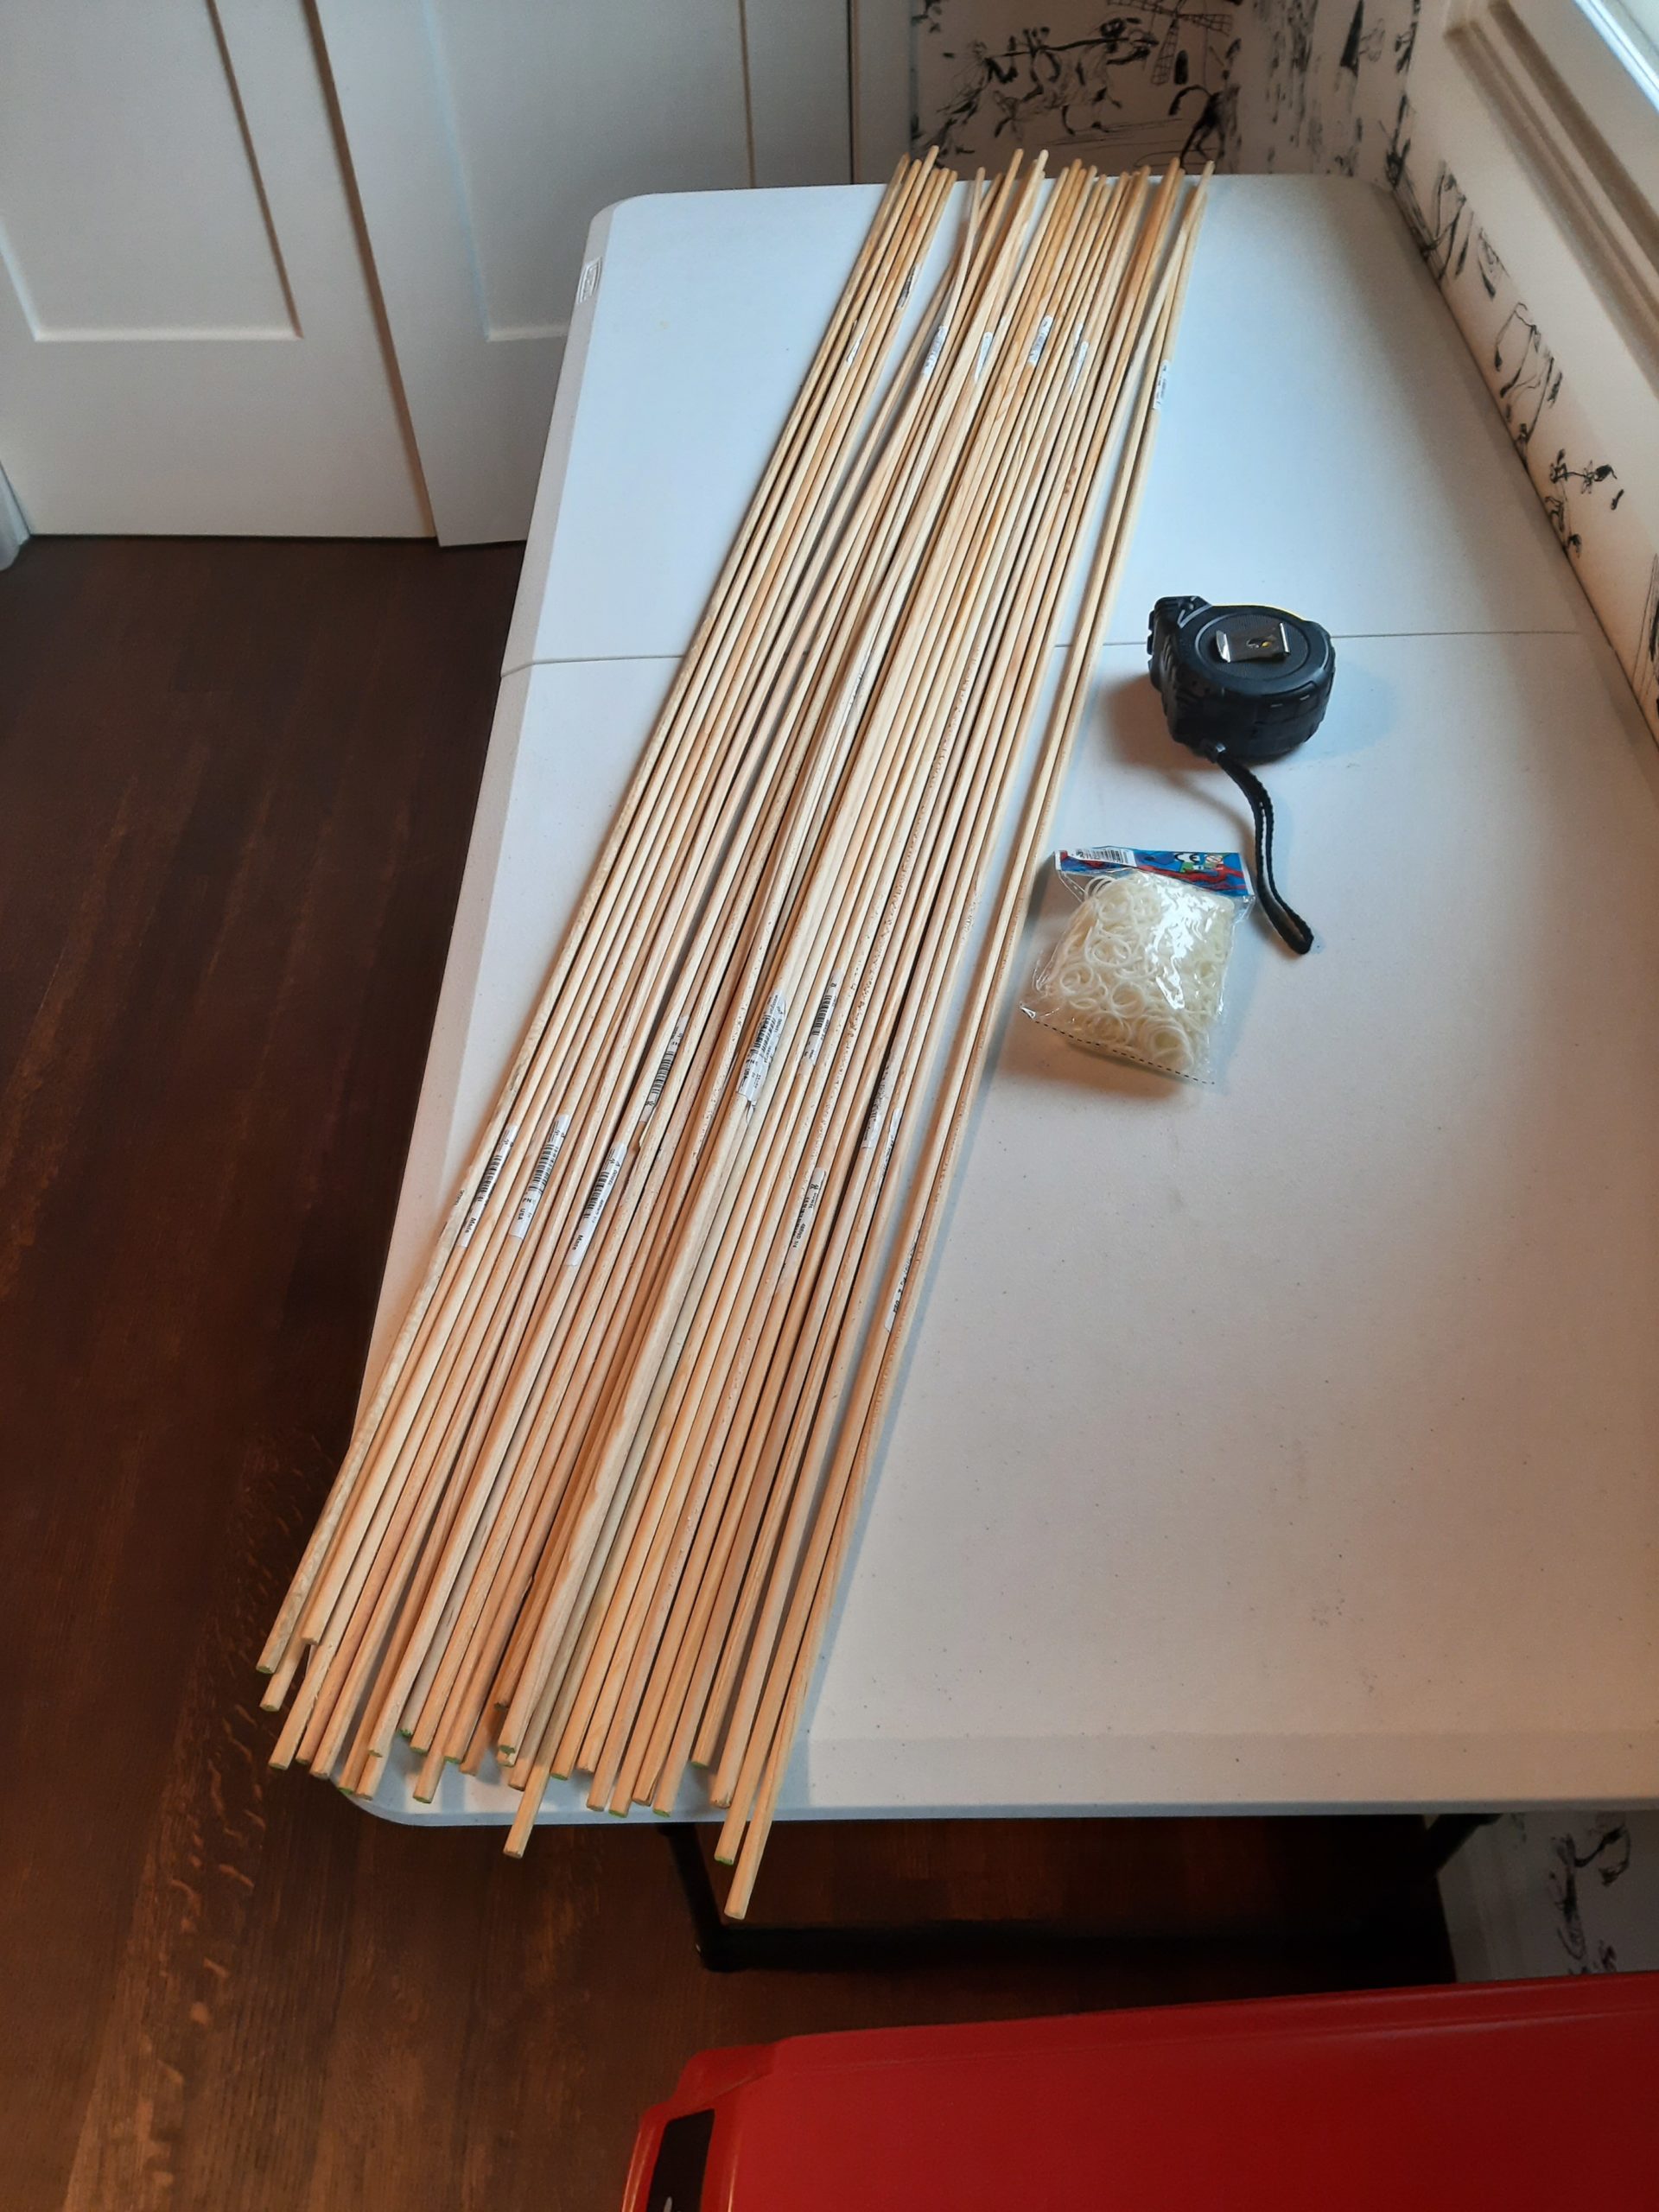
The materials are in fact the same as before, as summarized in the table above. This time, I am using 4-foot quarter-inch pine dowels for the rods, and white mini “rainbow loom” rubber bands.
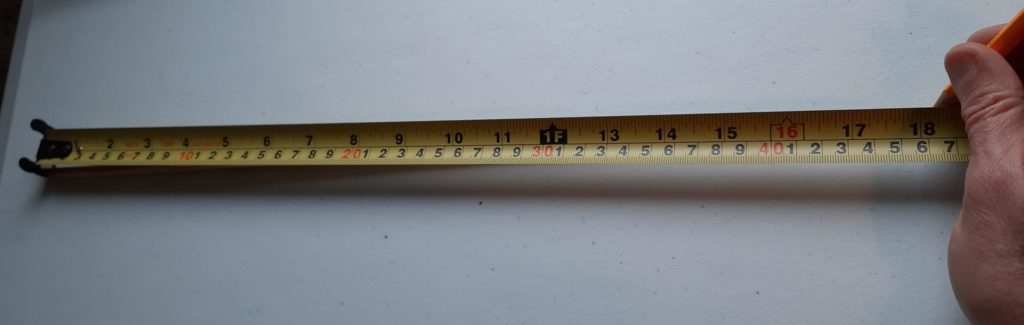
Begin by marking the same points on each rod as described in the previous post; in this case, with 48″ rods and allowing 1 inch of overlap at the ends, this is 1+(46 × 2/(3+√5)) or about 18 1/2″. (See this MathStream post for an explanation of where 2/(3+√5) comes from.)
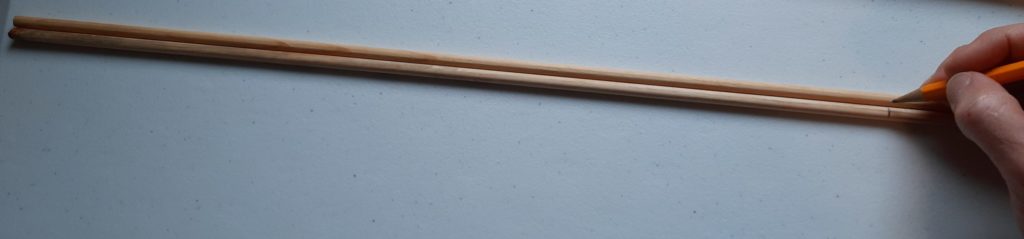
With rods this long, it’s easiest to transfer the marks from one rod to the next.
Once all of the rods are marked, make two five-pointed stars as described for the SSD, except both of these should have the reversed over-under pattern: As you follow a given stick around the inner pentagon clockwise, it must be on top at its first junction and on the bottom at its second junction. That means also that looking at any point with the center of the star away from you, the rod that comes into the point from the right should be on top. When both stars are done, put one on top of the other so that the points alternate:
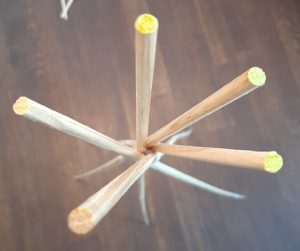
(Here the star with the point directed straight up in the picture is on top.) Now take five of the rods, stand them on end, and put a rubber band around them at the higher mark. Splay them out so that the top sections make a clockwise “whorl” when viewed from above:
Stand this “penta-pod” up amidst the two stars, with each leg just to the right of a corner of the inner pentagon of the top star:
Then slip the bottom of each leg into the rubber band at the junction it’s nearest, keeping it in the same relative position to the two horizontal rods crossing at that junction:

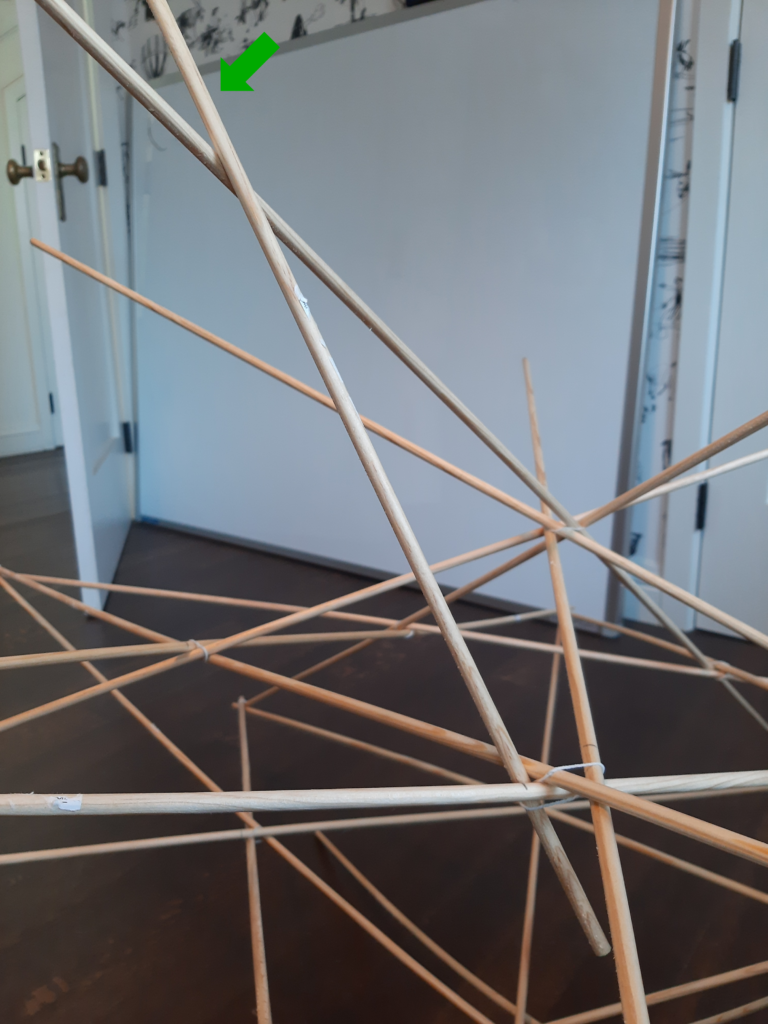
Now slide the top star up into the air, with each leg of the penta-pod sliding through the rubber band it was just inserted into. The legs will splay out as you do this. Keep sliding until the top star has reached the lower mark on each leg and these rods have spread out to reach the points of the lower star:
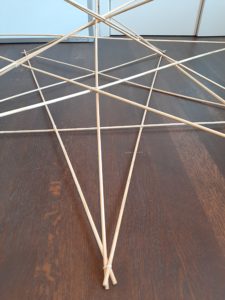
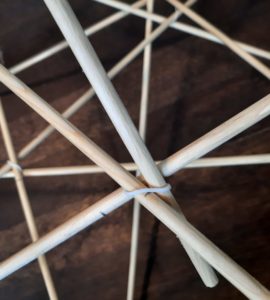
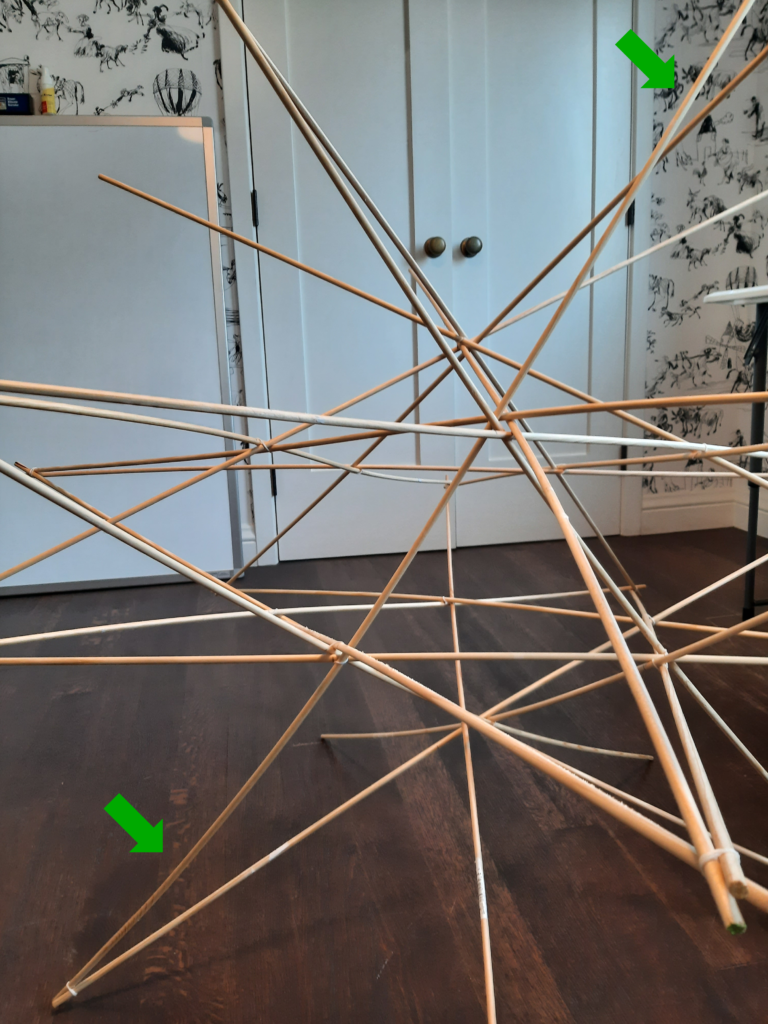
Finish this step off by inserting each leg into the rubber band at the point of the star where it’s ended up. You slide it in on the left, so that the three rods that meet at the point make a counterclockwise whorl. (As they will at every outer point of the GSD in the whole construction.) At right is a picture focused on one of the points, which will hopefully make the attachment clear.
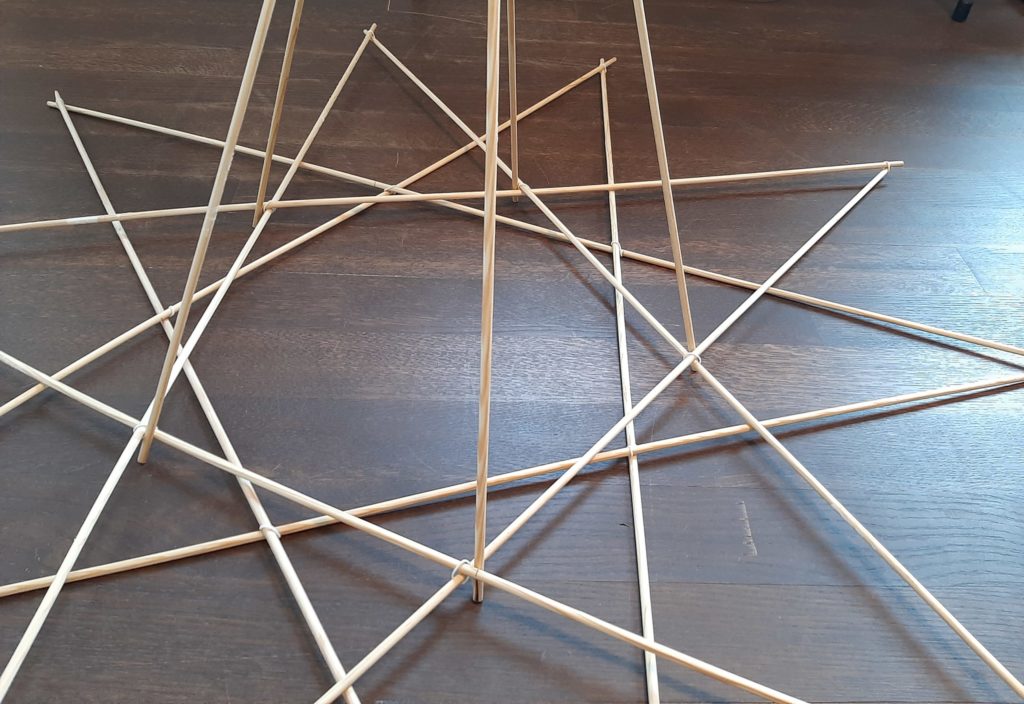
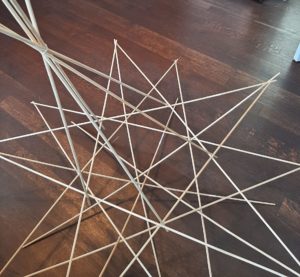
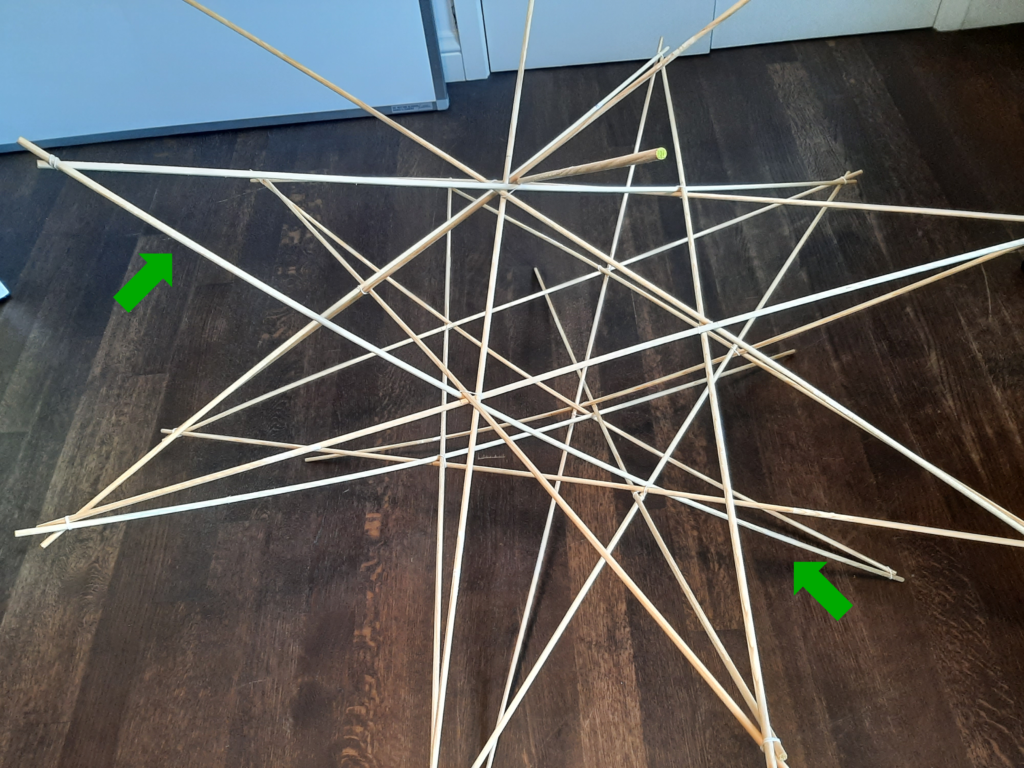
To prepare for the next step, make another “clockwise whorl” of five rods banded together at their top marks, just like the one you made before. When that’s ready, turn the construction over and rest it on what were the top ends of the five rods from the first whorl. The construction may sag a bit, but it should hold up and balance on the five ends of the rods. The two stars should still be quite close to horizontal, with the formerly lower one (that has three rods at each point) now above the other. Overall, the construction should look something like this:
Now insert each leg of the second whorl just to the right of one of the inner junctions of what’s now the top star, as shown at left. Below right is a view of all five ends inserted.
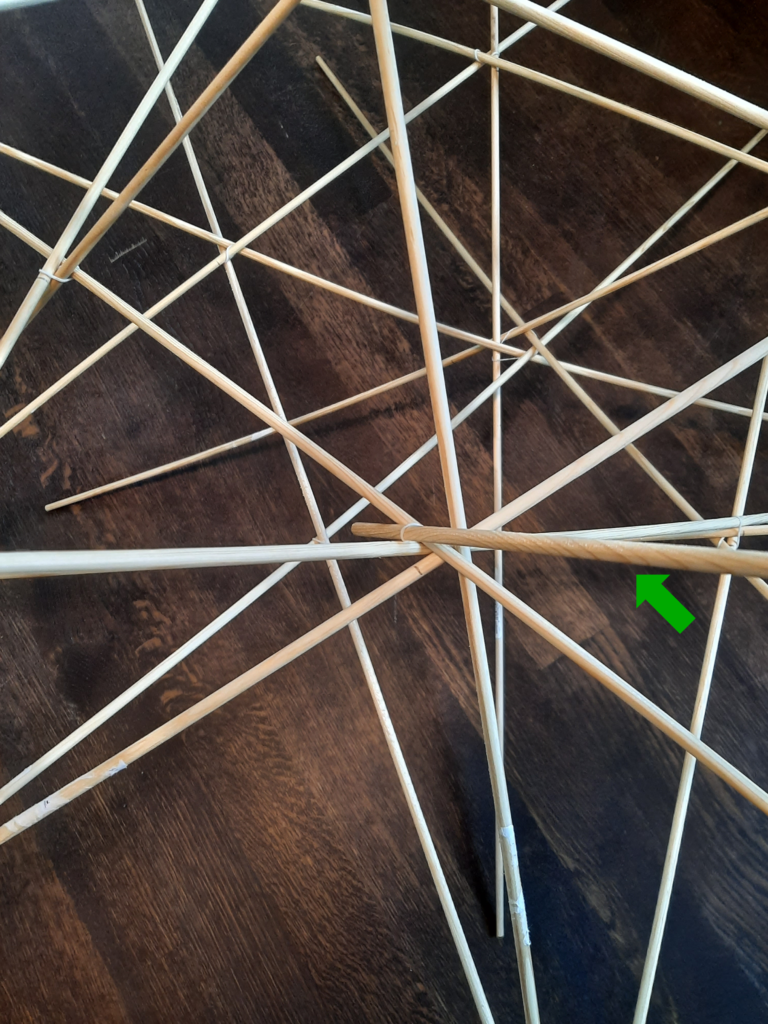
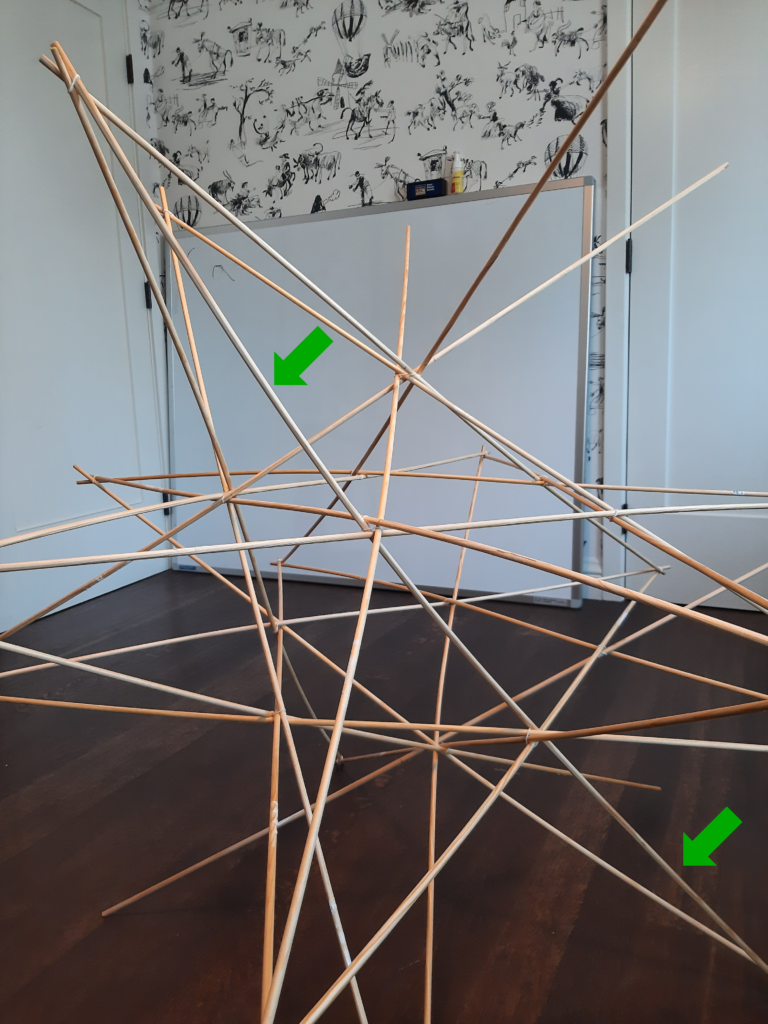
Slide all five of these legs through the rubber bands you just inserted them into, until they reach a point of the lower star. Once there, insert the leg into the rubber band at the point of the star in exactly the same way as you did with the first “pentapod” legs. See the detail picture below left:
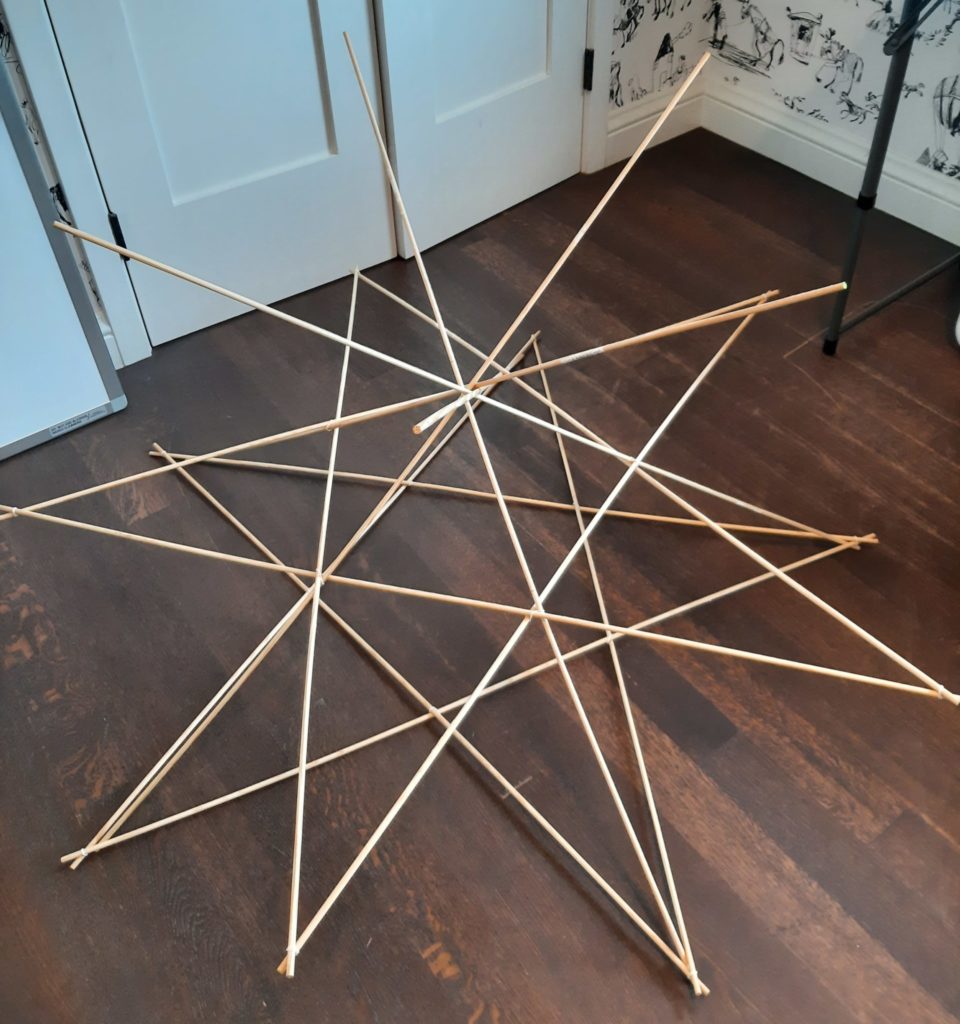
At this point the structure should be symmetric from top to bottom. There are five unattached rod ends sticking upwards in a pentagon, and the structure is resting on five unattached rod ends at the bottom. The ends of these rods, together with the ten points of the first two stars, comprise the 20 outer vertices of the final GSD. The star points already have all of the rods attached that they will have at completion. There are ten unused rods remaining. Each one of these will extend in a straight line from one of the top five points, through two inner junctions (one from the top star and one from the lower star), and end at one of the lower five point. From each top point, there will be one rod extending down and to the right and one extending down and to the left; and arriving at each bottom point will be one rod from the right and one rod from the left. All that remains is to feed the rods through properly so that they are woven uniformly at each junction. They should create clockwise whorls at each inner junction (when viewed from outside the GSD), and as mentioned earlier, counterclockwise whorls of three rods at each outer point of the GSD.
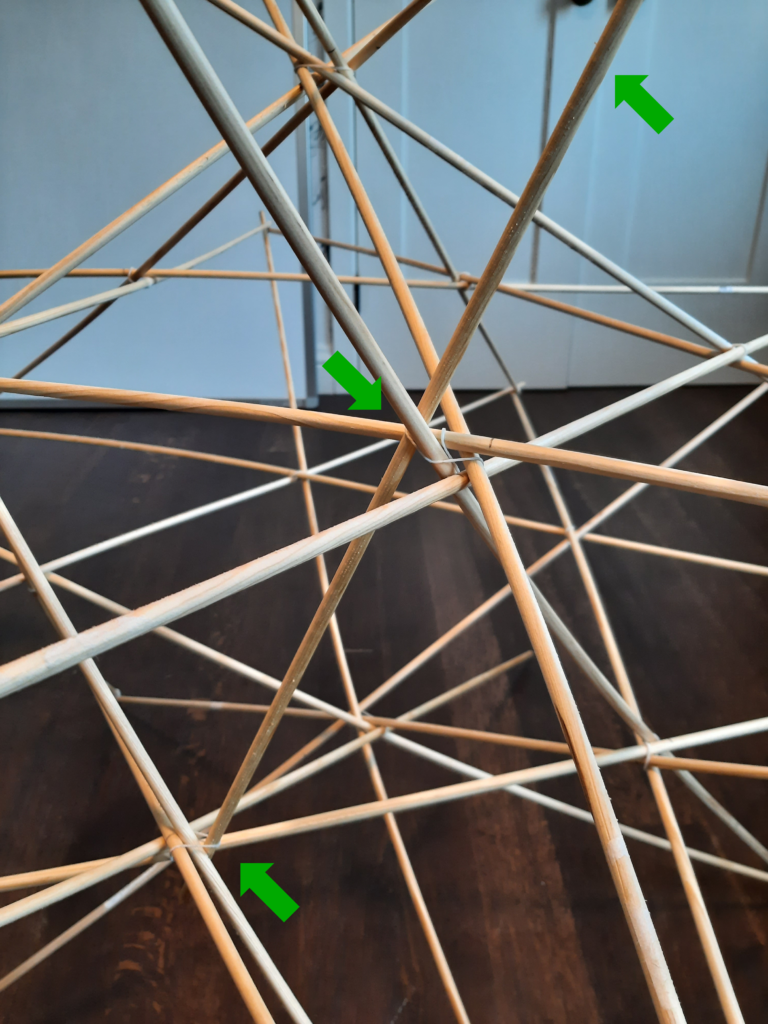
Here are some guidelines and pictures that should help to feed these rods through properly. We’ll begin with a rod (indicated by the green arrow in the following picture) that will extend down and to the right from one of the top points (at the extreme top left in the picture). It should feed through the inner junction of the top star that is immediately below and to the right of the top point; that’s the one with the white rubber band in the lower foreground of the picture. Specifically, it will feed through the leftmost sector of this junction:
It then feeds through the inner junction of the lower star just below and to the right of that, but this time it feeds through the rightmost sector of that junction. The new rod then proceeds down to the end of the lower leg that’s just below and to the right of that. The next picture shows just the one new rod added, in its final position. The new rod is again indicated by green arrows; pay particular attention to how it passes through the two inner junctions: all the way on the left at top, and all the way on the right for the lower one.
The next rod we’ll feed through will run from the upper point next counterclockwise (as viewed from the top) from the one we just attached to, and proceed to the left through the same inner junction that we just used. This will add the fifth and final rod to that particular inner junction of the upper star. As with the previous rod, we’ll insert it in the leftmost sector of that junction. Here’s the rod (we’ll continue indicating the newly-added rod with green arrows for the rest of the post) just after it’s been properly threaded through the rubber band at that inner junction of the top star:
Keep feeding it through until it reaches the inner junction of the lower star just to the left; there, as before, feed it through the rightmost sector of the junction:
Once it’s through that rubber band, continue feeding it until it reaches the end of the bottom leg below and to the left of that junction:
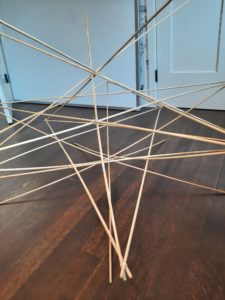
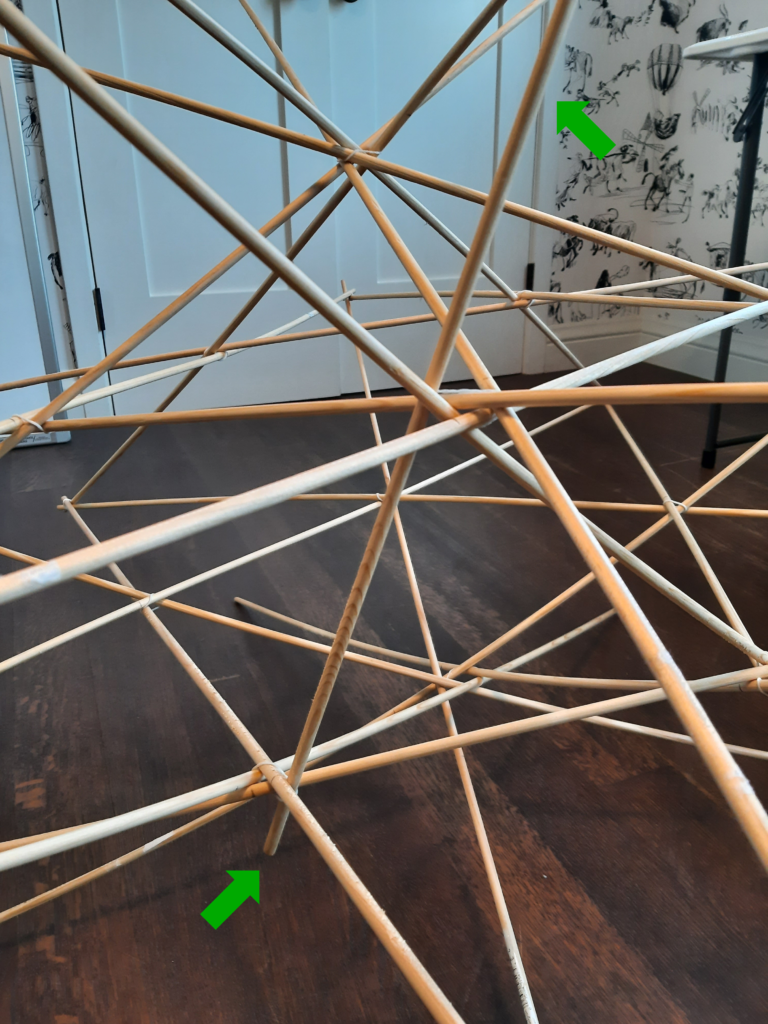
Make sure you secure it at the top as well. Now you’re in the home stretch — just eight more rods to insert. It’s most straightforward to insert them in pairs, just like the previous two, rotating the structure one-fifth of a turn before each pair to orient the location for their insertion toward you. Here’s the structure after just one more rod has been inserted:
For every rod that you insert, it feeds through the leftmost sector of the junction where it passes through the top horizontal star, and the rightmost sector of the junction where it passes through the bottom horizontal star. You can see this again in the following picture of the fourth rod in the midst of being inserted: (125302 goes here)
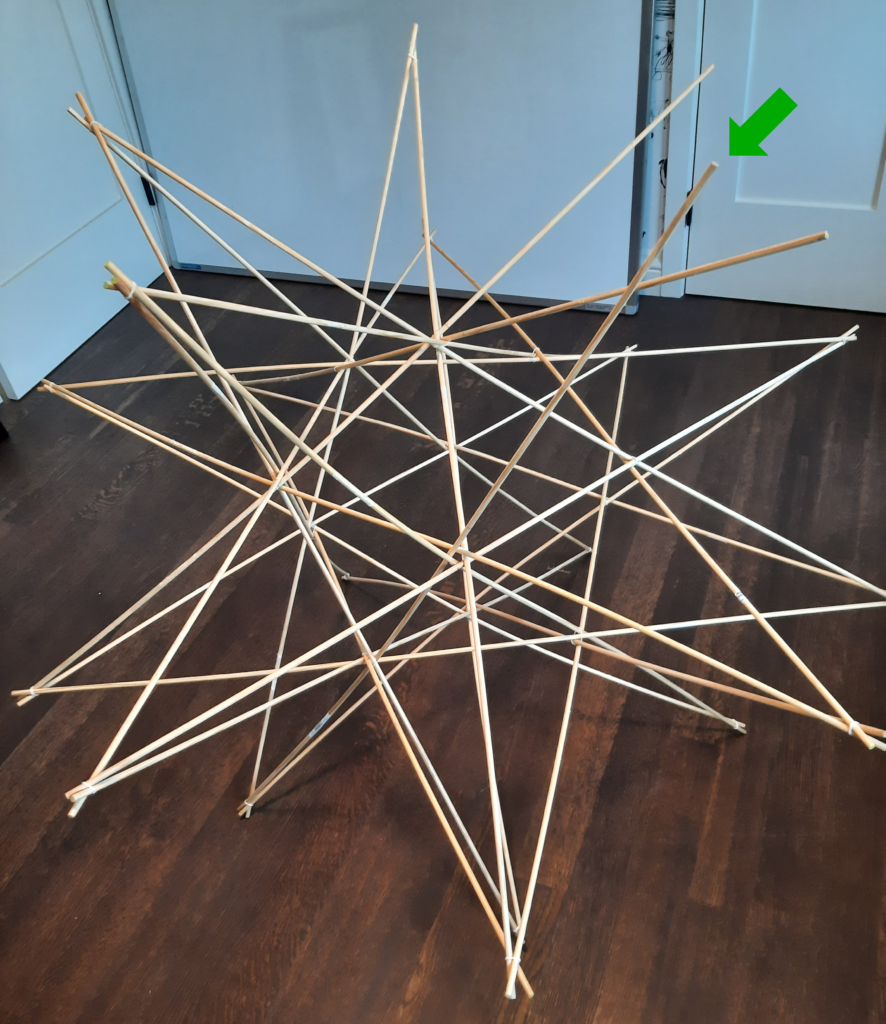
You should also see a regular icosahedron begin to emerge at the core of the GSD. Here’s a view just before the sixth rod is secured to its top point:
If you just keep going in this same fashion for all ten of the last group of rods, you’ll complete the star. Here’s a view just after the last rod is inserted:

And now you’re pretty much done! There’s really only a couple more optional steps you might want to do to get your great stellated dodecahedron into optimal shape. As depicted at right, you can examine and gently adjust each of the inner junctions of five rods (that form the vertices of the inner icosahedron) to ensure that each one makes a tidy regular pentagon at the five-way crossover. In addition, if you’ve built your GSD from rods with even a moderate amount of surface friction (dowels, paper straws, even metal rods), you can now snip the rubber bands off of all of the interior, five-way junctions and the GSD will hold together just fine. (Theoretically, you can cut the outer rubber bands at the points where three dowels come together as well. If you want to try this, I recommend just trying a couple of widely-separated ones at first, and leaving off if the outer junctions don’t seem to be holding up well. I pretty much reserve this for stars built out of really highly frictional items or ones that can be twisted a bit at the outer points, like pipe cleaners.)
It’s a bit of an involved building process, but I think the elegance and symmetry of the final construction are well worth the effort. Here’s a picture of the final result with inner rubber bands removed:
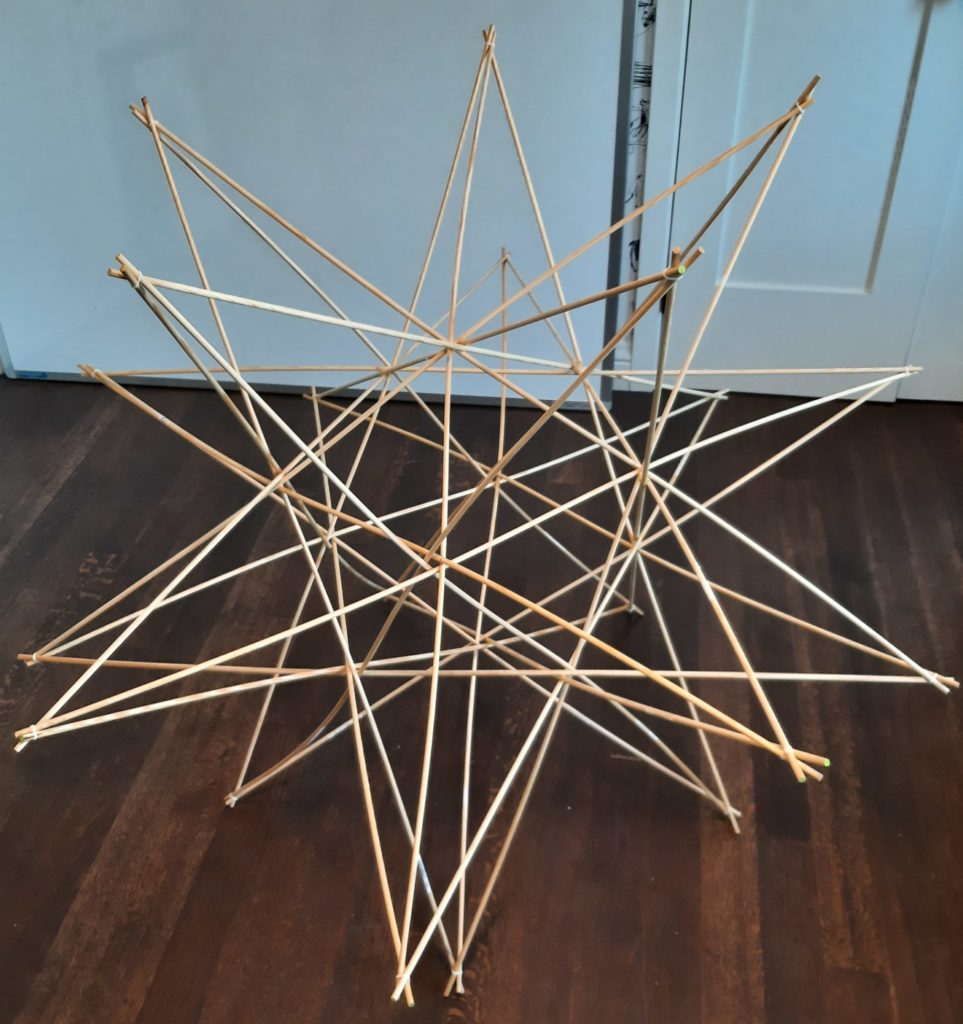
In addition, you’ll find that the finished GSD is surprisingly sturdy and robust. You can easily pick it up and handle it without fear of it falling apart. As an illustration, here’s a closing shot of the great stellated dodecahedron supported on just one point:
