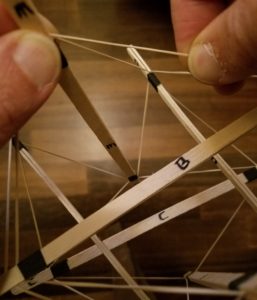
The Nitty (Tense)Grity
Studio Infinity is kicking off with a group of articles that feature the concept of tensegrity. What does that mean?
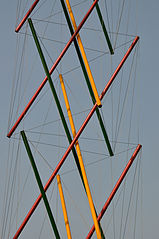
A three-dimensional structure displays tensegrity if its compression members — rigid components that can hold their shape even when pushed inward by external forces — are connected only by tension members — materials that become taut when pulled outward, but which deform when compressed. For example, compression members might be wooden sticks (also known as struts) and tension members might consist of fishing line. The remarkable fact is that in some arrangements, even though no two of the rigid compression members touch, the structure as a whole still has a well-defined three-dimensional shape (even though any single connection between the rigid pieces, left to itself, would collapse).
We need to start with an example so you can see tensegrity in action; this example will also establish some basic techniques for cheaply and easily creating small tensegrity models.
| Materials | Tools |
|---|---|
| 12 wooden coffee stirrers | Scissors helpful |
| Tape | |
| 6 rubber bands | |
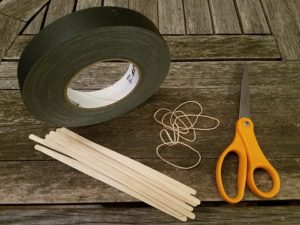 | |
So, even though you can find this model many other places on the web, we’re going to start with a classic six-strut, highly symmetric, tensegrity structure.
For this construction, our struts will consist of pairs of coffee stirrers taped together near each end, and the tension members will simply be rubber bands. However, the lengths of the struts and the rubber bands need to correspond properly. With the common nominal seven-inch size of coffee stirrer, standard #16 rubber bands that you can get in bulk from a variety of office supply vendors work well. (Incidentally, you can likely get the coffee stirrers from the same vendors.) If you have different length stirrers or are using different struts (for example, those take-out chopsticks accumulating in your kitchen drawer might work well), then you’ll have to experiment with various rubber bands to find a combination that works well. If the bands are too long, then the connections will be too loose and the structure won’t hold its shape; if they’re too short, it will be difficult to assemble, and bands or struts may snap in the process.
There’s also a question of what tape to use. I like to work with gaffer’s tape, as it is strong, rips straight in both directions so you don’t always need scissors to cut pieces, and seems to stick when you want it to, yet come off when you need it to. However, gaffer’s tape is relatively expensive; electrical tape or duct tape are good alternatives. Masking tape generally doesn’t work well (in fact, for anything except for masking, really). If you get a roll of tape that is approximately one inch wide, then cutting it across the direction of the roll to produce pieces between 1/4 and 1/2 inch “long” (so that really the one-inch direction becomes the long dimension of the pieces you cut) produces results that work very well. You want to be able to wrap the tape around the stirrers one and a half to two times.
(It’s OK if they bow out a bit in the middle, since we’re going to tape them together.) Since the stirrers are so cheap, just throw away any that are cracked or badly deformed.
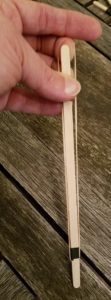
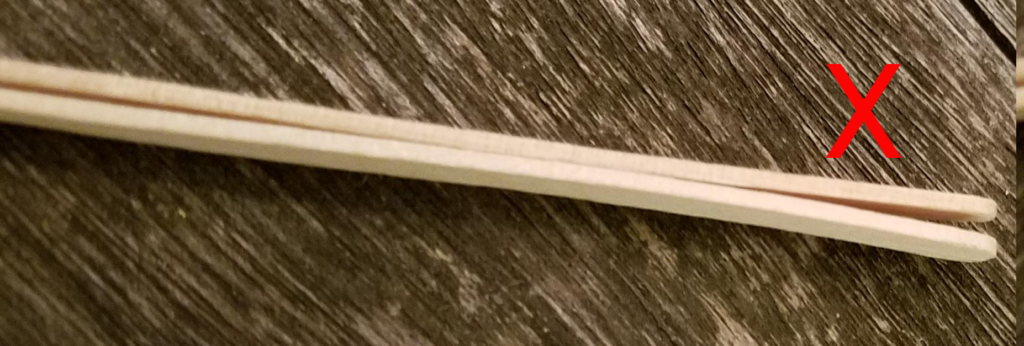
Now that you have all your supplies, you’re ready to make the struts. Here’s how. Take two coffee stirrers and place them flat against each other. Many of the stirrers will be slightly bowed or warped. So if at either end the tips of the sticks angle away from each other, flip one or both over (or try different combinations of sticks) so that the tips are snug against each other when the sticks are placed flat side to flat side.
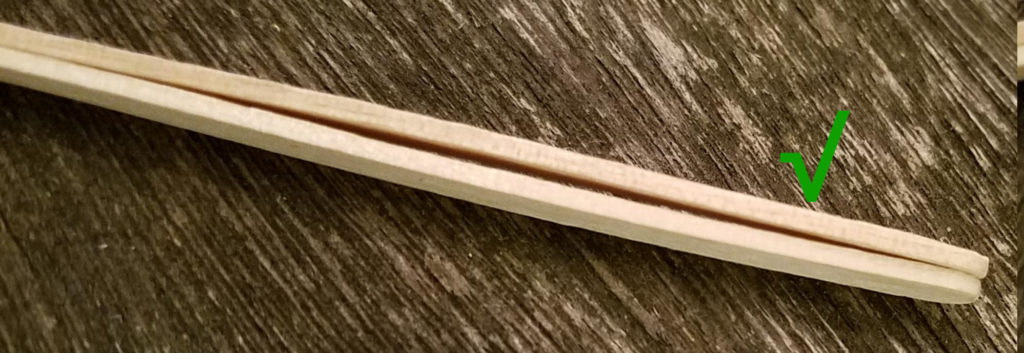
Holding the pair of stirrers together, you want to wrap them securely with tape at least one inch in from each end, as shown.
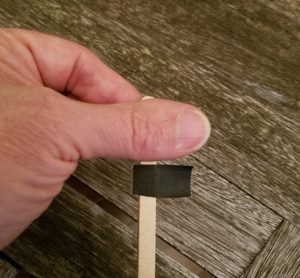
You want all of these wrappings to be the same distance from the ends of the sticks, so you should use some kind of a template. I simply place the widest part of my thumb at the end of the stick and wrap the tape just below that, quickly giving me consistent spacings. But watch out — if your thumb happens to be less than an inch wide (not uncommon, especially if you’re young) using your thumb as a template will leave the tape wrappings too close to the end of the sticks. Then the rubber bands won’t attach securely, and your tensegrity structure will tend to slip apart, making building it very frustrating. So make sure you use some template that is at least an inch long to space the tape wrapping from the ends consistently. It could be the width of two fingers (always use the same ones) or the width of the tape roll, or two marks you make on a sheet of paper lying on your work surface, or anything. Any consistent spacing between an inch and an inch and a half from the end of the sticks to the tape will work fine.
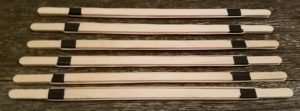
Wrapping one pair of sticks tightly together with tape near both ends produces a single strut, and for this structure, you need to make six struts.
When you’re done with the struts, it is time to add the tension members. Slip a rubber band between the ends of the two coffee stirrers at one end of the strut, and slide it all the way down to the tape.
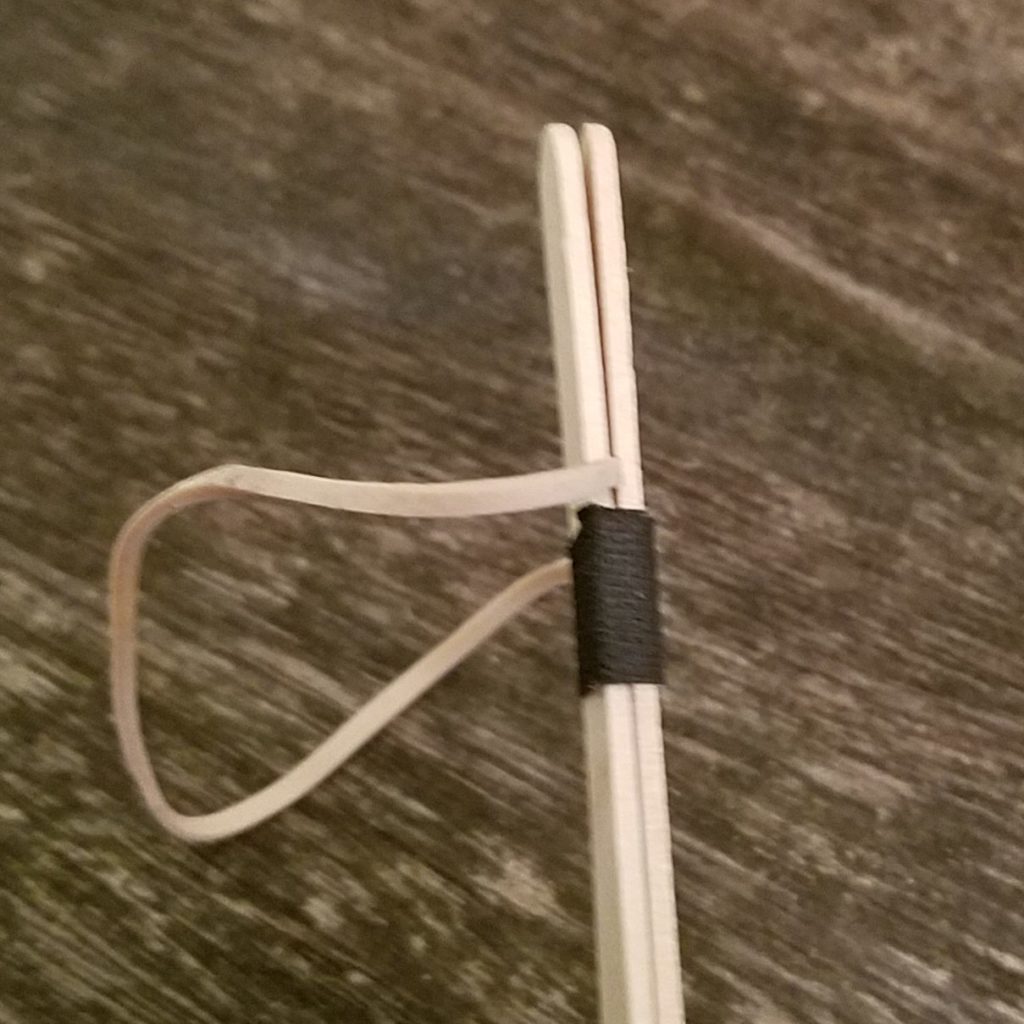
Then stretch it so that it reaches the other end of the strut, and slip it between the two stirrers on that end as well.
It should spring back to snug against the tape on that end also, although it may need a little encouragement to slide down all the way. That gives you a strut with two segments of rubber band exposed, one along each side of the strut.

Ideally, you want the same amount of the rubber band to end up along each side, so there is the same amount of tension on each segment. So try to space the two connections of the rubber band to the strut evenly along the band now, although it will be possible to adjust later.
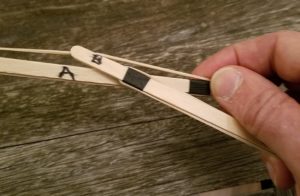
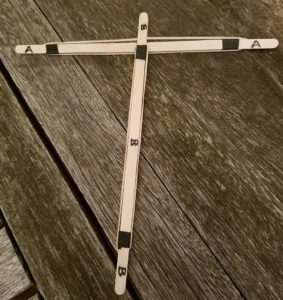
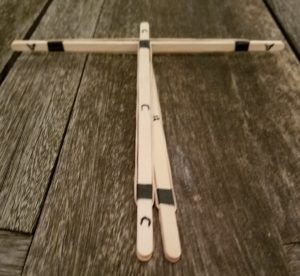
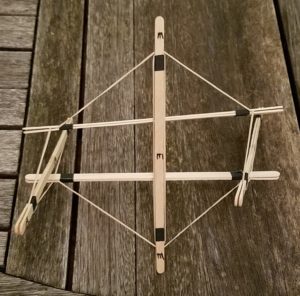
Once you’ve equipped all six struts with rubber bands, you’re ready to begin assembly of the structure. Take two struts (let’s call them A and B; if it makes it easier to follow along, you can pencil the letters onto the struts) and slip the midpoint of one of the rubber bands of A into the space between the stirrers of one of the ends of B, as shown. We’ll call that “connecting B to the midpoint of A”. Next, take a third strut C and connect it to the midpoint of (the rubber band on) the other side of A, like so.
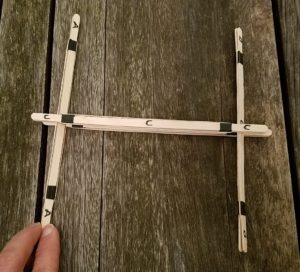
Now you should take a fourth stick D and connect the opposite ends of B and C to the midpoints of the two sides of D. That step produces a sort of “H” of struts, with the horizontal crossbar doubled.
At this point it is useful to know that in the completed construction, exactly two rubber bands will be nestled in each end of every strut: the original band it was equpped with, and the band from one other stick that it connects to the midpoint of. Moreover, the midpoint of every band will be connected to by some other strut. (This is a very pleasantly symmetric structure!) So, for example, struts B and C have already made all of the connections they are going to, but there are still connections to the midpoints of their bands that have yet to be made.
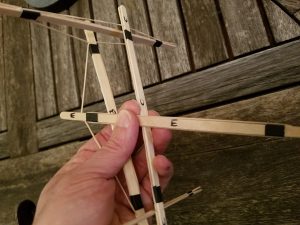
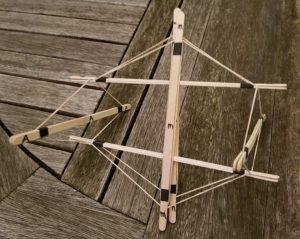
So let’s go ahead and make those now. Take a fifth strut E and connect one end to the midpoint of B on the upper side of the crossbar of the “H” shape, and then connect the other end to the midpoint of C on the same side of the crossbar.
Something wonderful and a little amazing has just happened here. The sticks are no longer all touching each other. To balance the tension on the various rubber bands, they have pulled apart into a stable three-dimensional arrangement. Seeing that happen is one reason that building this structure is so much fun. But we’re not done yet — it will become even nicer. So next, take the final stick F and connect one end to the midpoint of the other (lower) side of B and the other end to the midpoint of the lower side of C. That won’t change the shape much, although it should even it out a bit.
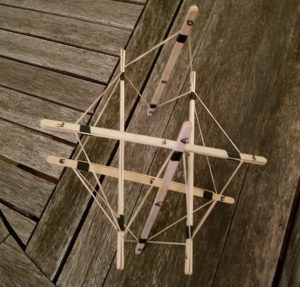
We’ve used all of the struts, but we’re not quite done. As you can see, the ends of struts A and D have not connected to anything yet, and there’s nothing connected to the bands of E and F. So that tells us exactly how to finish off: connect the two ends of A to the midpoints of E and F on the same sides of those two sticks, like so:
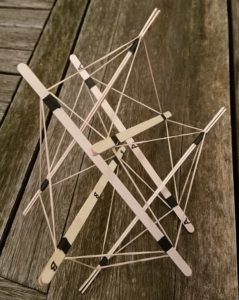
And then connect the two ends of D to the midpoints of E and F on the other side. If all of your connections are evenly spaced around their respective rubber bands, you will have produced a very symmetrical structure that looks like this:
On the other hand, it’s possible that what you’ve created at this point looks more like this:
If so, no worries — it’s only because your rubber bands aren’t spaced out evenly. This situation is easy to fix, and it’s completely intuitive. Any place where the ends of two sticks are closer together than elsewhere in the structure (the segment of rubber band is shorter than elsewhere), simply slide some of that connecting rubber band from an adjacent space into that connection. It’s generally easiest to do that by holding onto the rubber band in the short segment with one hand, and pulling the end of the stick along that rubber band with the other.
Conversely, any place that there is too much space between the ends of two sticks, you’ll want to slide some of that connecting rubber band into an adjacent connection, to make the long segment shorter.
With a number of tweaks like these, you should be able to get your tensegrity structure into a shape that basically looks the same from any angle; here’s another view of the same completed structure as above, in which it’s been rotated significantly from the previous picture (and yet looks nearly the same).
If you’re wondering what shape that is that we’ve just made, check out Studio Infinity’s first MathStream article.
But whatever you do, you should take a moment to appreciate what you’ve just built. No two of the struts touch each other. They’re only connected by floppy rubber bands. But the structure doesn’t collapse, and it doesn’t fall apart. Each segment of rubber band is “trying” to contract to its natural length, and the balance among all of those bits of tension compels the entire structure to adopt this particular shape. In fact, try squeezing the structure however you like, and then letting go. This tensegrity will always snap back to the same form. Hopefully you can see why, when inventor Ken Snelson and his colleagues in Buckminster Fuller’s studio first encountered these structures, they were pretty enthralled. And stay tuned; there’s more, new tensegrity fun in store here at Studio Infinity.


