Building TOWARD
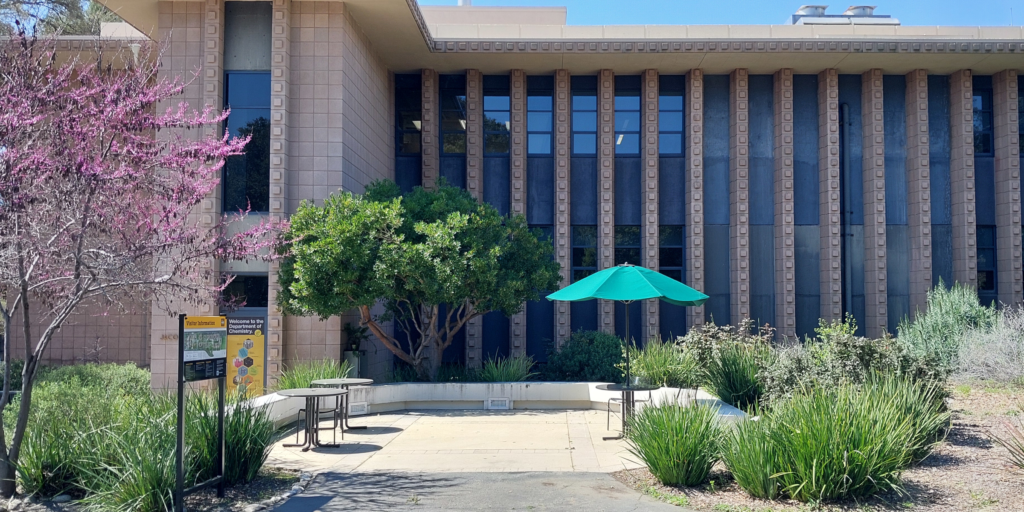
We arrived on HMC campus around 9am on March 28th with supplies in tow. Peter had reserved a nice space outside the chemistry department to build and display our planned geometric structure.
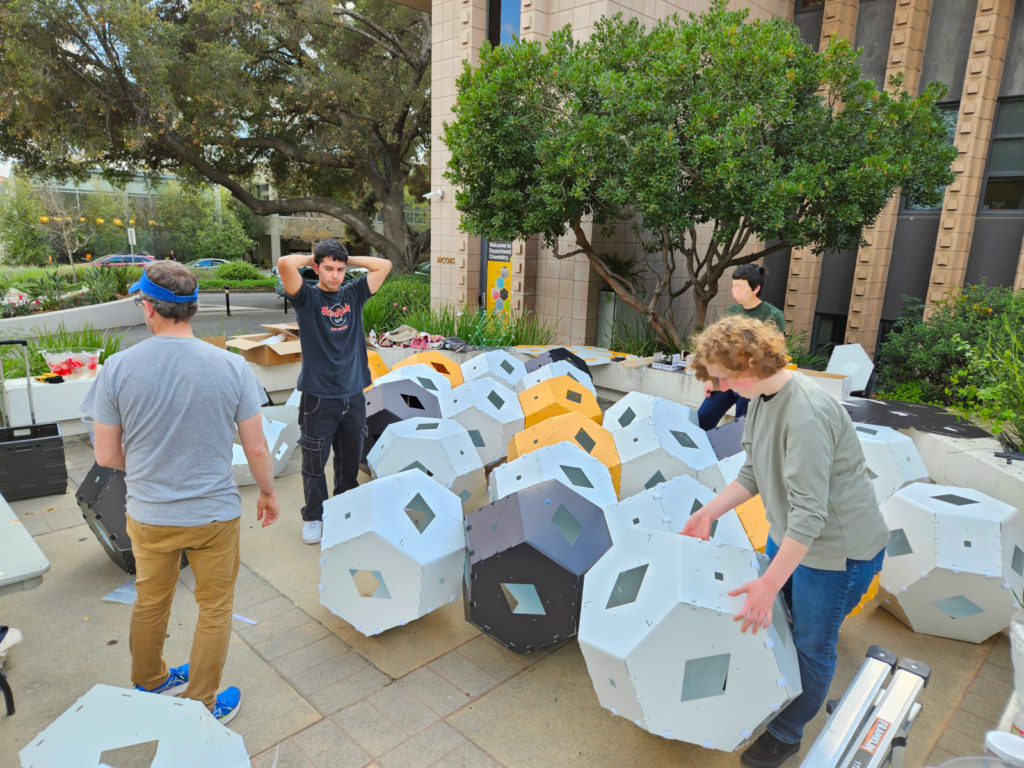
We set up some tables to use as half-net folding stations, each with steel hexagons to provide edges to bend against, and then sanded down some of the rougher edges of the half-nets as we waited for students to arrive.
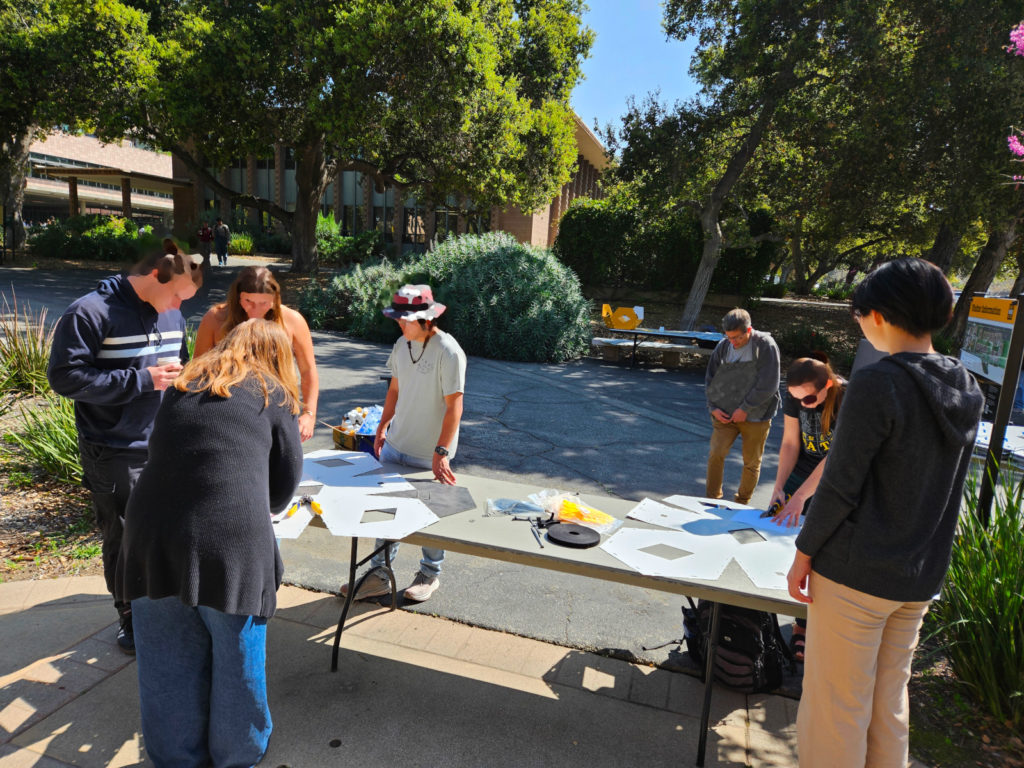
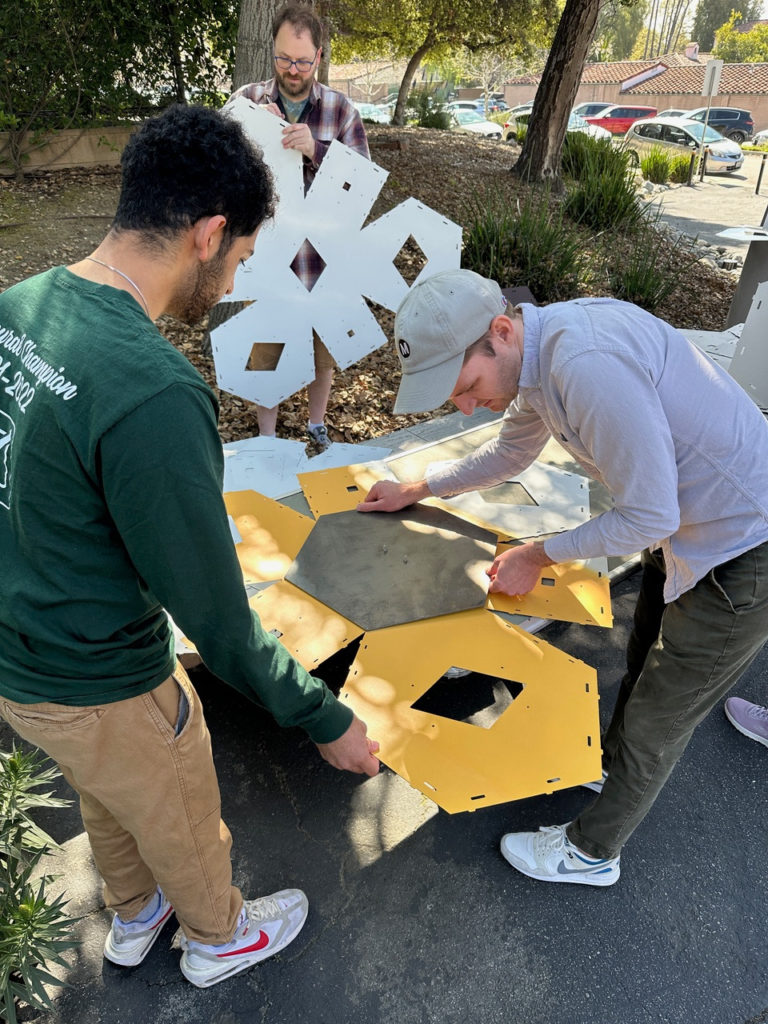
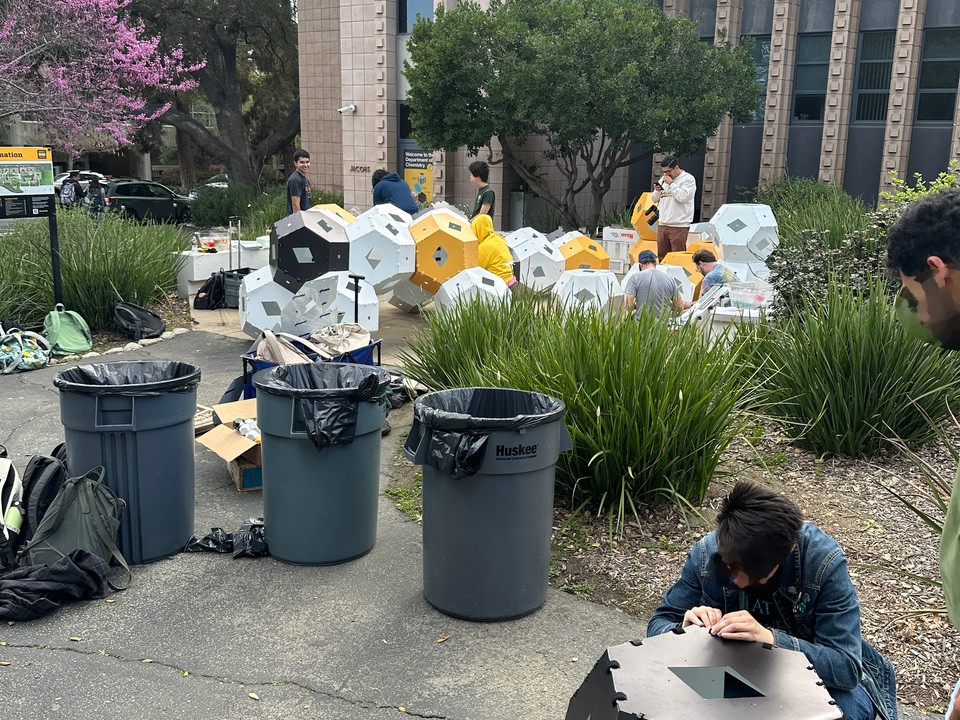
The bulk of the morning was spent folding and zip-tying half-nets and assembling half-net pairs into truncated octahedra (TO).
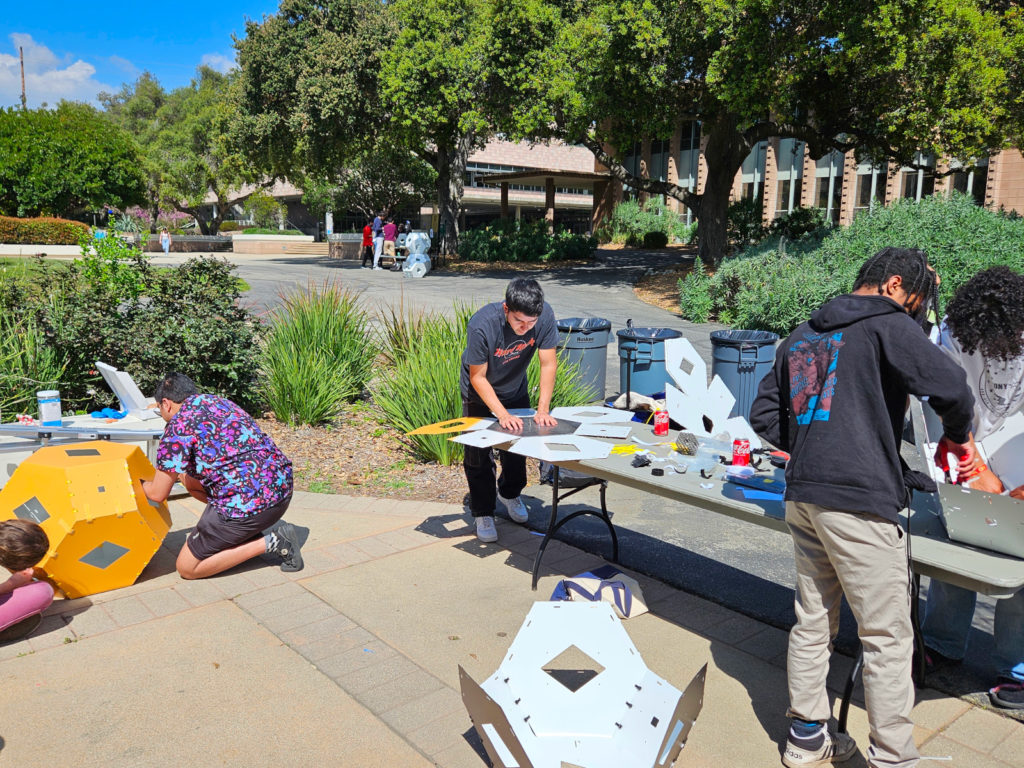
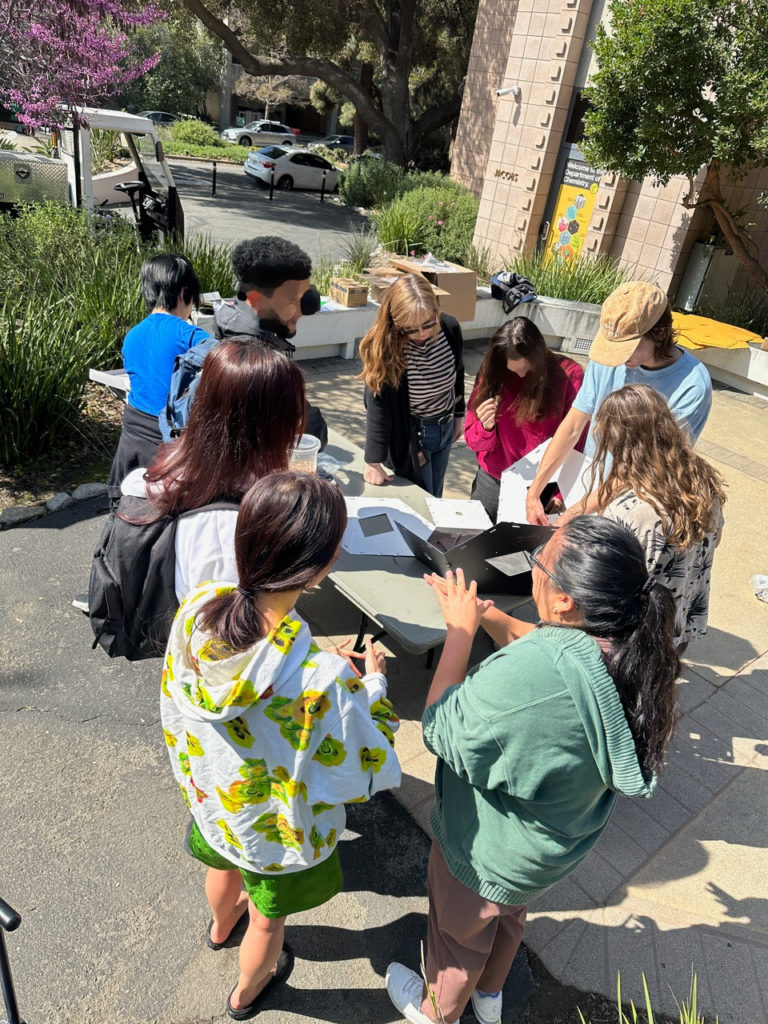
We had a steady stream of people coming by, from students to professors to parents, either helping to bend a single half-net or camping out and working for several hours.
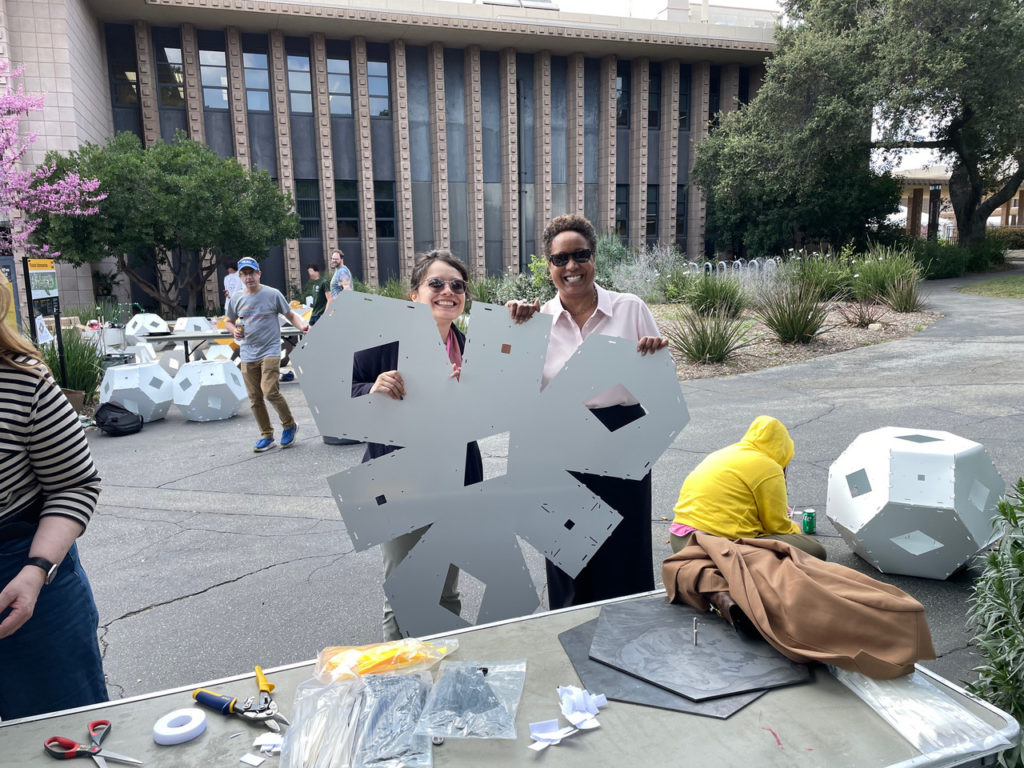
HMC President Harriet Nembhard even stopped by to help fold!

Around 1pm, we did a count of the TOs we’d constructed so far and realized that if we kept to the original plan, we might be out there ’til midnight! So we pivoted to using just one white TO per edge, as shown on the right:
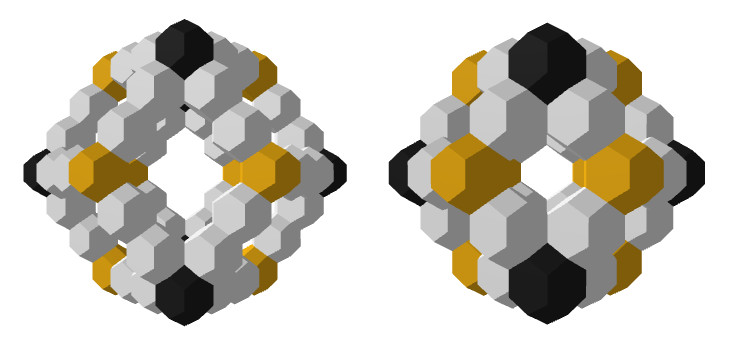
This dropped the number of TOs from 62 to 38, giving us confidence about completion. So we dove into the final assembly!
The first step was to make the base rhombus that the structure would rest on.
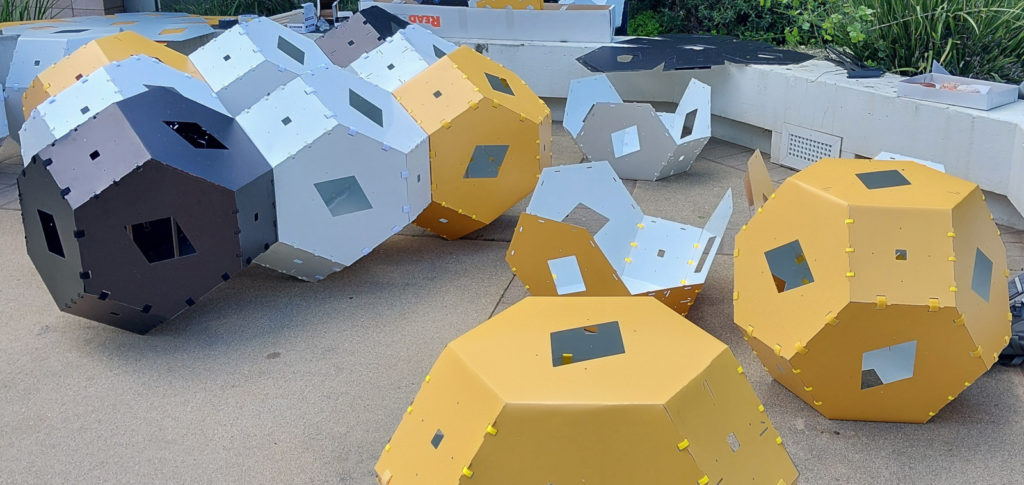
While it was less important now that it wouldn’t be bearing as hefty a load, we placed two vertical dowels inside each vertex TO of the rhombus to prevent squashing (you can see one in the photo above, through the window of the black unit.
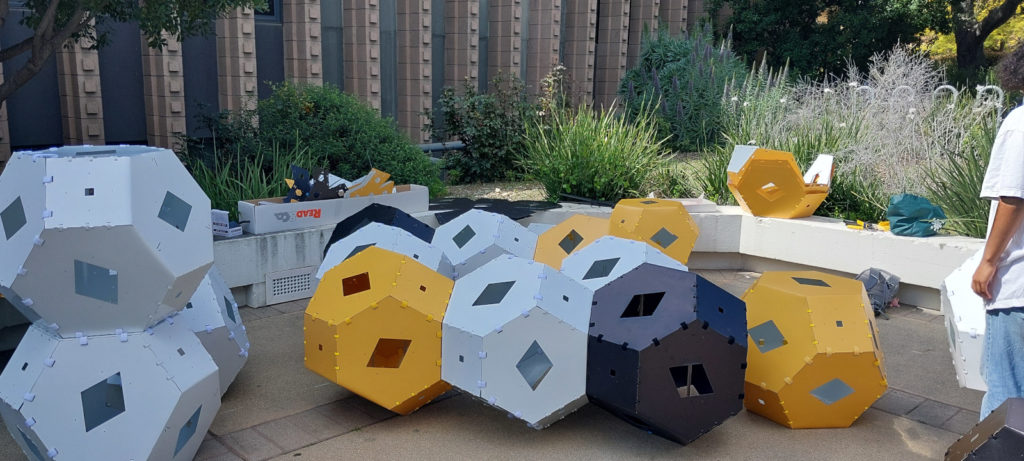
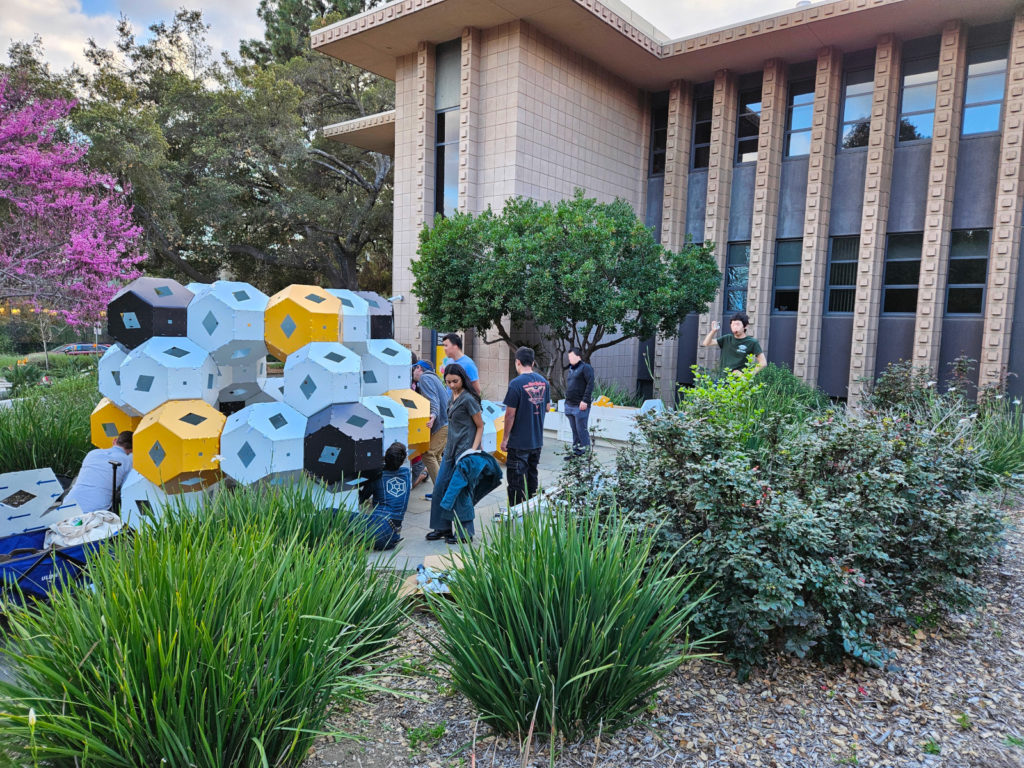
After the bottom rhombus was complete, we began to build the rest of the structure from the top down, starting with the upper rhombus, which you might be able to spy in the field of TOs next to the lower rhombus below.
We then lifted the upper rhombus and added white TOs into the layer directly below it.
Another lift and we were able to insert most of the third layer from the top.

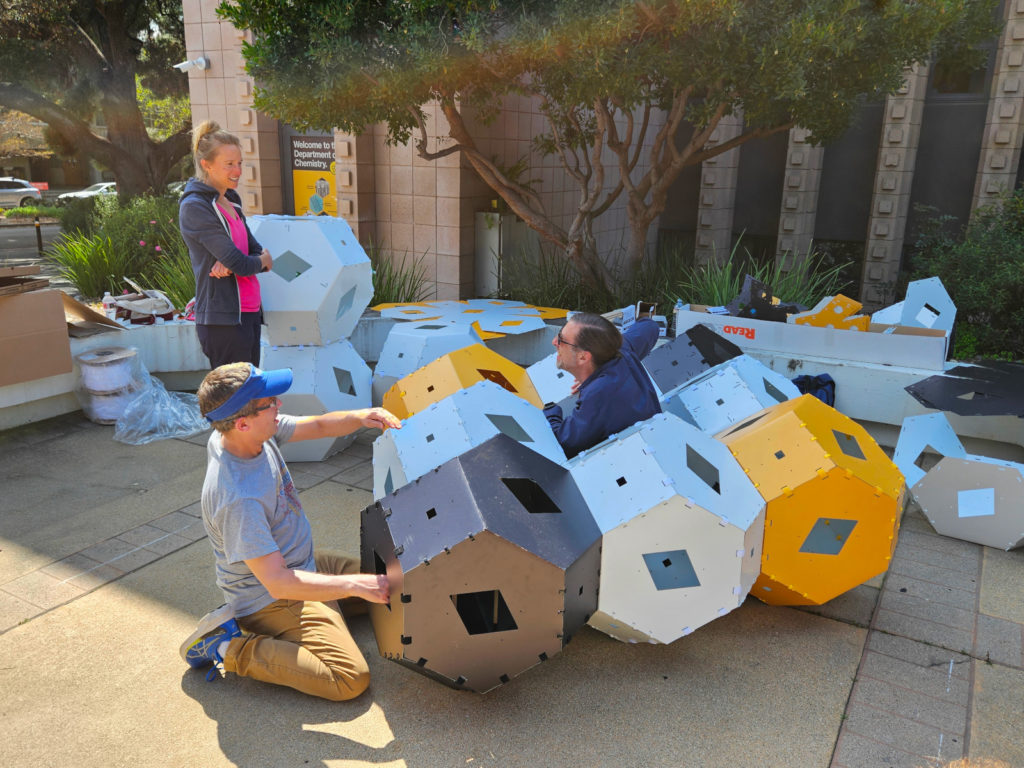
Up to this point we’d been pretty hands-off, letting everyone build whichever color TO they wanted, but we did a count and started requesting specific colors so that we would end up with the right color distribution. It was also getting large enough that people were having fun climbing under it and taking photos.
After rounding off that layer with a few stray white edge TOs, we lifted again and added the second layer from the bottom, reinserting some stray binder clips that sprang loose along the way.
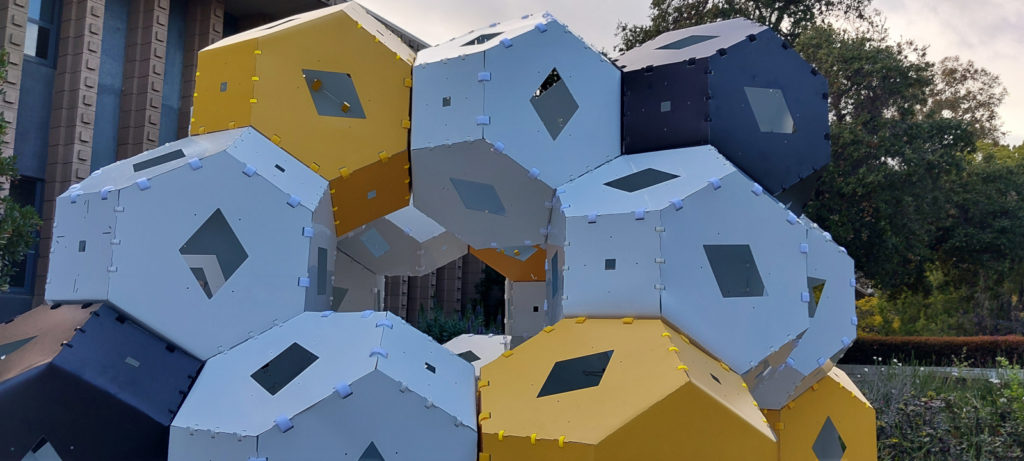
The last step was to pick up this entire set of top layers, place it on the bottom layer, and attach. After moving the sculpture so it was centered on its platform, we completed TOWARD around 5:00pm, with just minor cleanup remaining.

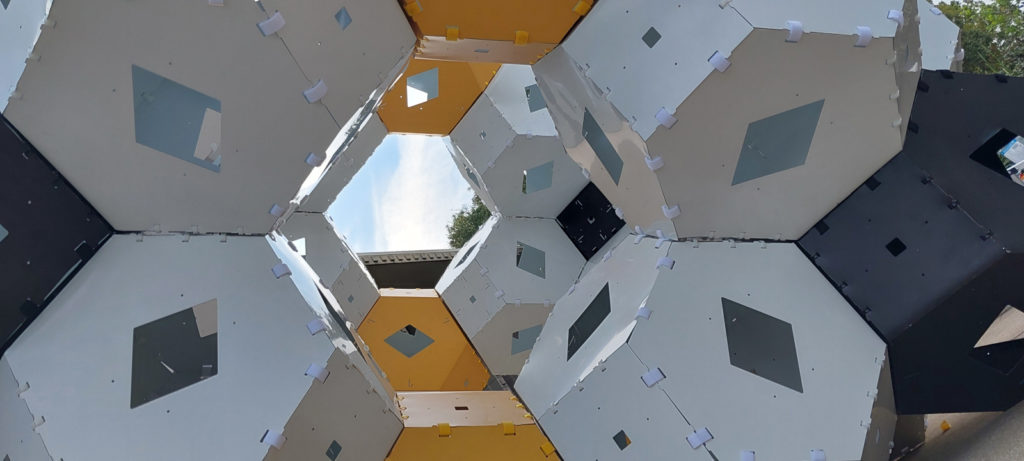
It may not have been the intimidating 3.75 meters tall we had originally planned, but at 2.75 meters (just over 9 feet!), it was plenty big enough for people to climb inside and stand for photos!
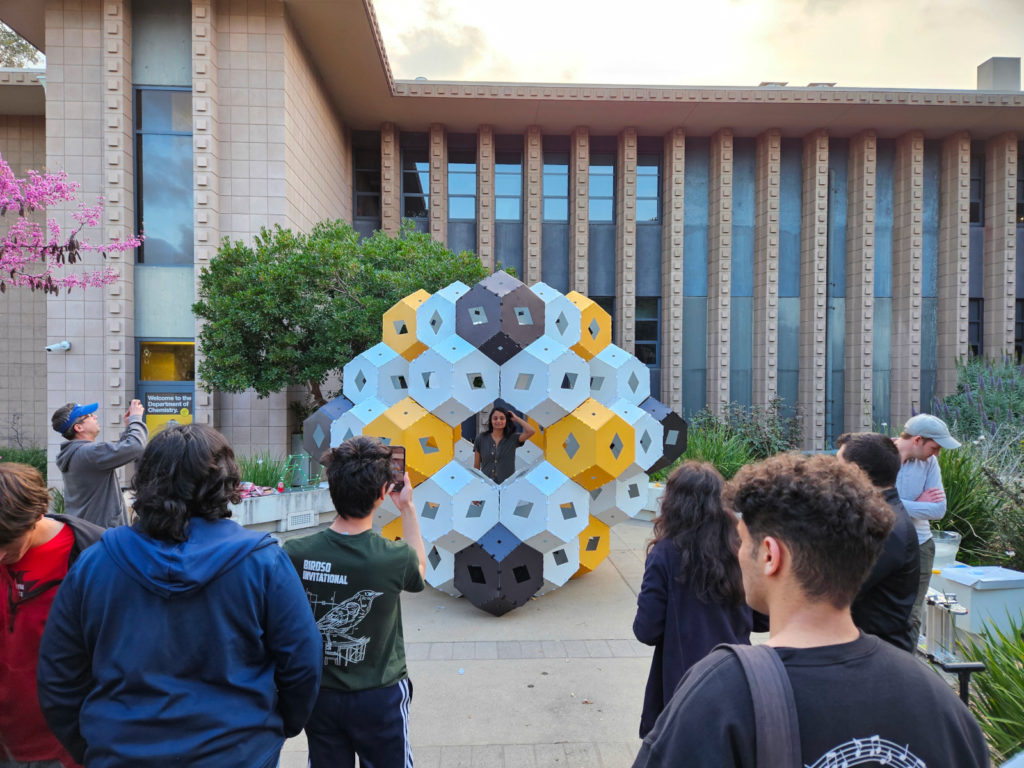
Peter climbed inside to commemorate a successful wrap to all of the planning that went into this project.
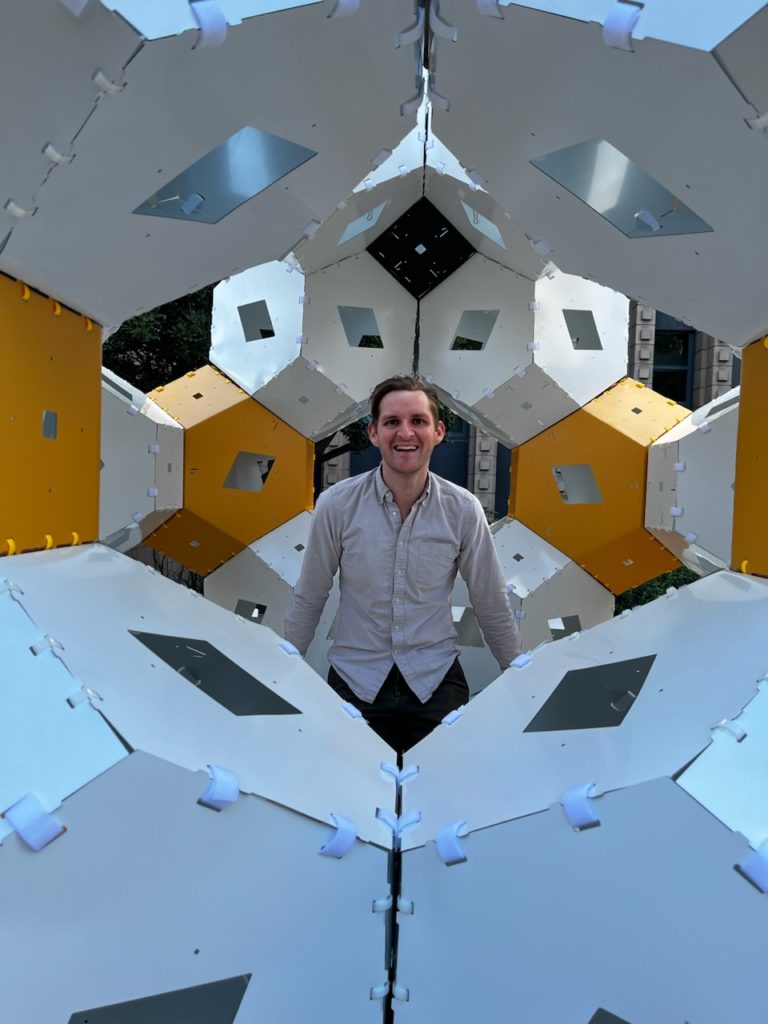
It turns out that climbing in is a lot easier than climbing out! Most people found it easiest to exit by leaning forward and stepping back rather than leaning back and limboing forward.
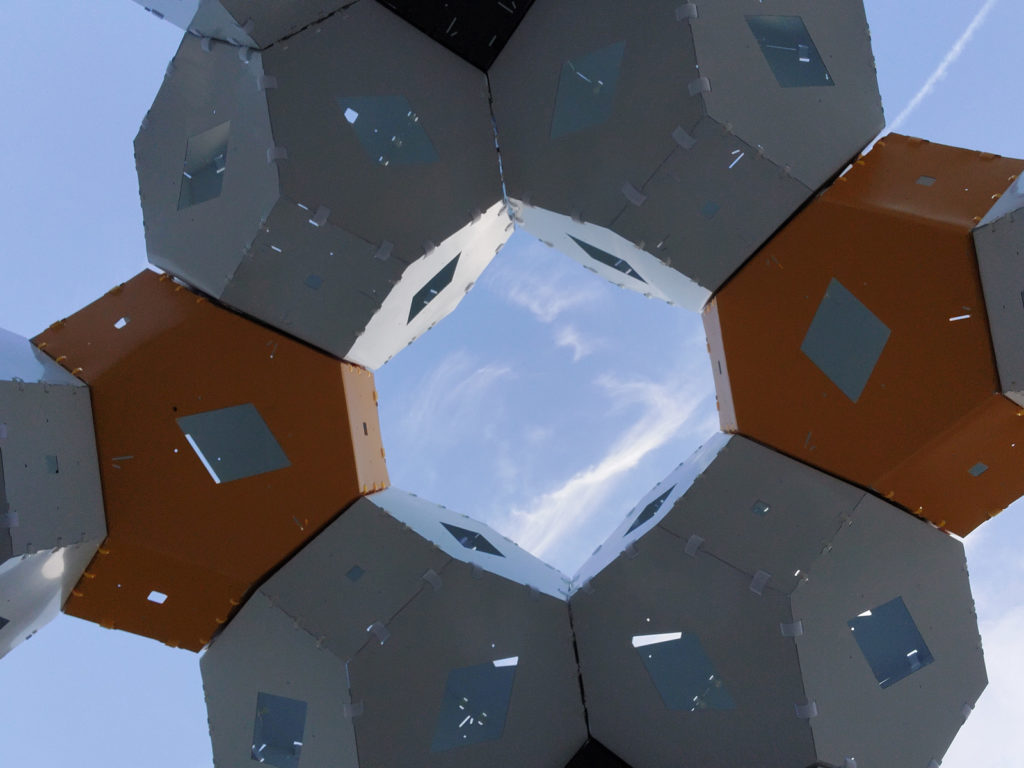
There are plenty of neat views from the outside, though!