

Modular Origami, without the origami
In many ways, modular origami is ideally suited for the type of exploratory mathematical play that S∞ is dedicated to: it’s easy to get started, very tactile, and offers nearly endless opportunities for creating interesting and beautiful objects. For example, here’s a PHiZZ unit torus that resulted from a workshop I led at The Brearley School (photo courtesy of Maggie Maluf).
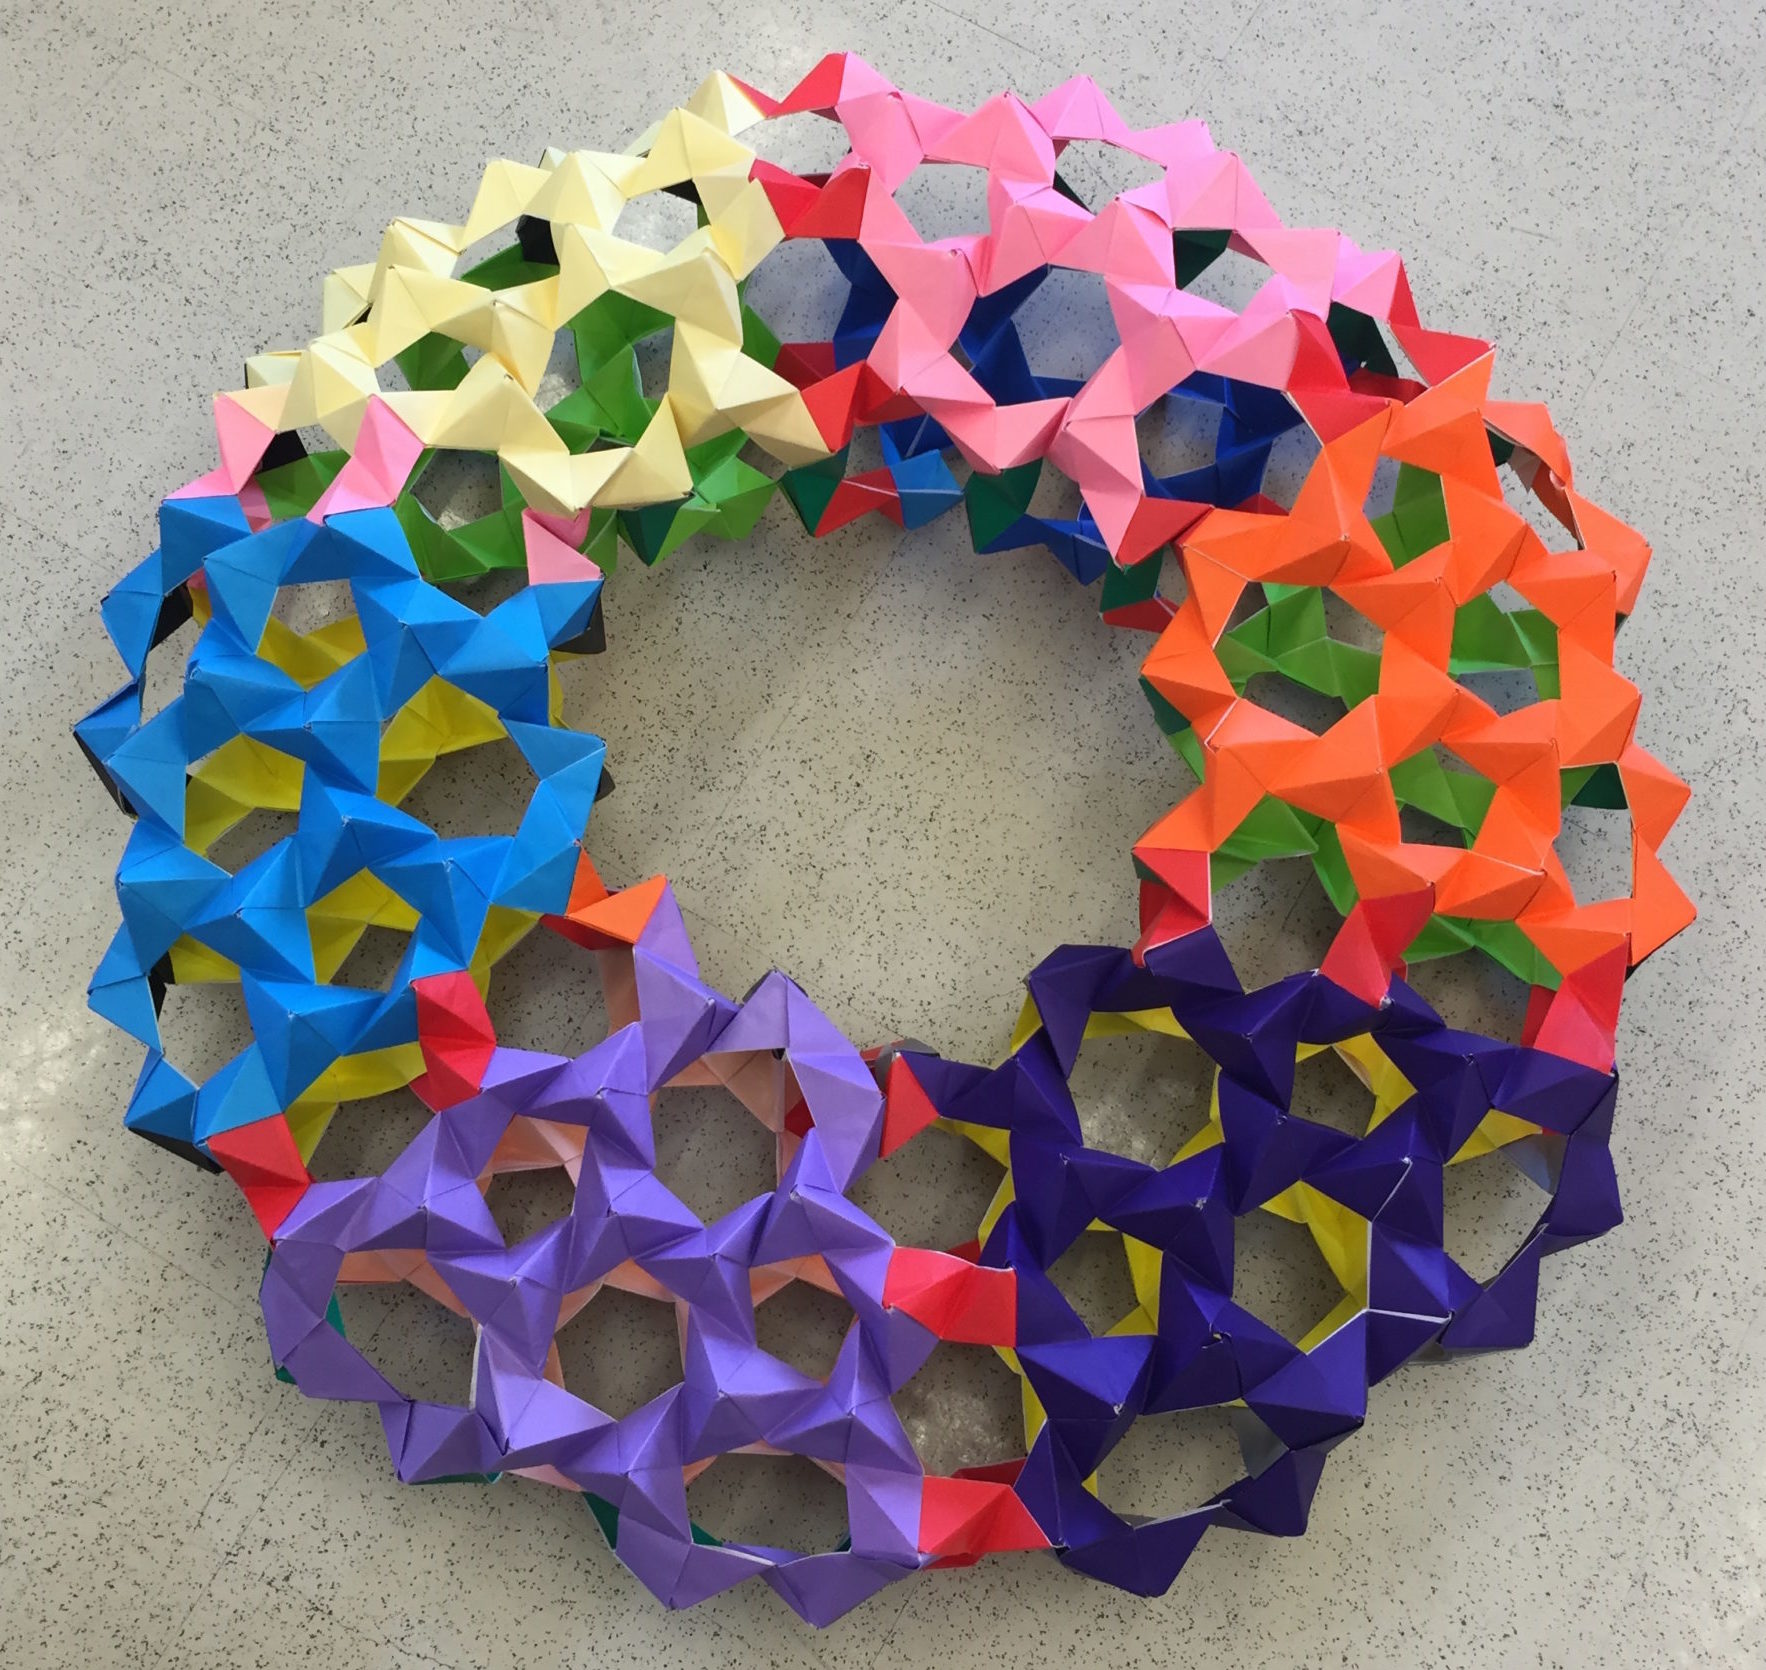
But the backstory to that wonderful construction is that folding the hundreds of units required to assemble the torus took so much time that by the end of the scheduled workshop, only about a quarter of the torus was connected, and piles of PHiZZ units were strewn around the room. (Unfortunately – but unsurprisingly – I don’t seem to have a picture of this scene.) The torus was only salvaged through the valiant efforts of the school’s math club and its coach over many lunchtimes.
This anecdote highlights one weakness of modular origami – if you’re interested in building something big, folding all of the individual units necessary can be tedious and time-consuming. Hence, I’ve often wondered why there isn’t a construction toy that consists of reusable bendable pieces modeled after one of the popular modular origami units.
Two developments moved that concept from contemplation to a recent Studio Infinity project: the first is the constant improvement in hobbyist-level automated cutting machines, some of which now have dual tool slots, potentially ideal for cutting and scoring. (I use a Silhouette Cameo 4 Pro, partly because its two-foot width accommodates some materials available in bulk rolls, but there are numerous capable machines on the market – this shouldn’t be construed as an endorsement of that particular machine.)
The second was the need and opportunity for a group mathematical event for the summer 2021 Illustrating Math program at the Park City Math Institute. Since the event was virtual, it had to be easy to send any necessary supplies to the participants. Pre-cut and scored flat components seemed ideal.
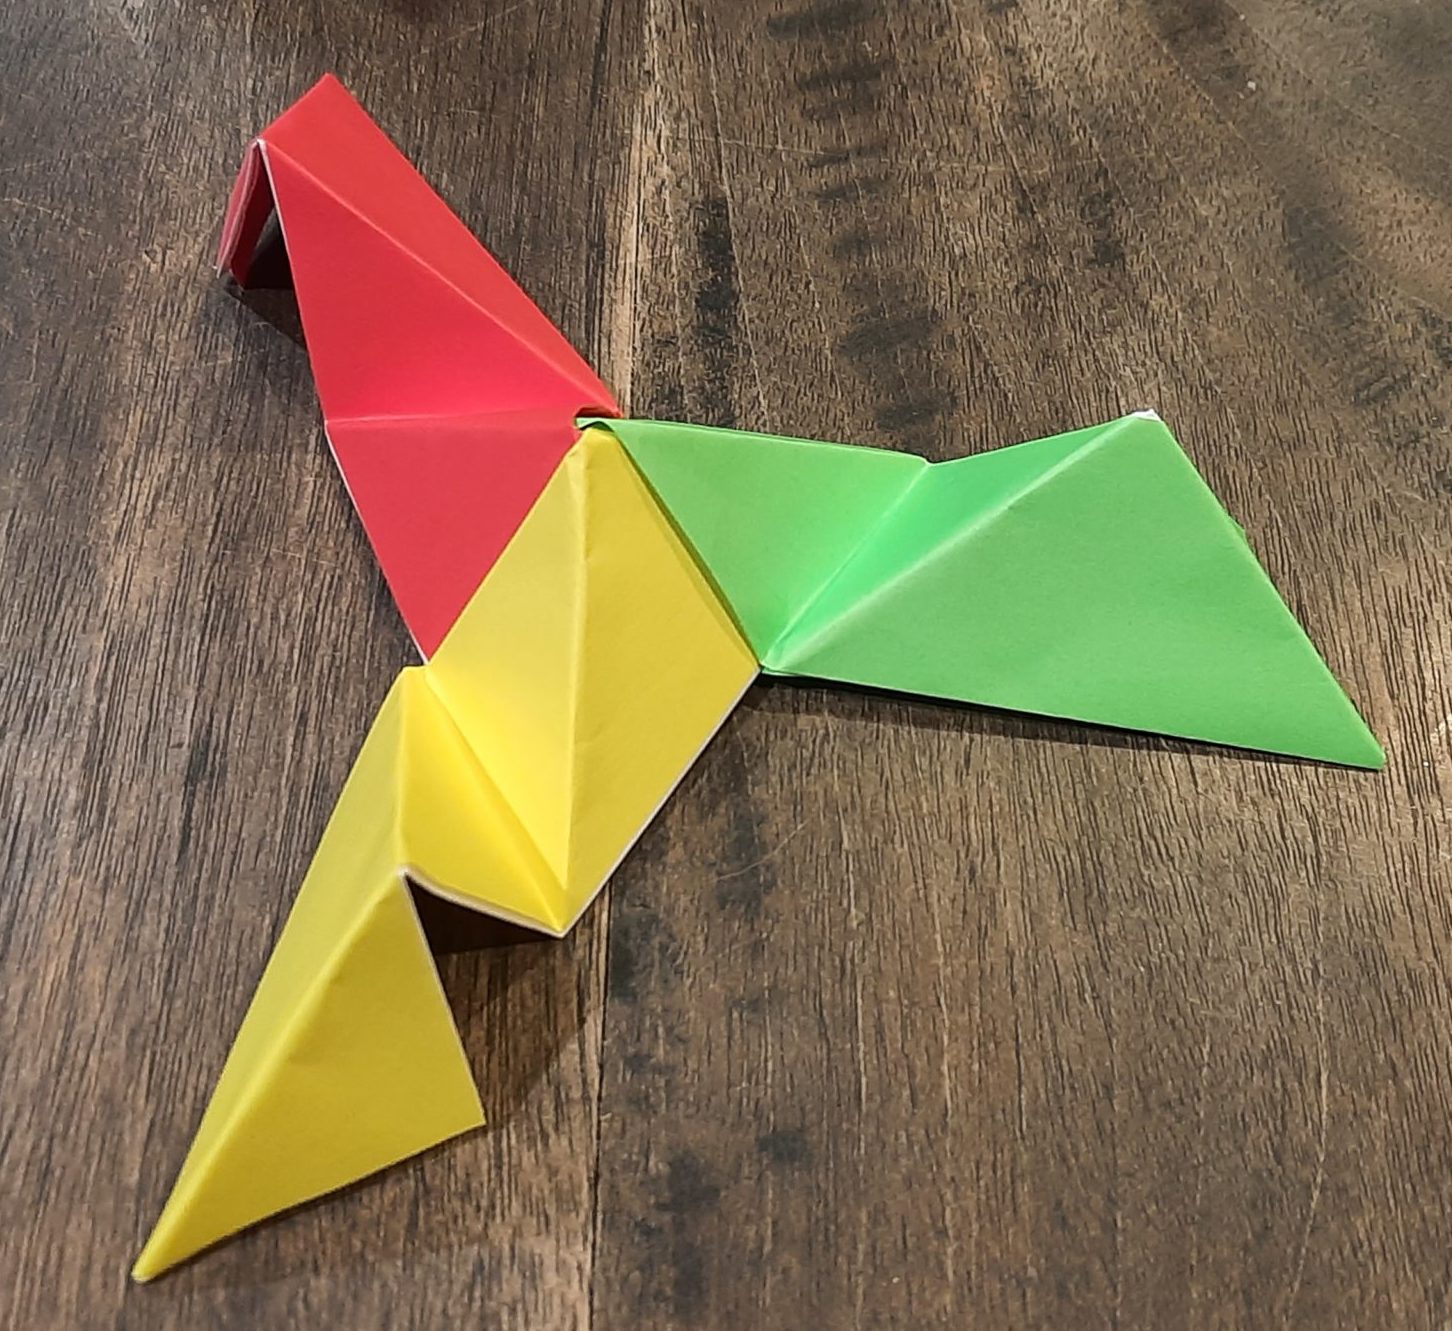
I decided to stick with something modeled on the familiar PHiZZ unit for this first foray into modular origami-less construction. It also has a very simple geometry – here’s an example of a single unit:

A square sheet of paper is accordion-folded in quarters, and the resulting strip is pleated in isosceles right triangles. They usually connect in threes, as in this photo:
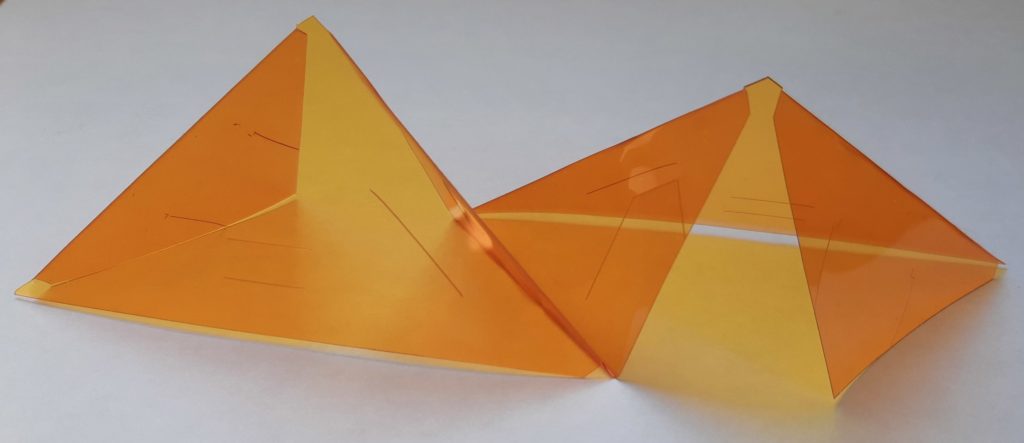
The idea was to create a cut/score template that would produce a piece with the same essential geometry, that could be produced in bulk on an automated cutting machine from a roll of material. In fact, choosing the material posed the first challenge. After much experimentation, I settled on the stiffest theatrical lighting gel I could find, namely Roscolene. This comes in two-foot wide rolls in a selection of striking translucent colors, and holds a crease very well, while cutting readily. Brittleness is its major drawback — I’d rather use tear-resistant mylar, but have so far had difficulty locating rolls of colored mylar sheet.
The next challenge was to figure out the connections. The paper PHiZZ units work because the initial accordion fold creates pockets that one end of the adjacent unit slides into. Since these units were to be cut from a single layer in the final 4:1 aspect ratio, no pockets were possible. (One could cut and pre-score 2:1 rectangles that fold in half to preserve the pocket mechanism, at the expense of using twice as much plastic and losing some of the translucency in doubling the layers.) Instead, venerable tab-and-slit designs can replace the pockets as a connection mechanism. Multiple prototypes led to the following design used to produce thousands of units sent to program participants:

The pink line is a score for a mountain fold, the green lines are scores for valley folds, and the red and black lines are cuts. (Of course, you can reverse mountain and valley as long as you do all of the pieces the same way, in which case your units will come out mirror-imaged from the ones below, although matching the paper ones above.) The small “divots” in the rectangle’s perimeter help align the folds along the scores. The above image is an SVG that can be used directly for cutting with the software for many machines, but if it’s helpful, here’s a PDF of the design (you can print on paper and cut by hand — but that’s even more tedious than origami), and the DXF file used to draft it.
When you have a piece all cut out and all the tabs and slits separated and folded as above, it looks like so:
To connect two units, start as shown in the left picture below: insert the large tab from the end of one unit (the orange one here) from above into the corresponding slit about a third of the way along another unit below (the blue one in the picture).


Then reach underneath the top unit and feed the thin tab of the bottom unit up through the lower slit in the top unit, as shown in the right-hand picture above. Then bend it around and back down through the top slit as shown in the picture on the left below:


Then push this tab all the way in — it’s like a belt buckle — to finish off the connection. It should look like the picture on the right above.
To wrap up this post, here’s three units assembled like the paper triad above.

The next post will cover building full polyhedra from these units.