Marshmallow Shapes Grown Up
Recently a friend of mine was giving a (math) talk and wanted as a prop “a large tetrahedron with the vertices emphasized.” This seemed like a natural for Studio Infinity, so the assignment was accepted. And my immediate first thought was of the classic marshmallow shapes that you may have made in school or Girl Scouts or wherever.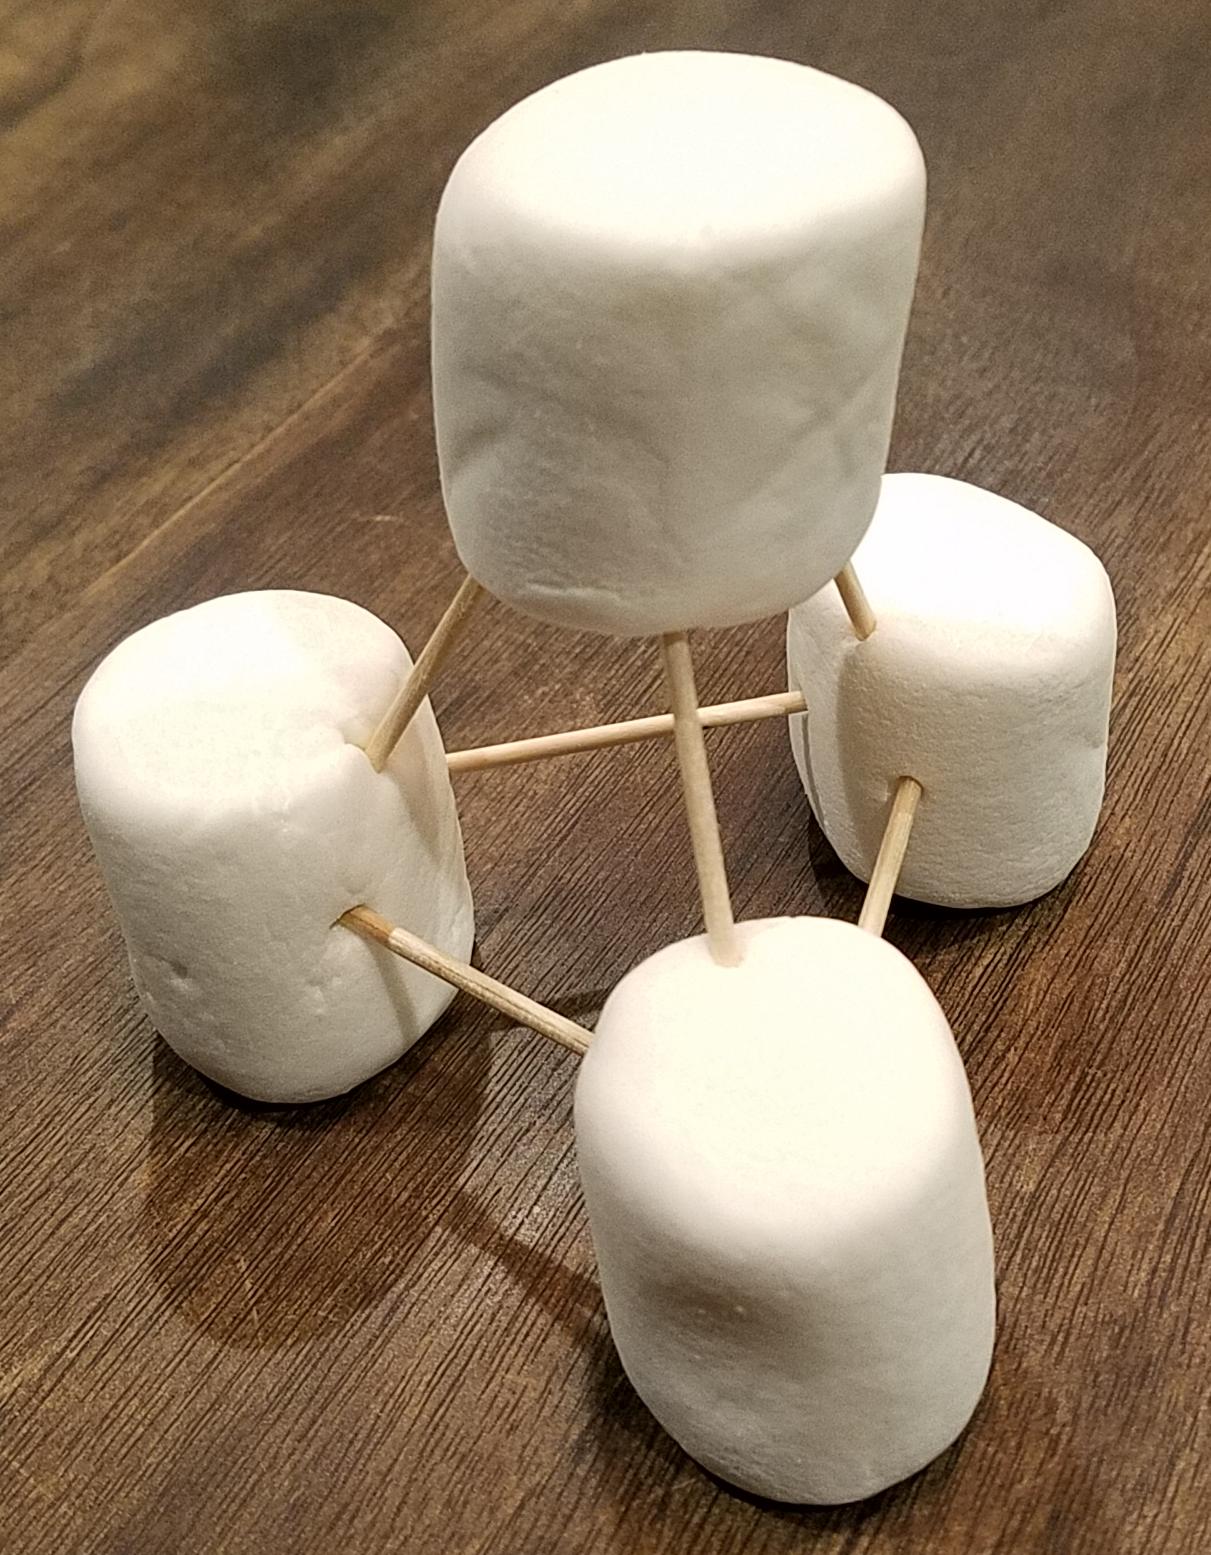
Unfortunately, for use at the front of a large room, this would have to be scaled up considerably, and I didn’t relish the thought of trying to deal with humongous marshmallows.
| Materials | Tools |
|---|---|
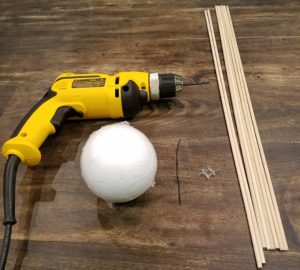
| 6 3/16″ dowels, all the same length, e.g. 2 feet |
thumbtacks thread, wire, or thin twist-tie |
| 4 4″ closed-cell styrofoam balls |
ruler |
| permanent markers, if you want to color the balls |
drill with 9/64″ bit |
 |
|
So the natural substitutions were two-foot-long 3/16″ dowels for the toothpicks, and 4″ styrofoam balls for the marshmallows. (Use closed-cell styrofoam, it’s much more stable and easy to work with than open-cell.) However, unlike marshmallows, styrofoam balls aren’t squishy and forgiving, they’re rigid and brittle, and you can’t really just insert a blunt dowel directly into the fairly hard surface of a closed-cell styrofoam ball. 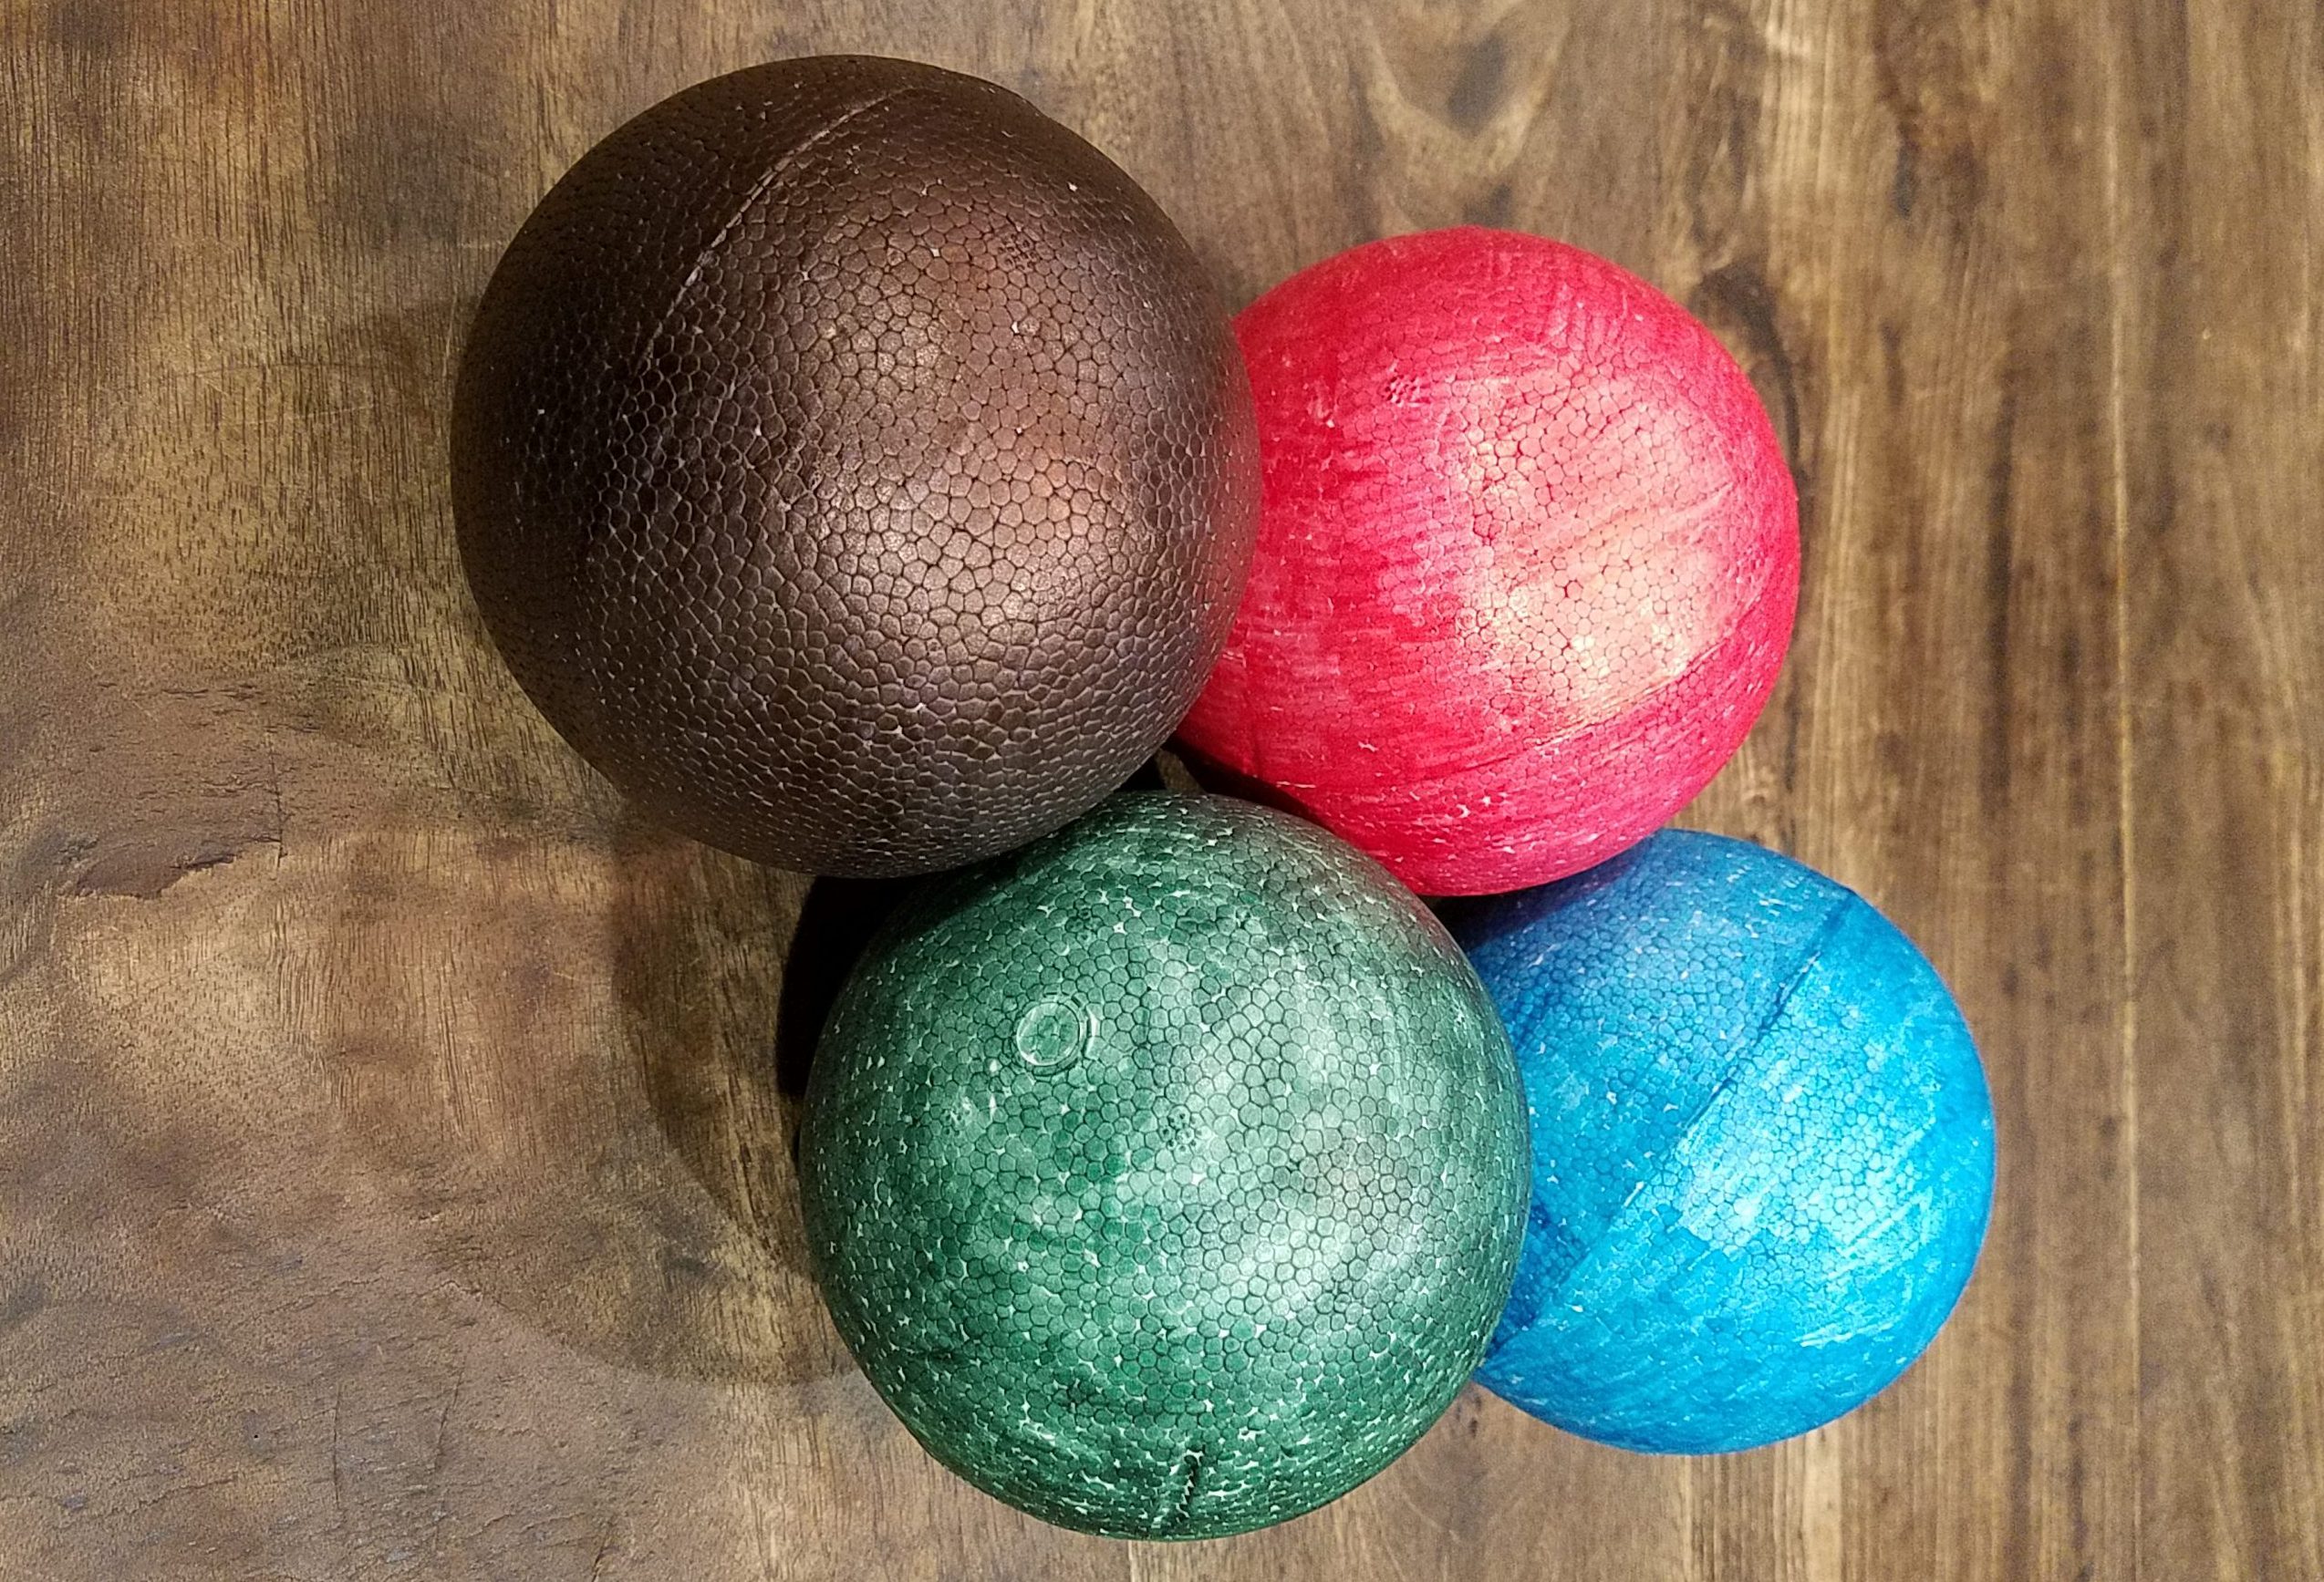 If you want your corners to be colored, do that before you begin the construction (it will also help the scratches you make in the next step show up well).
So the first thing you need to do is locate the three points where a dowel will be inserted into each styrofoam ball. Fortunately, analyzing the geometry shows us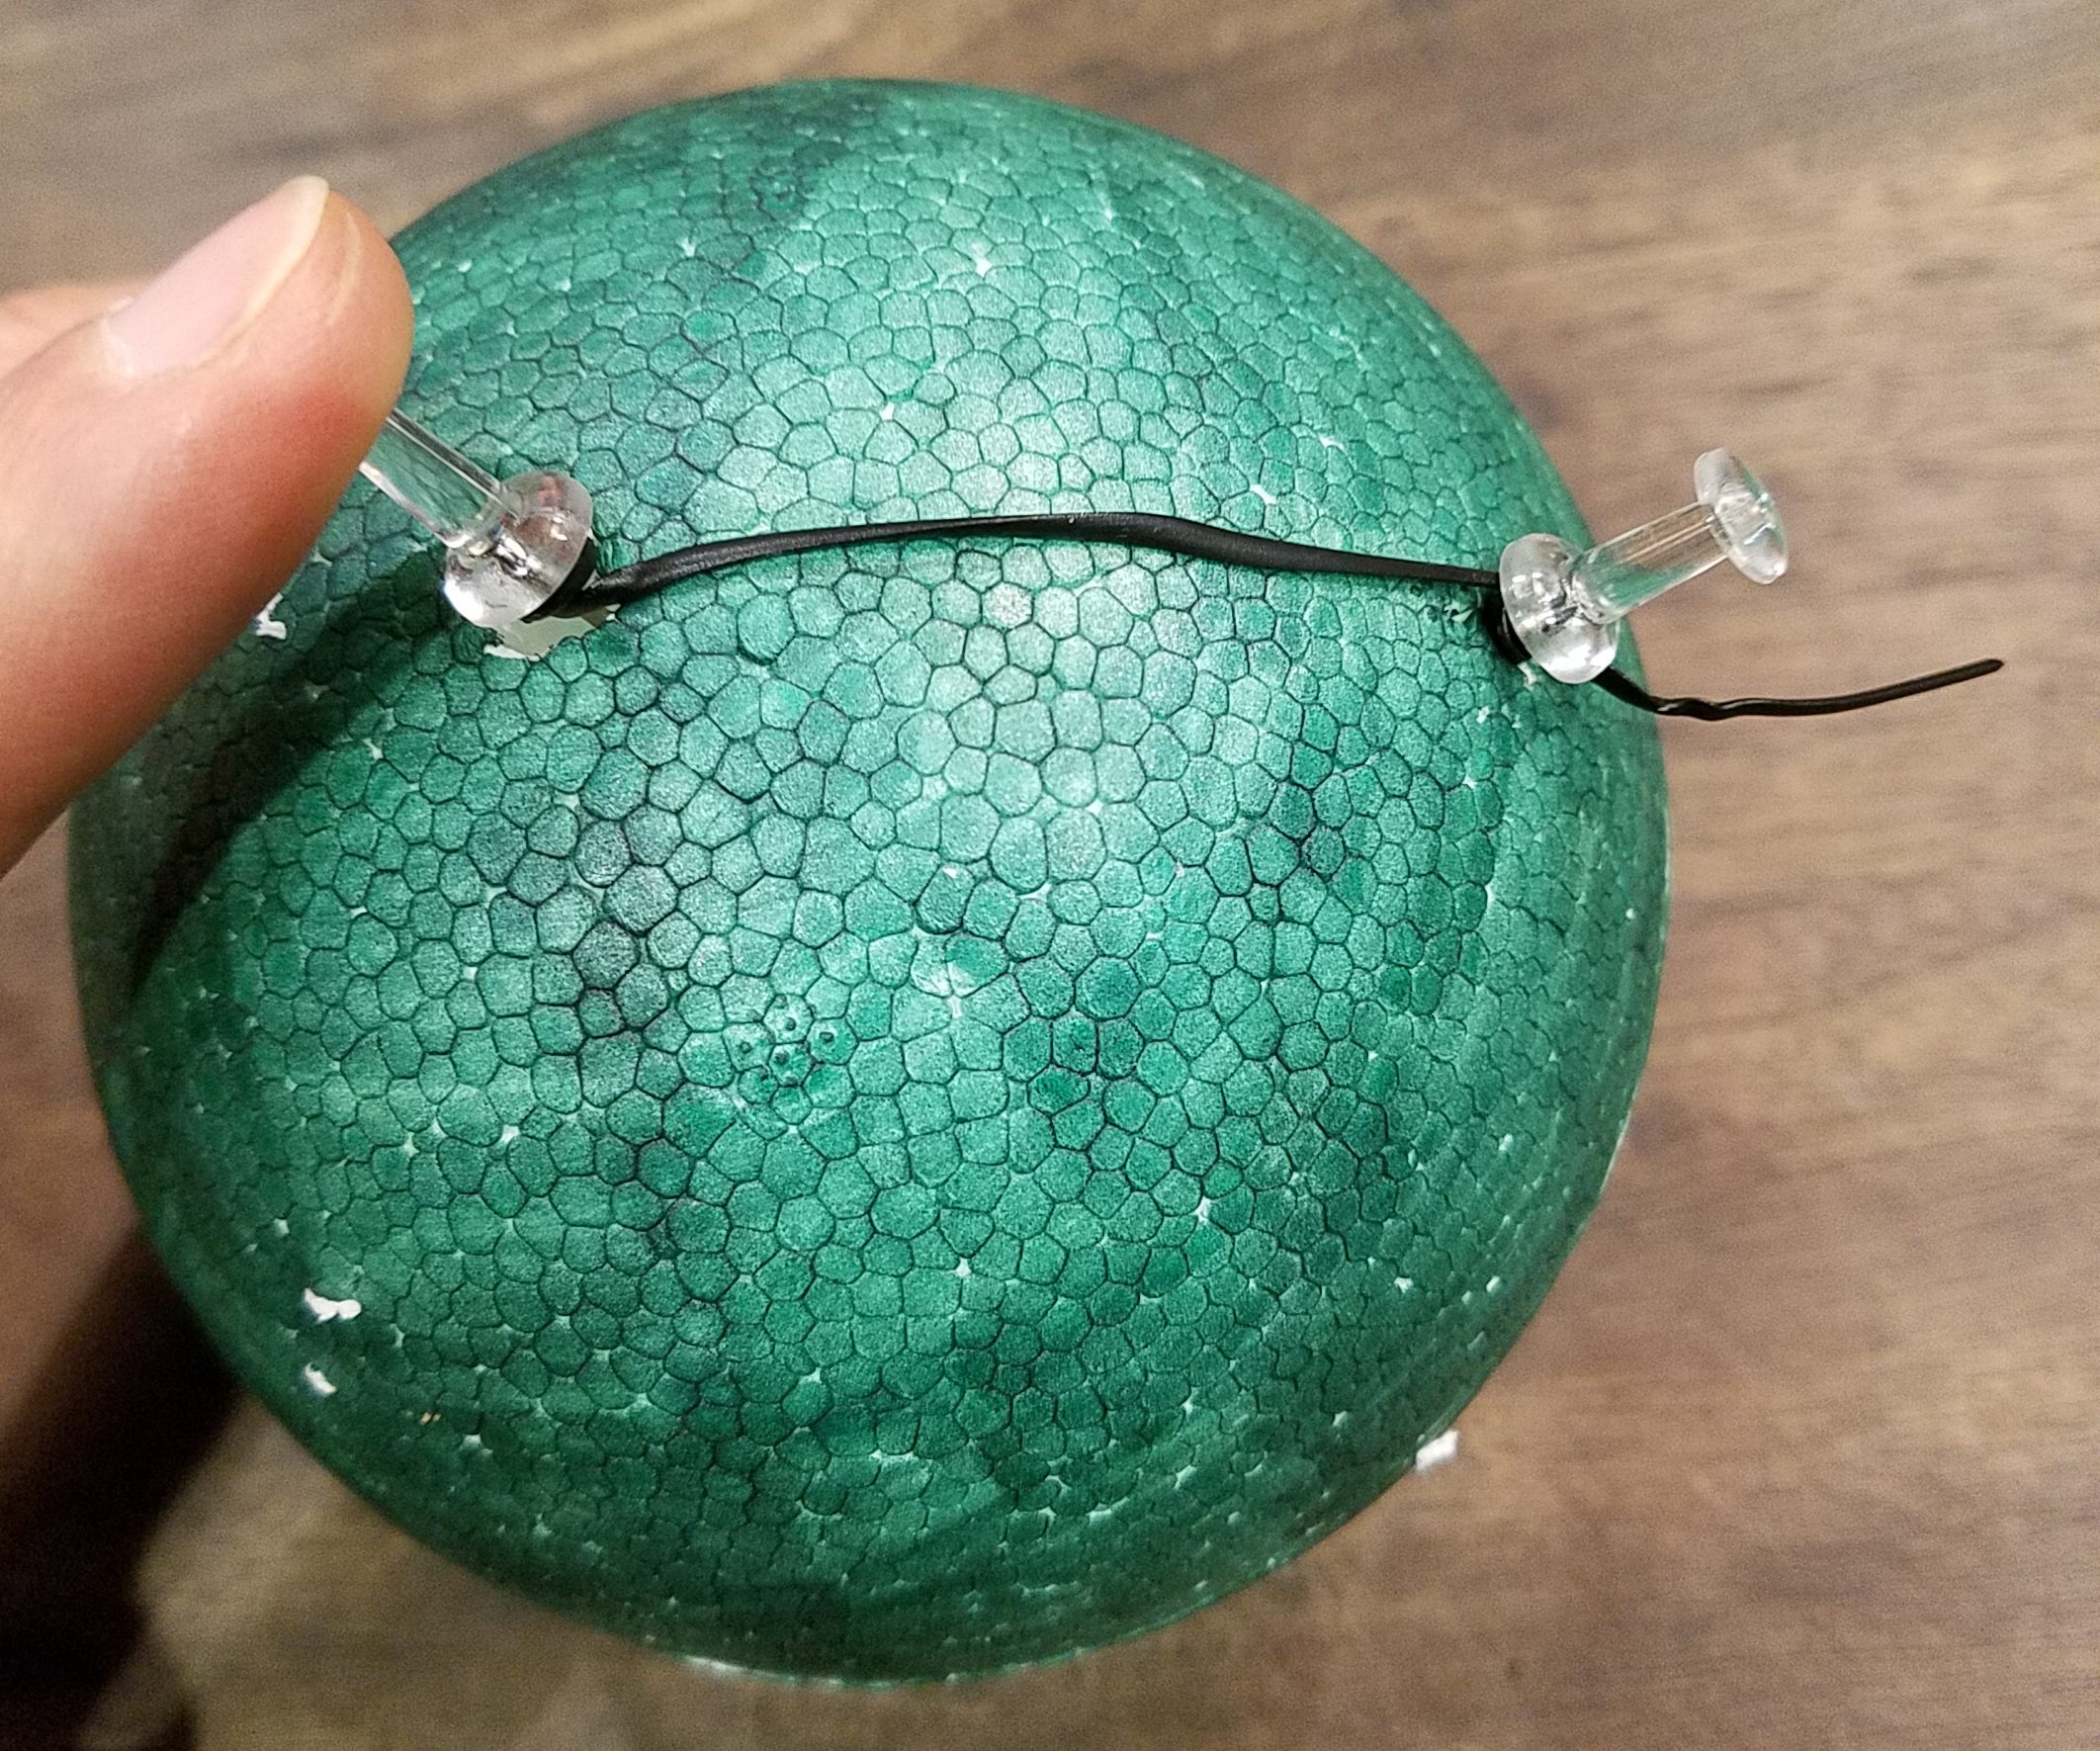 how to find those points. So get out two thumbtacks and a piece of thread. Tie the thread to the post of each thumbtack so that the length of the thread between posts is 2.1 inches. Stick one thumbtack anywhere you like on the ball, stretch the thread taut along the surface of the sphere, and stick the other thumbtack in (again, anywhere you like, so long as the thread is taut). Now
 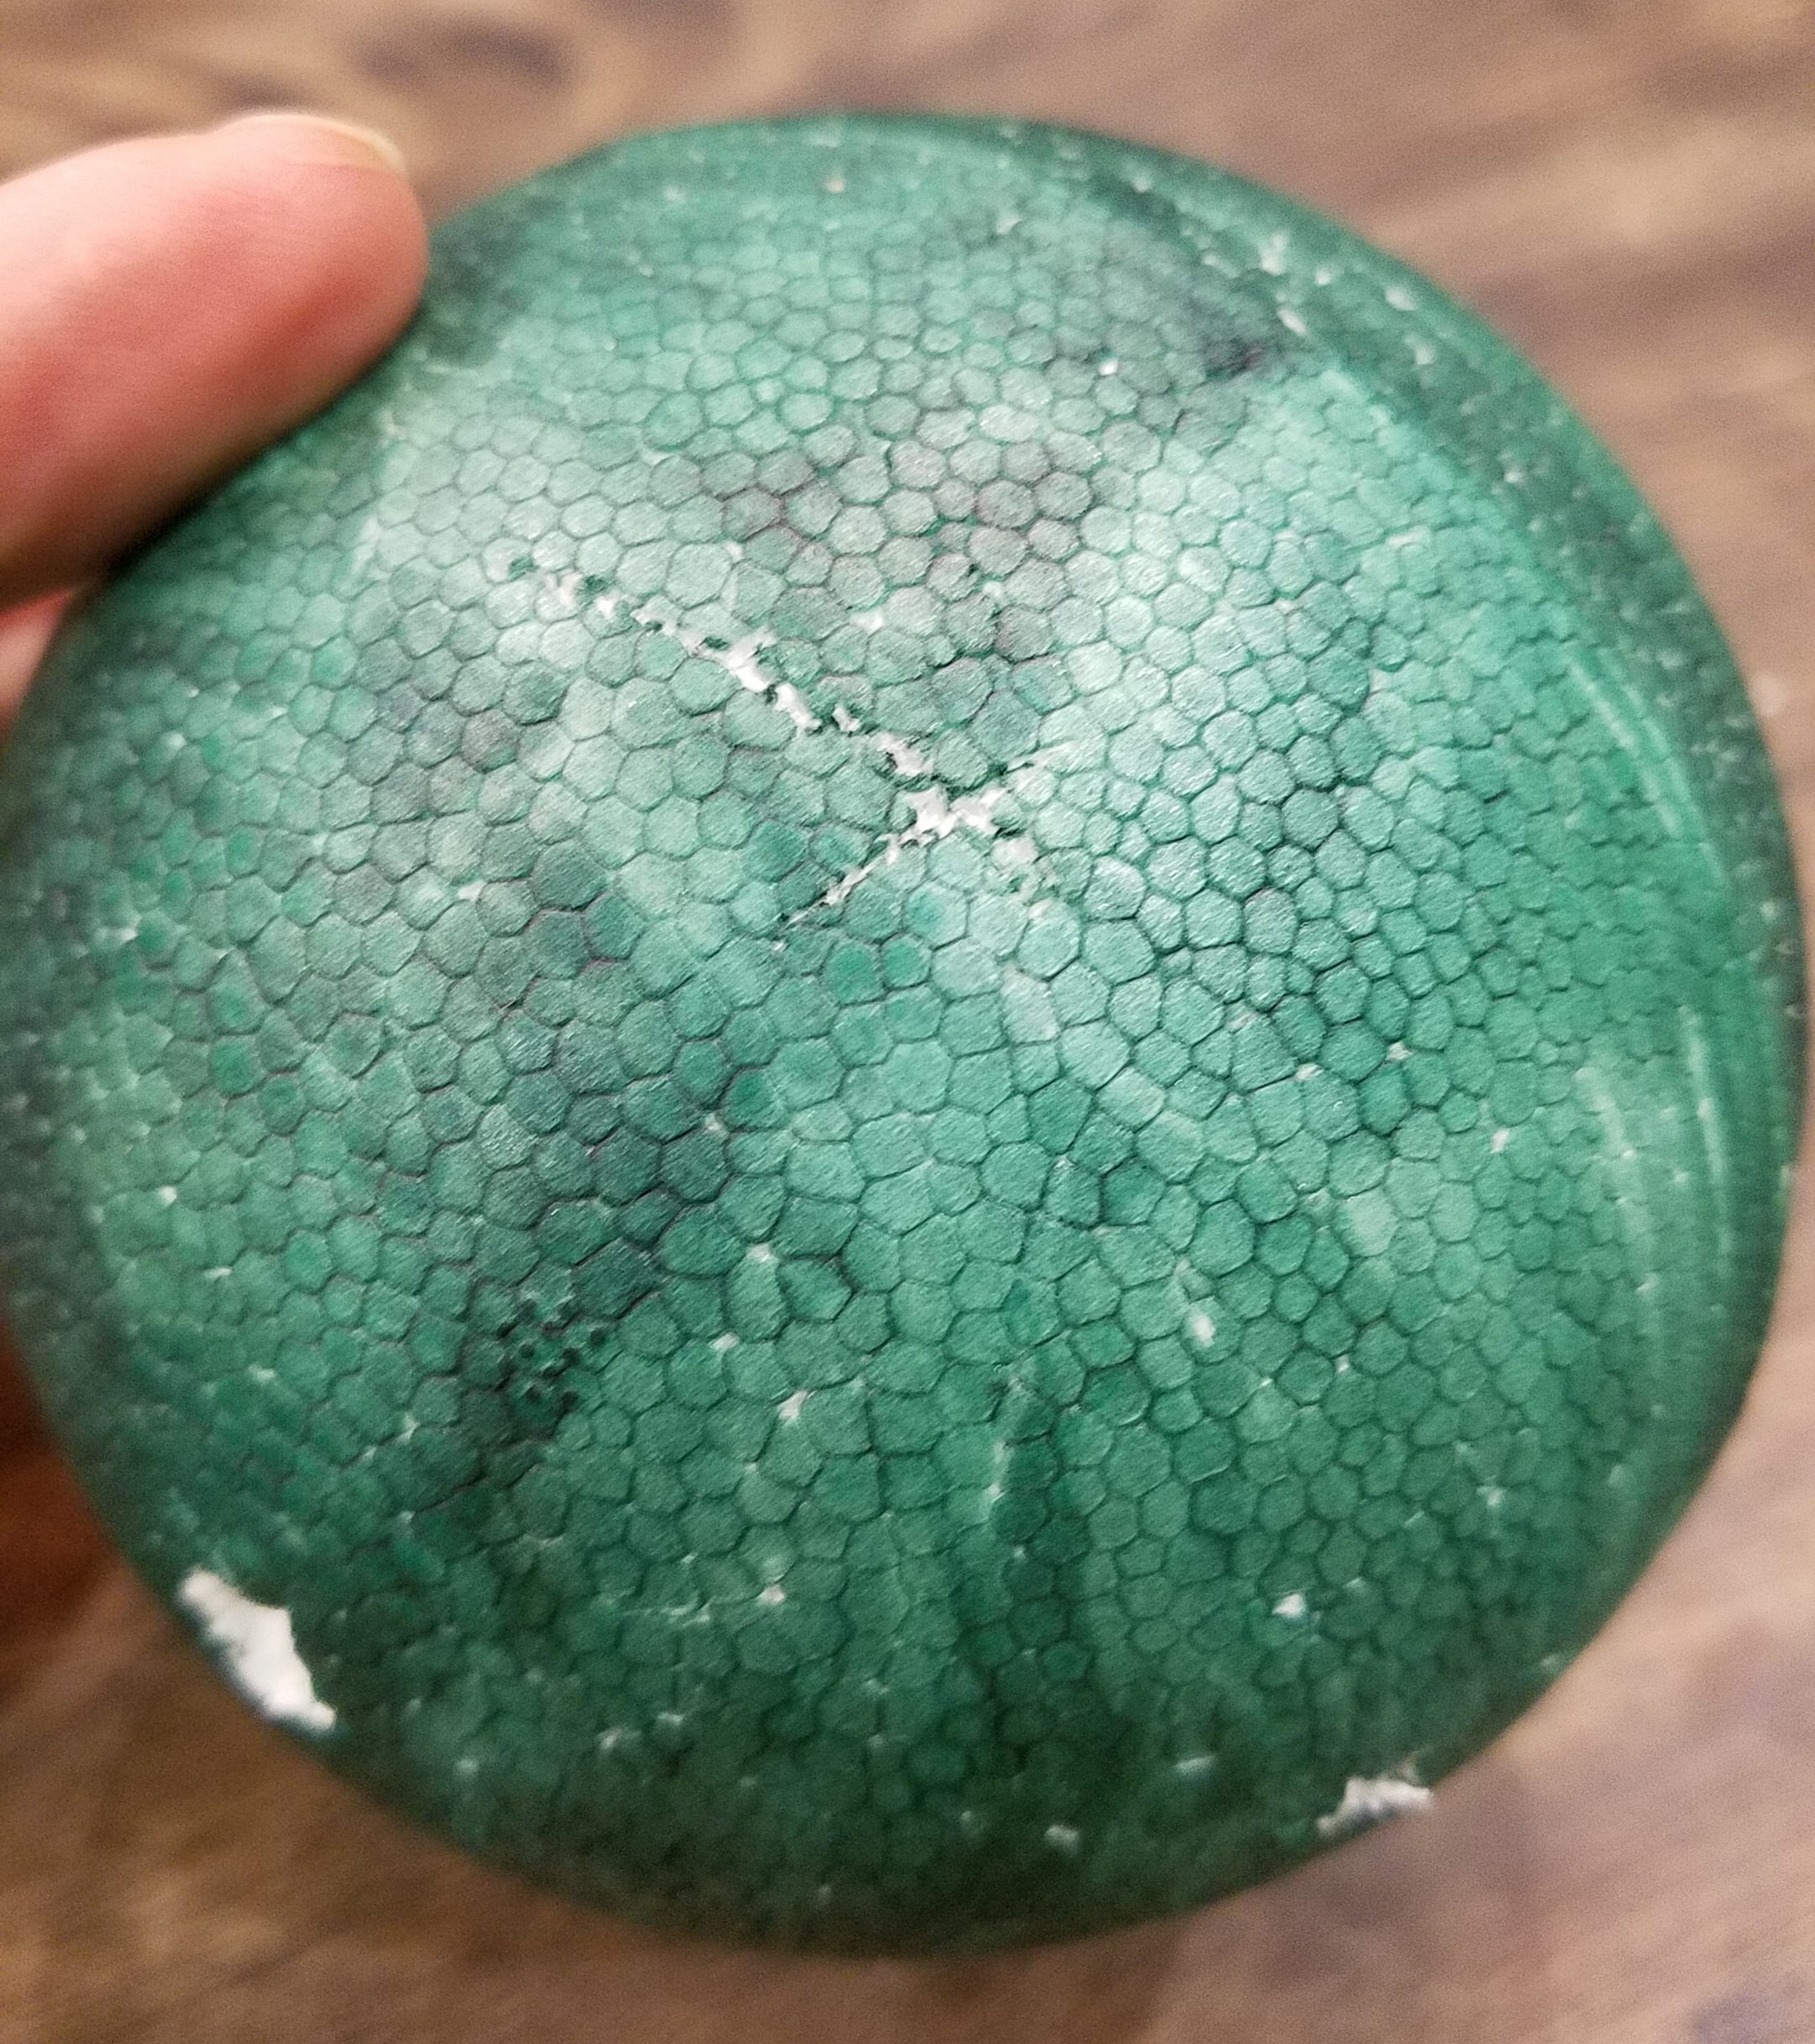 gently lift one thumbtack out of the ball, and keeping the thread taut against the ball, scratch a circular arc roughly where you expect the third hole to go. Then re-insert that thumbtack in its original hole, and do the same with the other thumbtack. The two thumbtack holes and the the point where the two scratched arcs intersect are the three locations to insert the dowels.
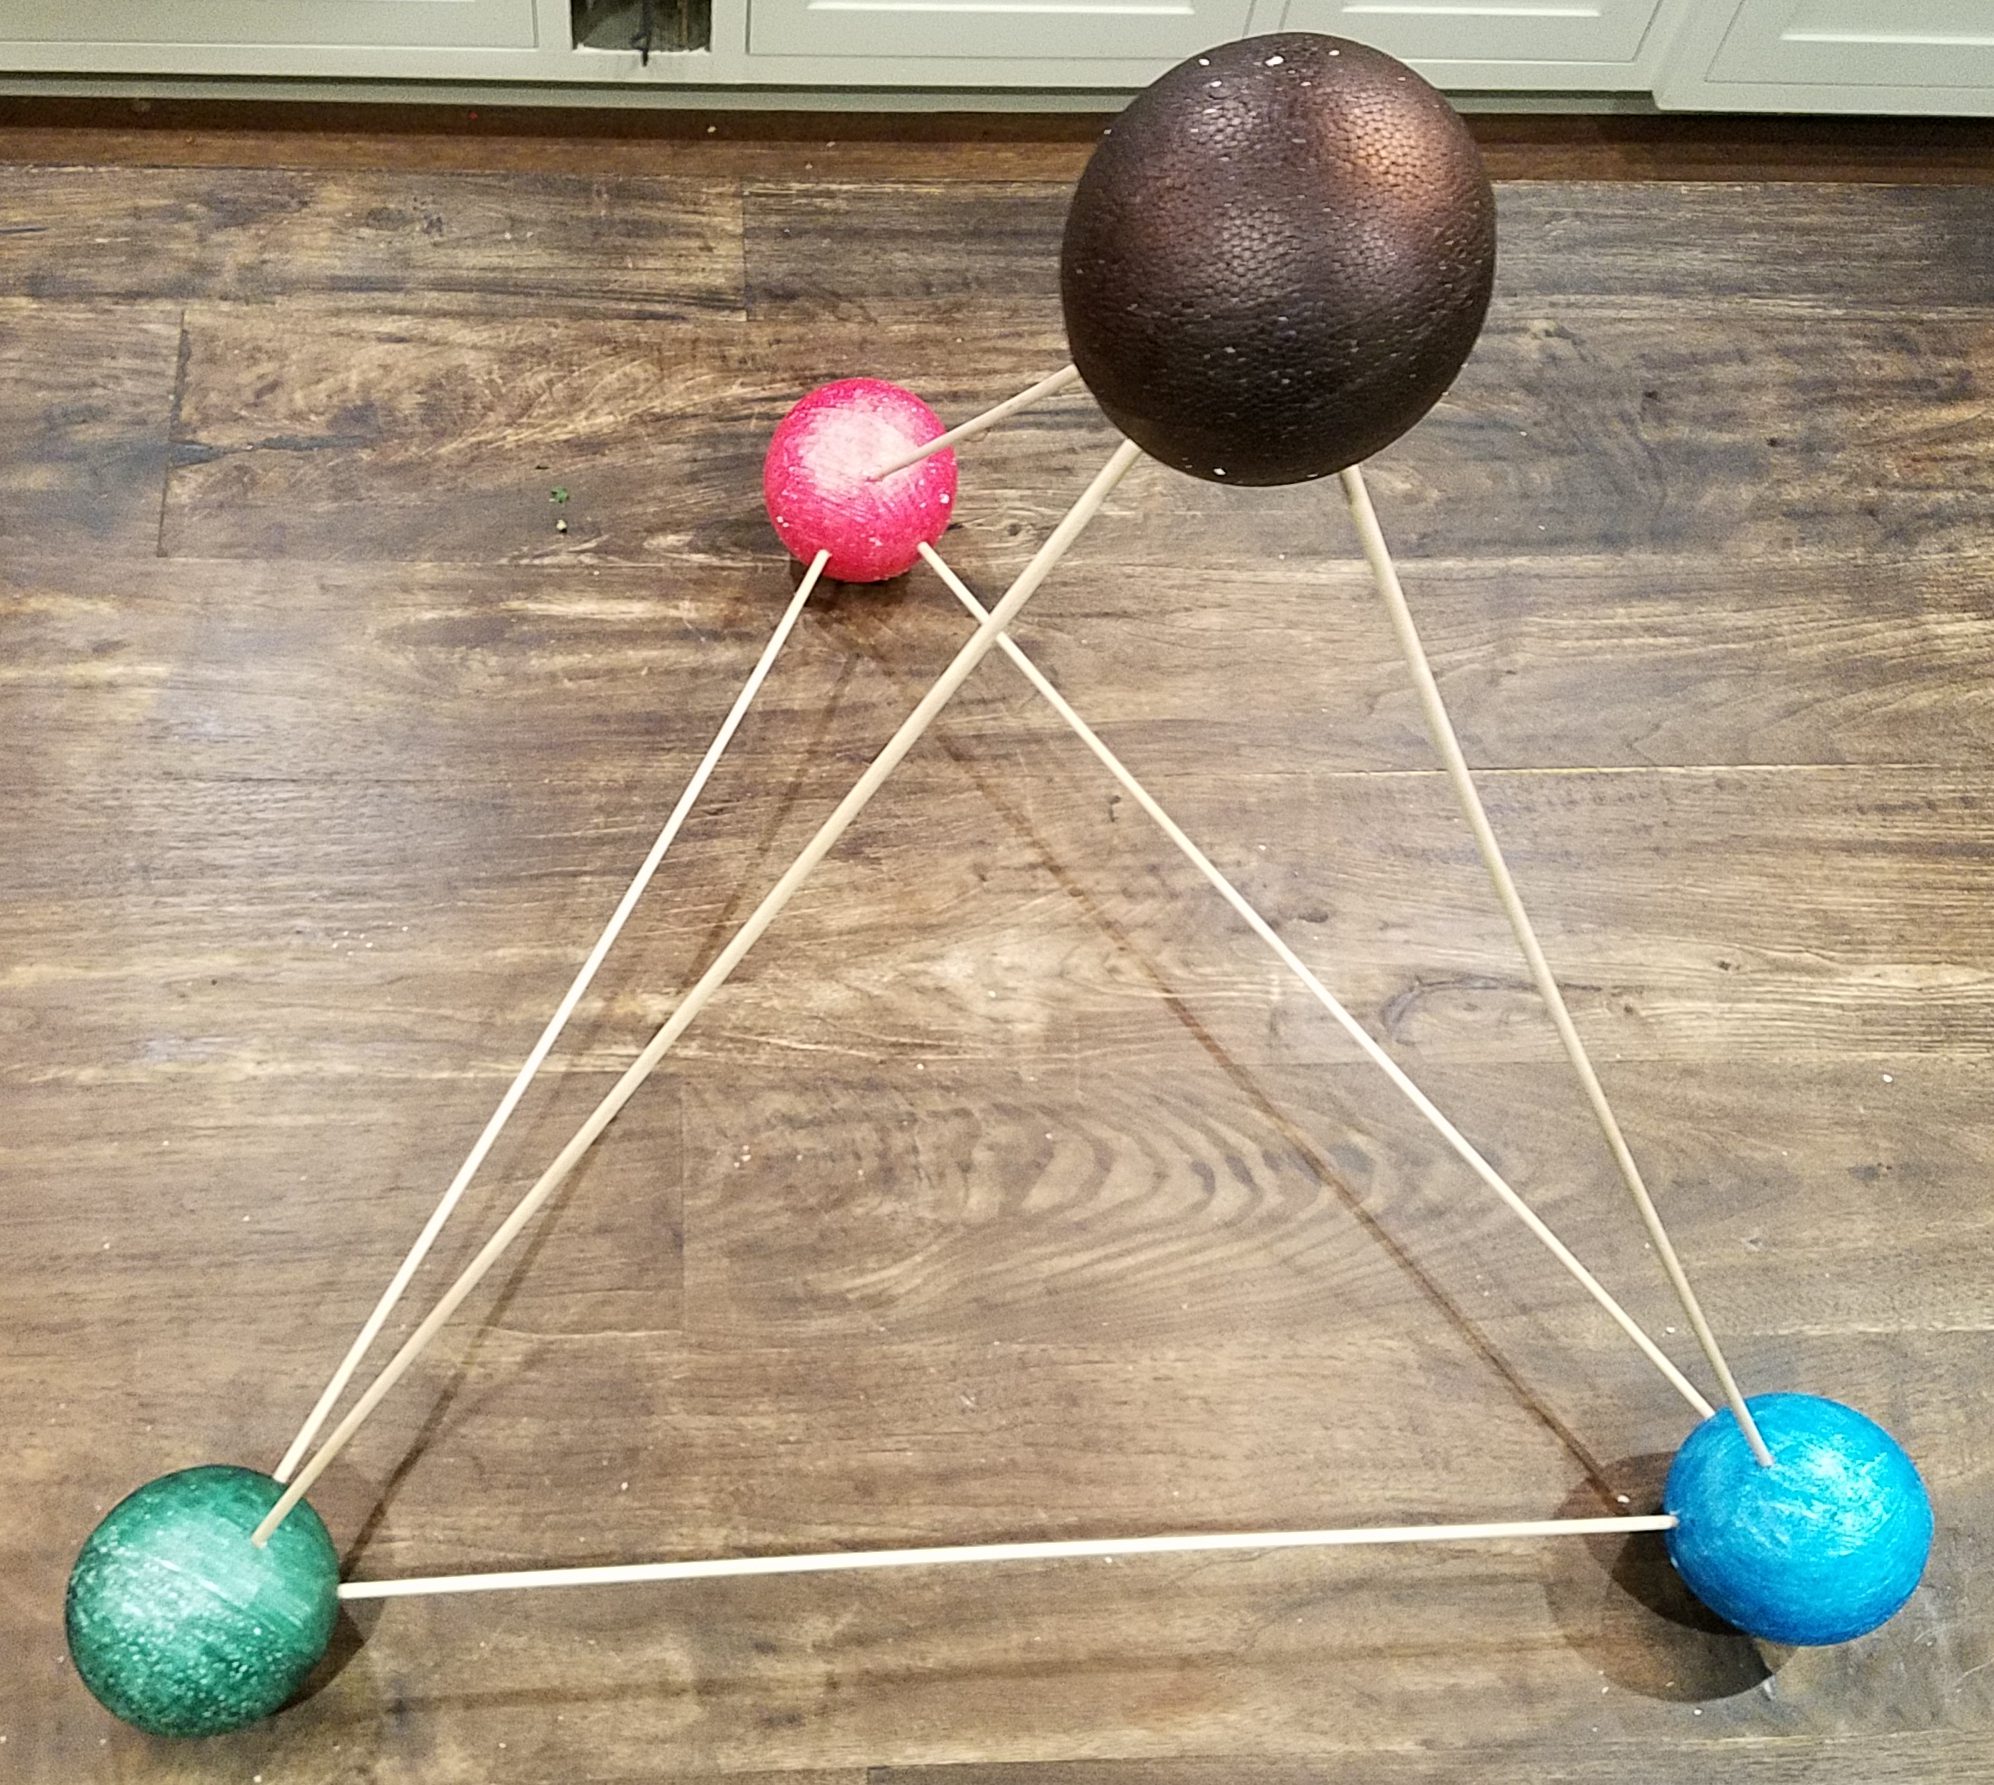
To finish the assembly, drill holes from those points straight toward the centers of the spheres, most of the way to the center, between 1.5 and 2 inches deep.  Try to make your holes uniform in depth. Repeat the process of locating and drilling holes for the other three balls. Now it’s just a matter of connecting the balls together with the dowels. The holes are deliberately smaller than the dowels so that there’s a tight fit when you insert them — push firmly. I recommend building a triangle first, then inserting the other three dowels pointing up.
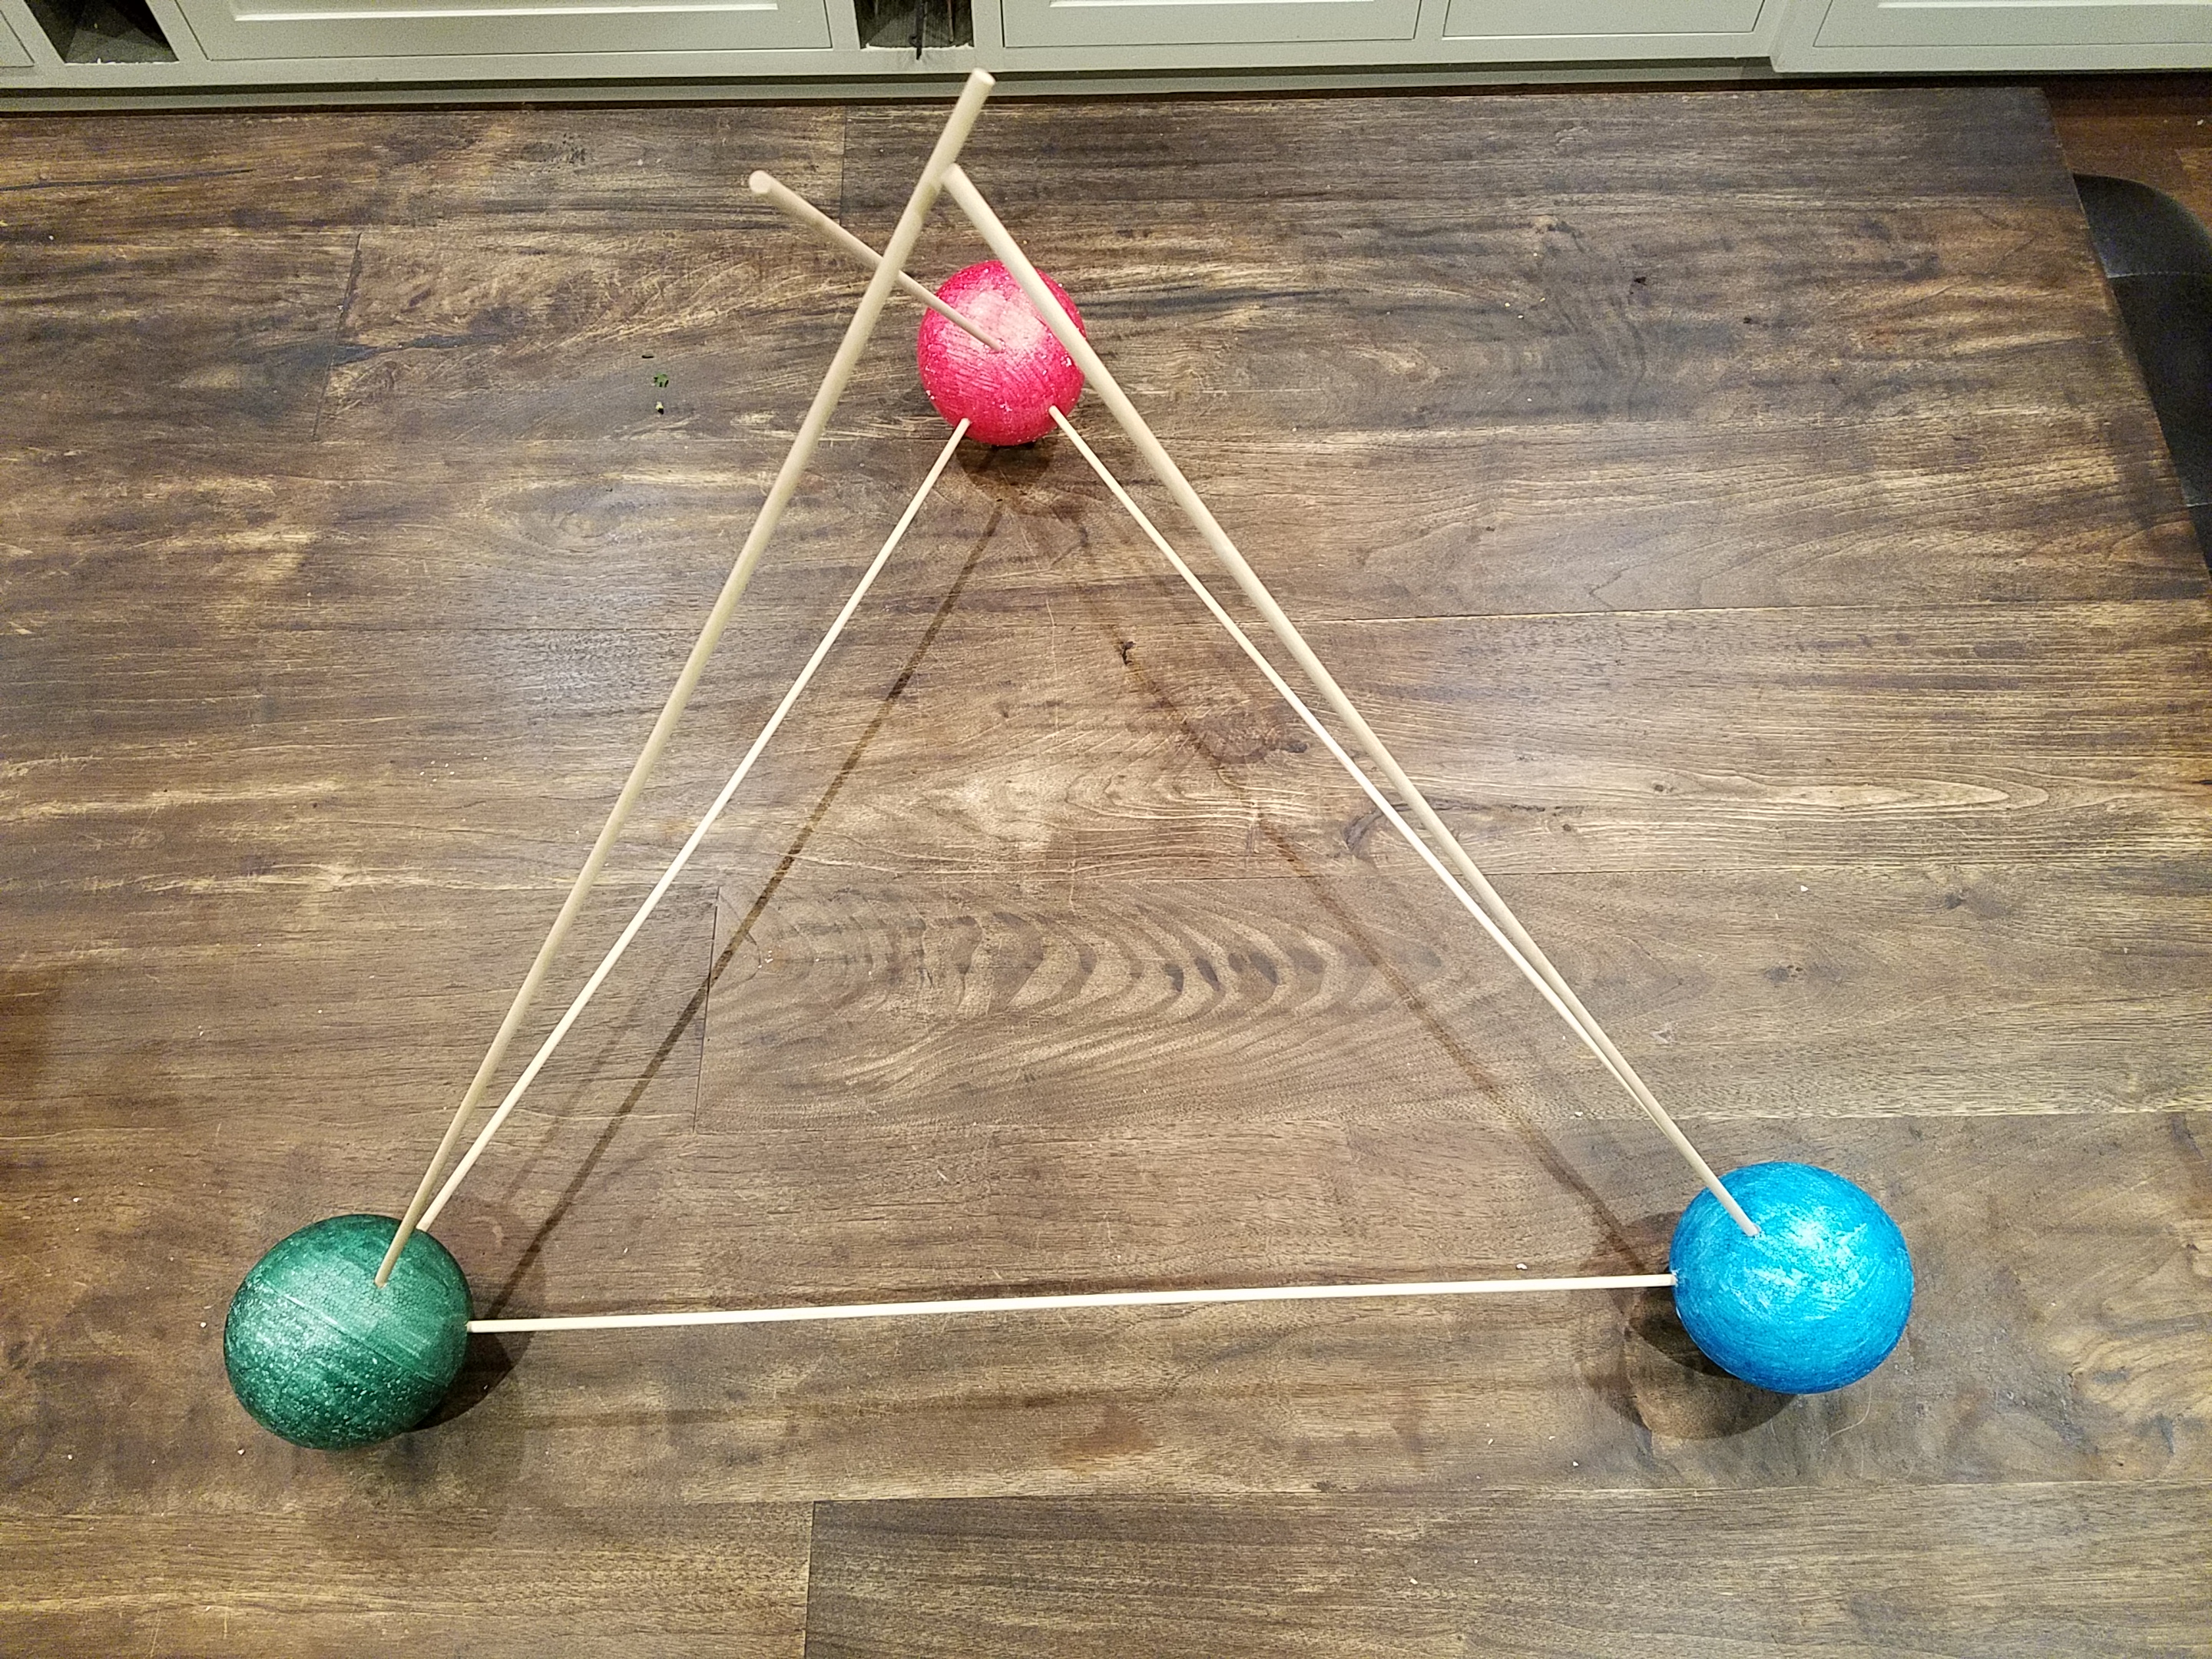
Then add the last ball to complete your tetrahedron. (And the tetrahedron shown below did in fact appear in my friend’s talk.)