

Assembling a TTO
These are the assembly instructions for the Tessellating Truncated Octahedra; you’ll find background and the cut files for them on them in the following post.
| Materials |
|---|
| Two TTO pieces per unit you wish to build |
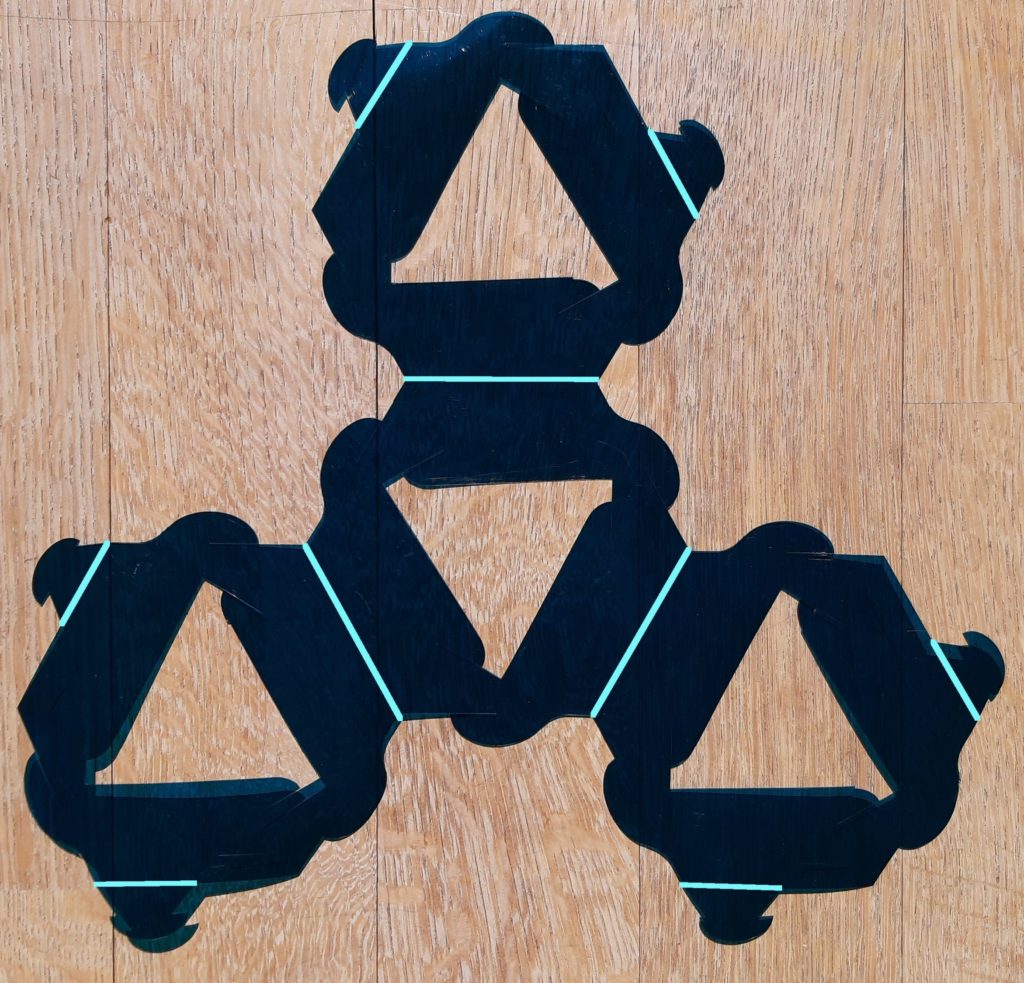
The first order of business is to fully cut and punch out two of the pieces from the cut templates in the following post, including removing the triangular inserts in the four hexagonal faces, and separating all of the tabs and slots. That will produce a piece that looks like the following picture (with the score lines in the template highlighted by light blue lines, as otherwise they are difficult to see in the photograph):
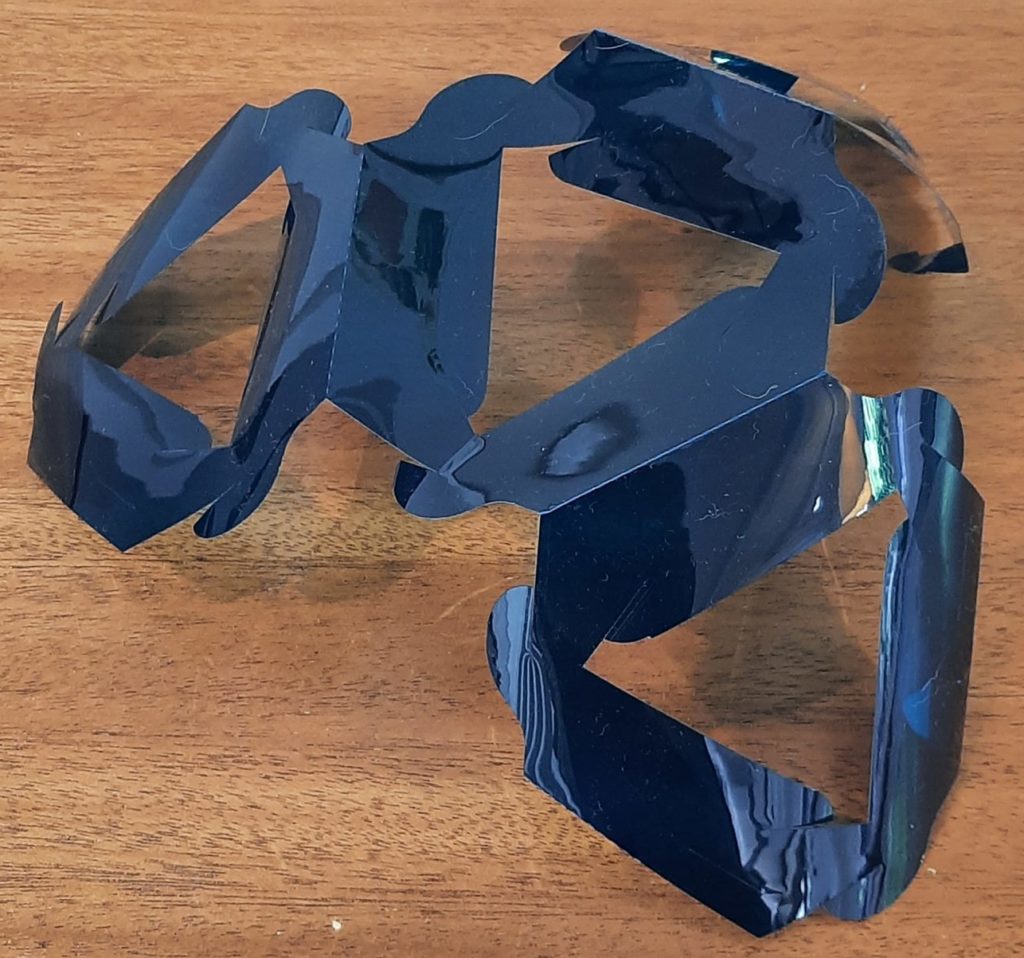
Now make a mountain fold on each of the score lines, producing something that looks like this:
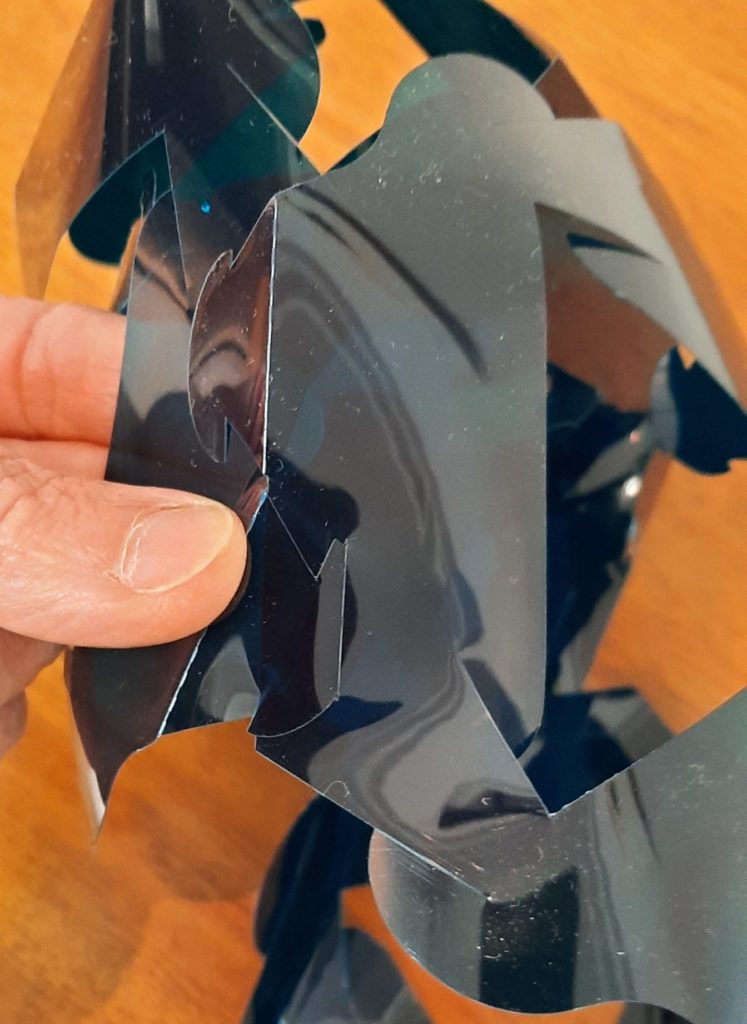
Repeat with another piece. Two of them will interlock to produce a single truncated octahedron unit. The picture on the left below shows them overlapped in roughly the relationship they will have when connected; the picture on the right shows two of the edges lined up ready to be connected.
To connect this edge, start inserting the long flap of one of the tabs on that edge into the slit opposite it on the other piece, then pull that tab all the way in, then repeat with the other tab along that edge (on the piece that has the slit in the first part of the connection, going into a slit on the piece that had the tab). This process is shown in the following sequence of three photos:
Now work your way around the unit, connecting six edges in all. The left photo below shows me working on the second edge, and the right photo shows the state with three edges connected.
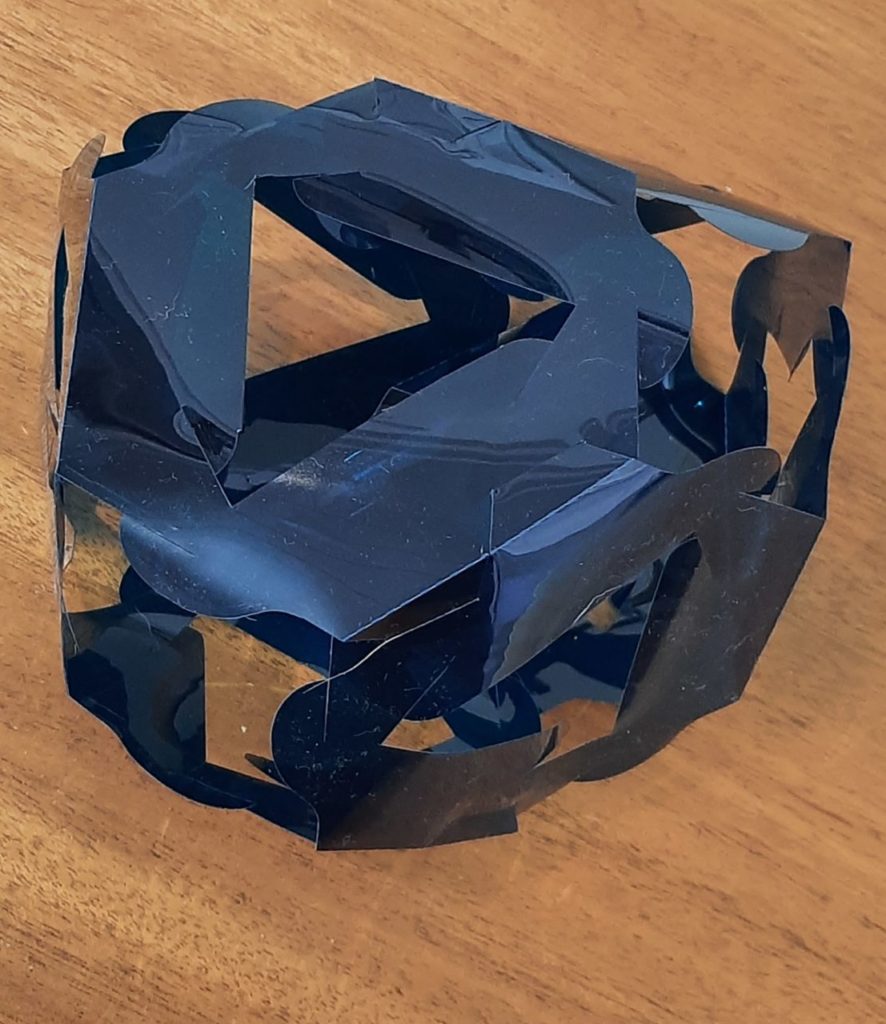
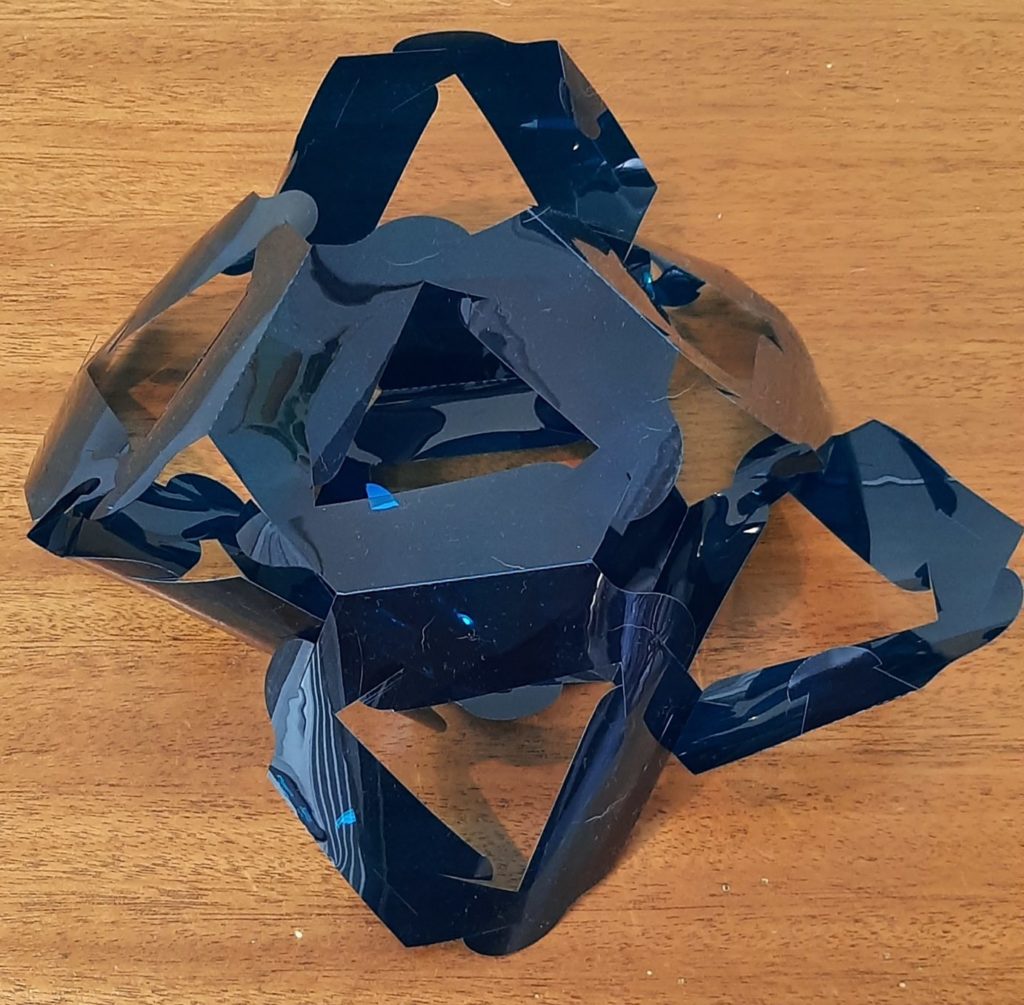
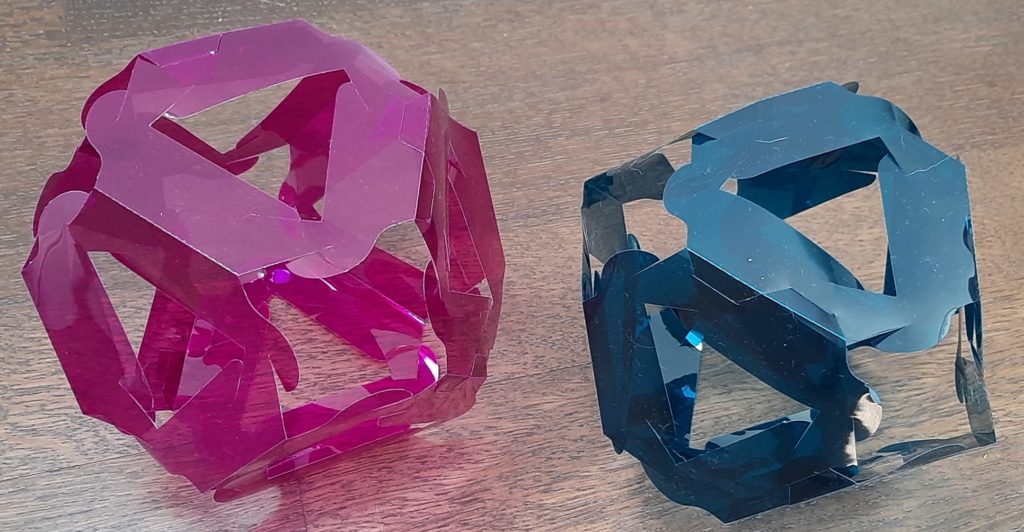
When you’ve done all six edges, you’ve completed your first truncated octahedron unit, which looks like this:
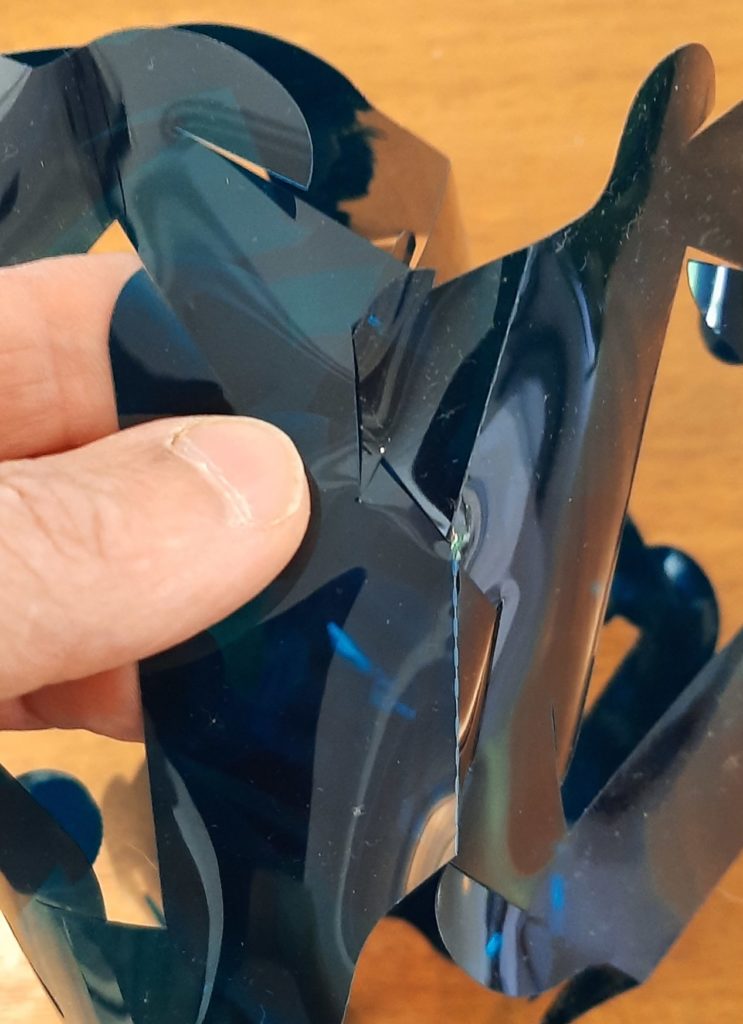
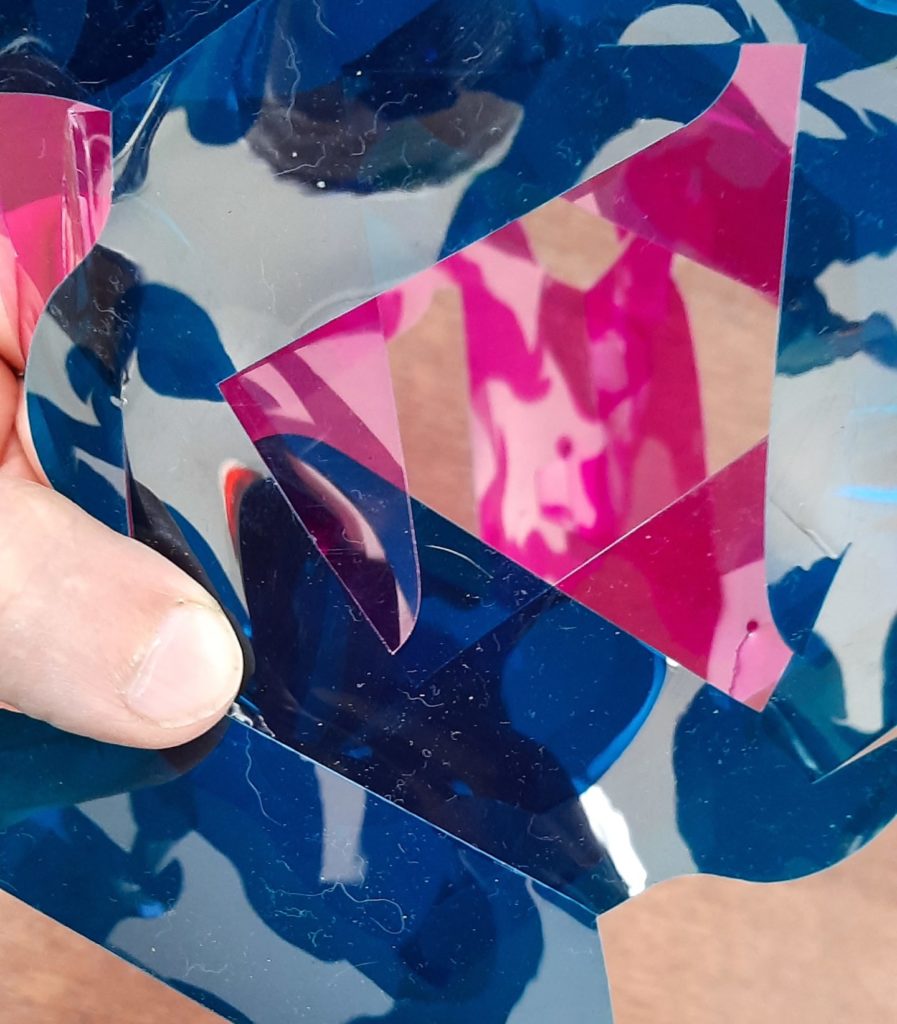
But the distinctive thing about these truncated octahedra units is that they can connect arbitrarily face to face in their tessellation of space. Connecting square faces (which are empty in each individual unit) is relatively straightforward: just line up their edges however you’d like and engage the four pairs of corresponding (but opposite-pointing) edges. Connecting the hexagonal faces is just slightly trickier, because they line up in the tessellation in only three (not six) ways. (The other three ways would force two square edges to be adjacent; but as each TO unit does not have any adjacent square edges, that can’t happen in the tessellation.) So you have to line up two units so that the tabs in their triangular cutouts will engage, like so:
Then line the corresponding faces up with each other and engage the three tabs around the triangular cutouts. (You may have to bend the tabs back pretty far to get them past each other to engage, so hopefully you’ve cut your pieces out of a sufficiently flexible material, like this plastic — Roscolene lighting gel, to be exact — paper and cardstock will also work fine if you’re OK with opaque units.) Here’s me having just connected one pair of tabs around a triangular opening:
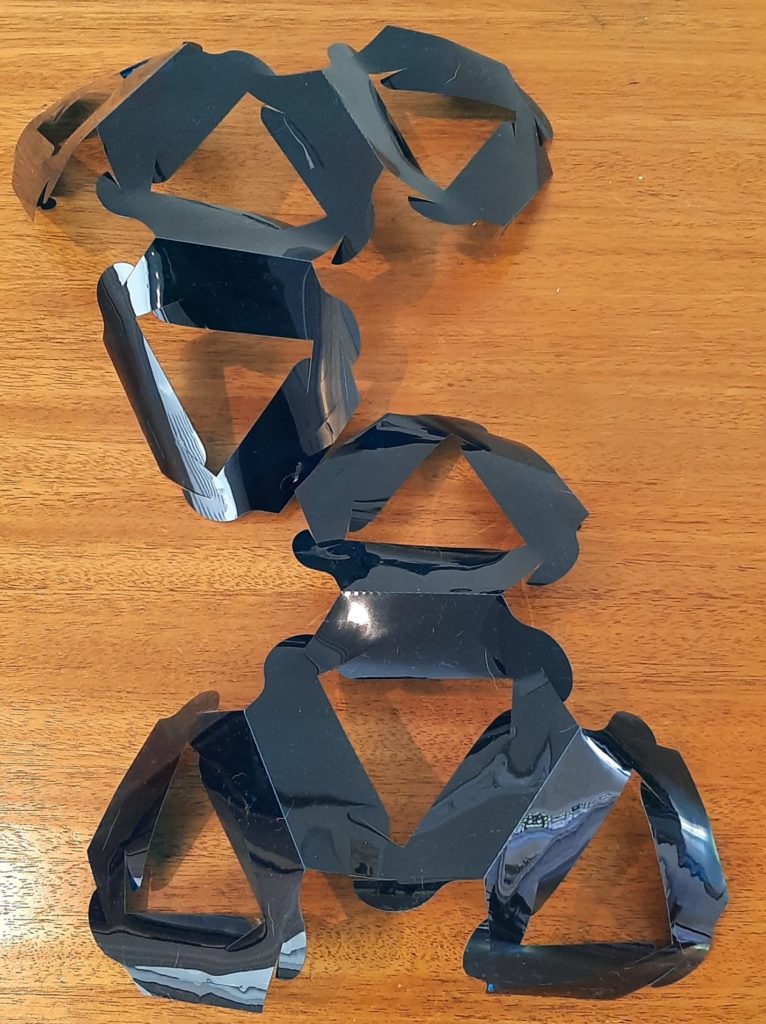
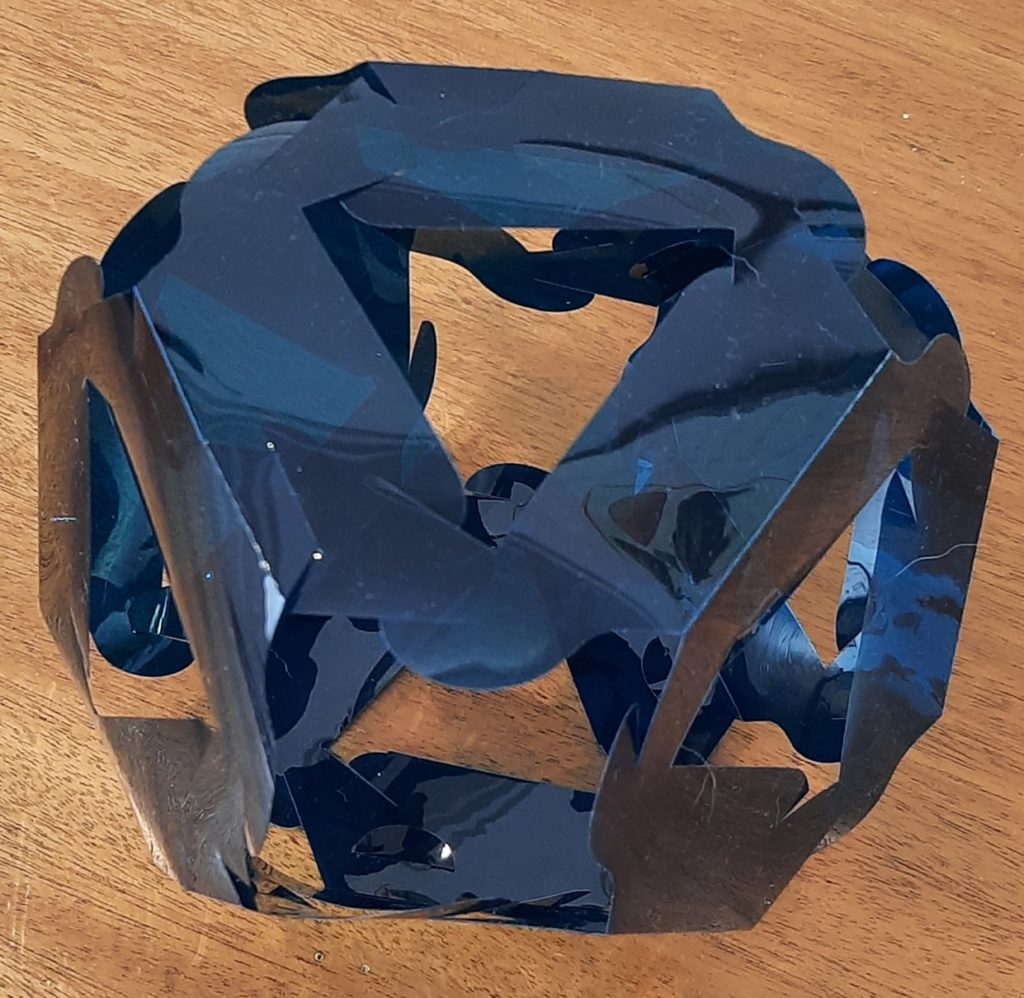
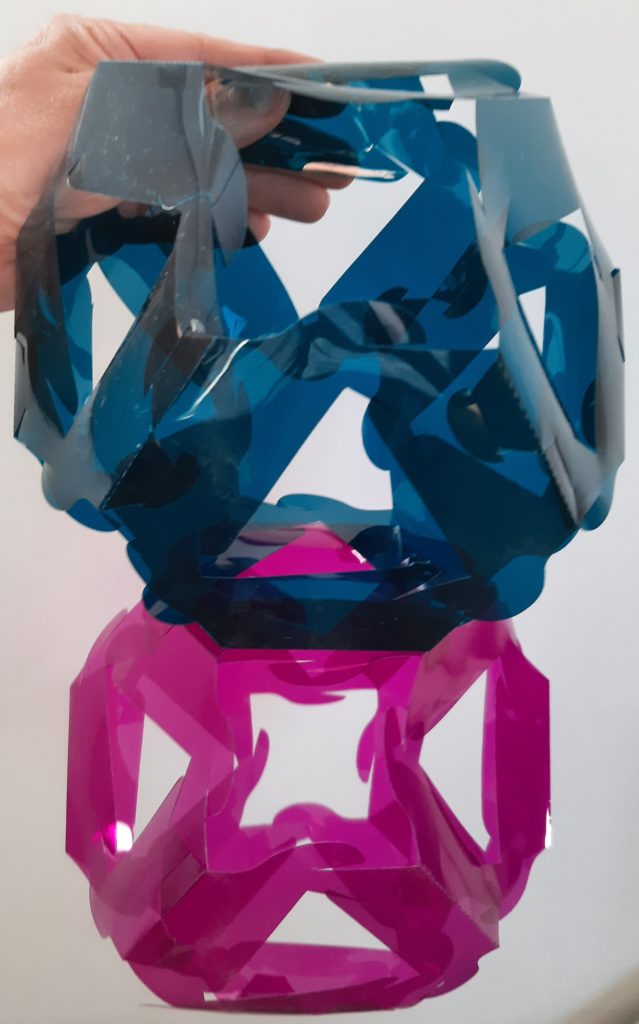
Once all three pairs of tabs are engaged, you’ll find the connection to be quite robust:
Enjoy assembling and connecting your Tessellating Truncated Octahedra! What kinds of loops, bridges, and shapes can you build?